Step 2: The Installation Template
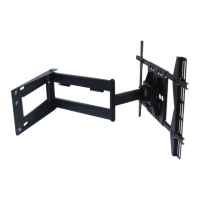
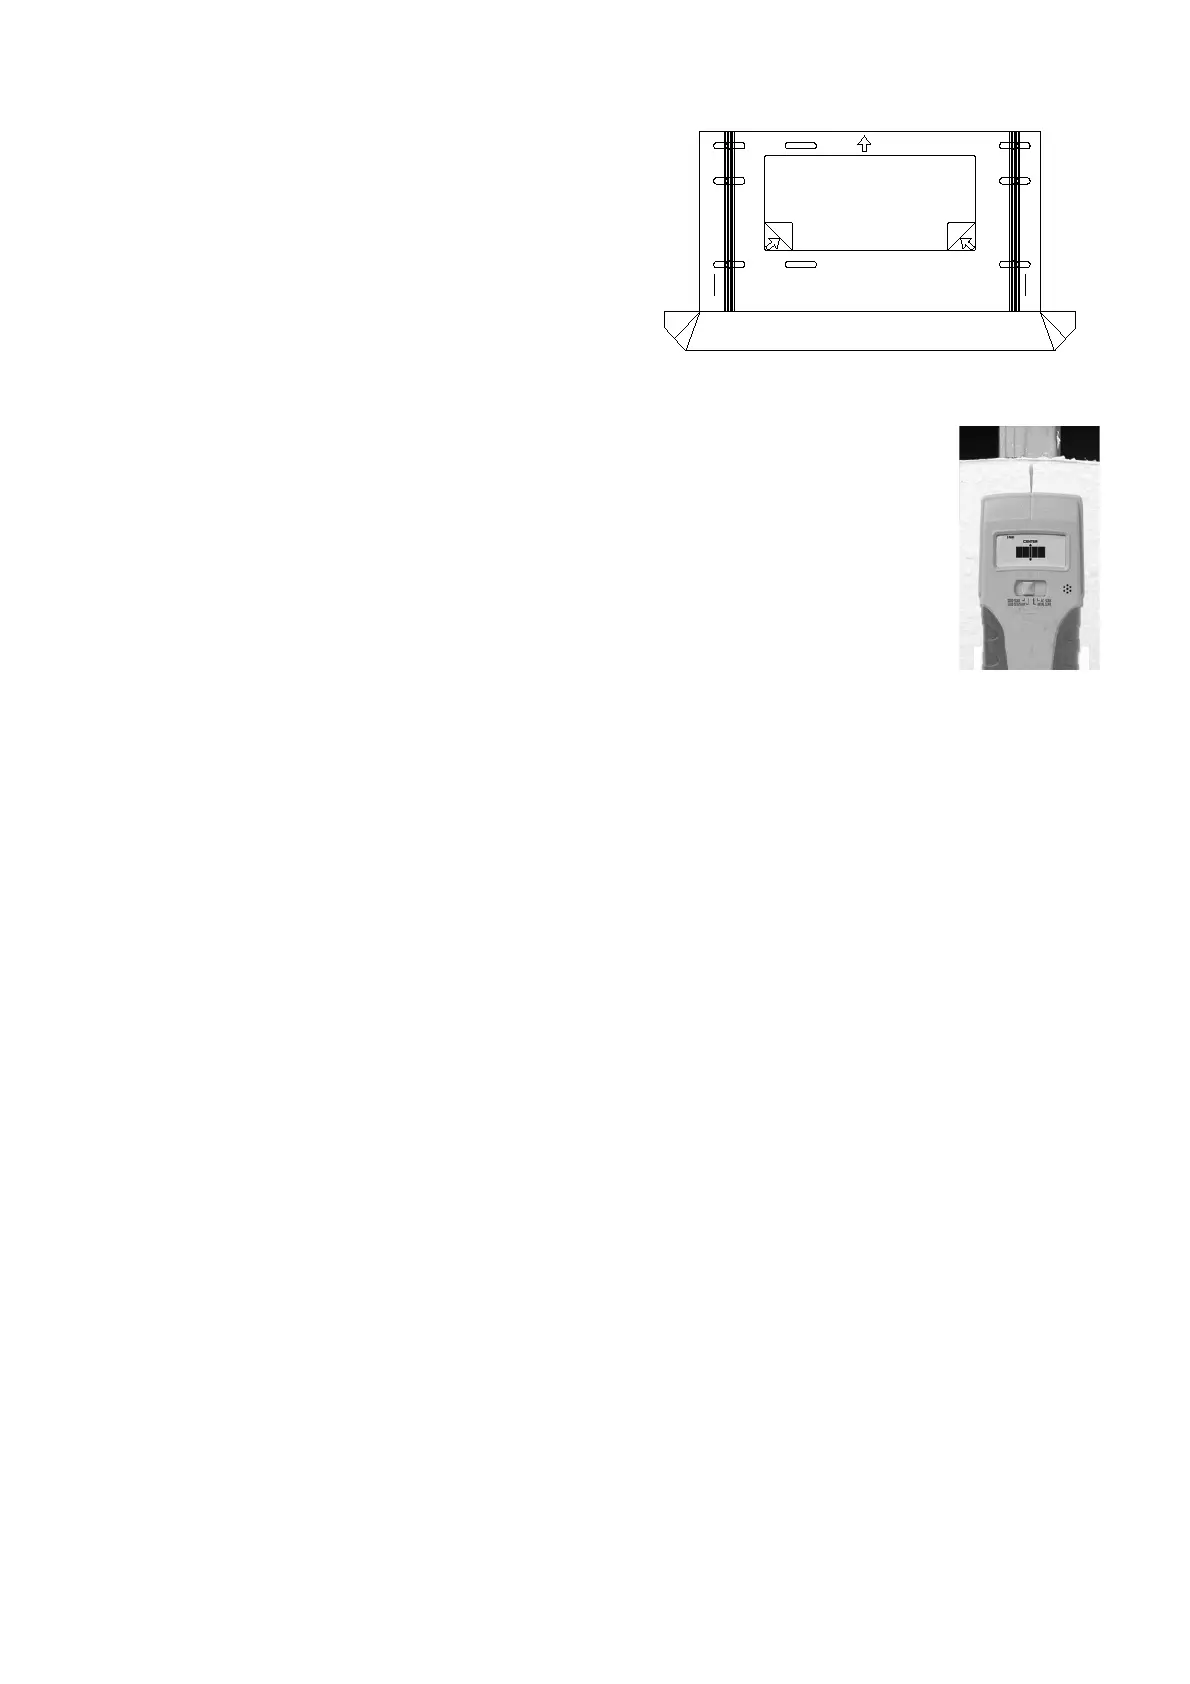
The installation template is designed to make
mounting the wall plate faster, easier and
more precise. The template includes a built in
dust channel to reduce clean up (Fig.1).
Step 3: Preparing the Wall
Fig.1
Follow the instructions based upon your mounting surface:
3a Wooden Stud
3b Concrete/Masonry
3c Cinder Block
Step 3a: Mounting to Wooden Studs
The EM-PLA can be mounted onto two wooden studs, with center to center distances
between 15" and 17" (38-43 mm).
Using an electronic stud finder (Fig.2), locate the center of the two wooden studs at the
desired mounting location. Mark the stud center positions directly on the wall. Connect
the stud marks with a horizontal line and find the center between them to represent
where you wish the center of the screen to be located. Be sure to measure and mark the
center of this horizontal line.
Fig.2
Place the template on the wall, and then remove the tape strip from the back of the template.
Pin the template to the center mark on the wall. Using a level (bubble or laser ), level the
guide, and then press the adhesive backing against the wall to hold the guide in place.
Note:
Depending upon the wall texture, you may need to use tape to hold the template in position.
Using a 1/4" (6 mm) drill bit, drill 6 pilot holes into the center of the studs (through the mounting hole
cut-out sections of the template), down to a depth of 3" (76 mm).
Carefully remove the template from the wall and discard. Hold the template in an upright position
so as not to spill the collected dust..
REMOVE
REMOVE
UP
4
 Loading...