OWC DATA DOUBLER INSTALLATION
6
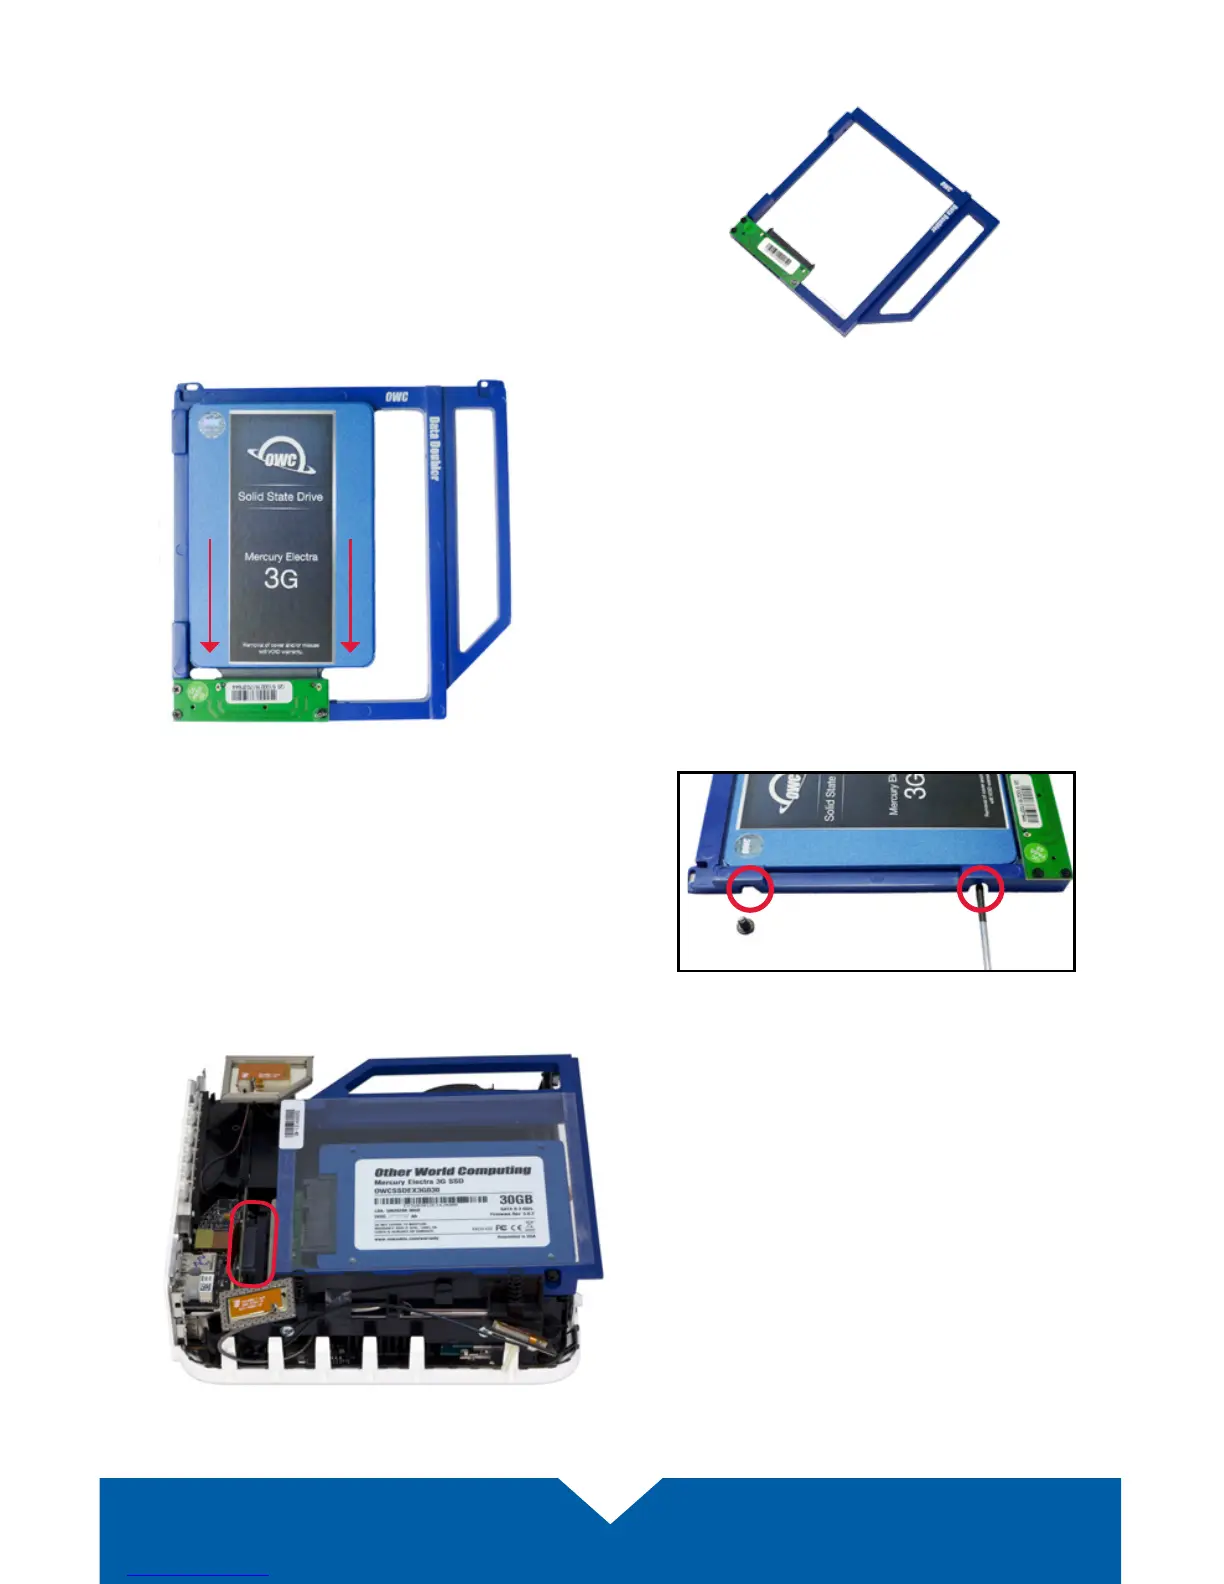
2.3 Installing the Data Doubler
1. Remove the Data Doubler from the box and plastic
bag. Note that there is a clear plastic shield on the
bottom of the Data Doubler. DO NOT remove this
plastic shield. It is a part of the Data Doubler.
2. Install the 2.5 inch SATA drive into the Data
Doubler. Start by sliding the SATA connector on
the drive into the black SATA connector attached
to the green circuit board on the Data Doubler, as
shown at left.
3. Insert the two included Phillips screws
into the drive through the screw holes in the
Data Doubler, as shown at right.
4. Connect the Data Doubler to the SATA
connector in the Mac mini, highlighted
at left. When installing the Data Doubler,
be careful not to hit the AirPort
®
antenna
(top left in this picture) or the IR receiver
(top right in this picture).