Installation
10
OWC Data Doubler
10. Use the original tape to secure the optical drive thermal sensor cable to the
drive in the Data Doubler, as shown in the picture to the left. Also, remove the other
piece of tape from the optical drive and use it to secure the optical drive ex cable,
as shown in the picture to the right. The tape will lose some of its adhesive when you
remove it from the optical drive, but it will be eective at holding down the cables.
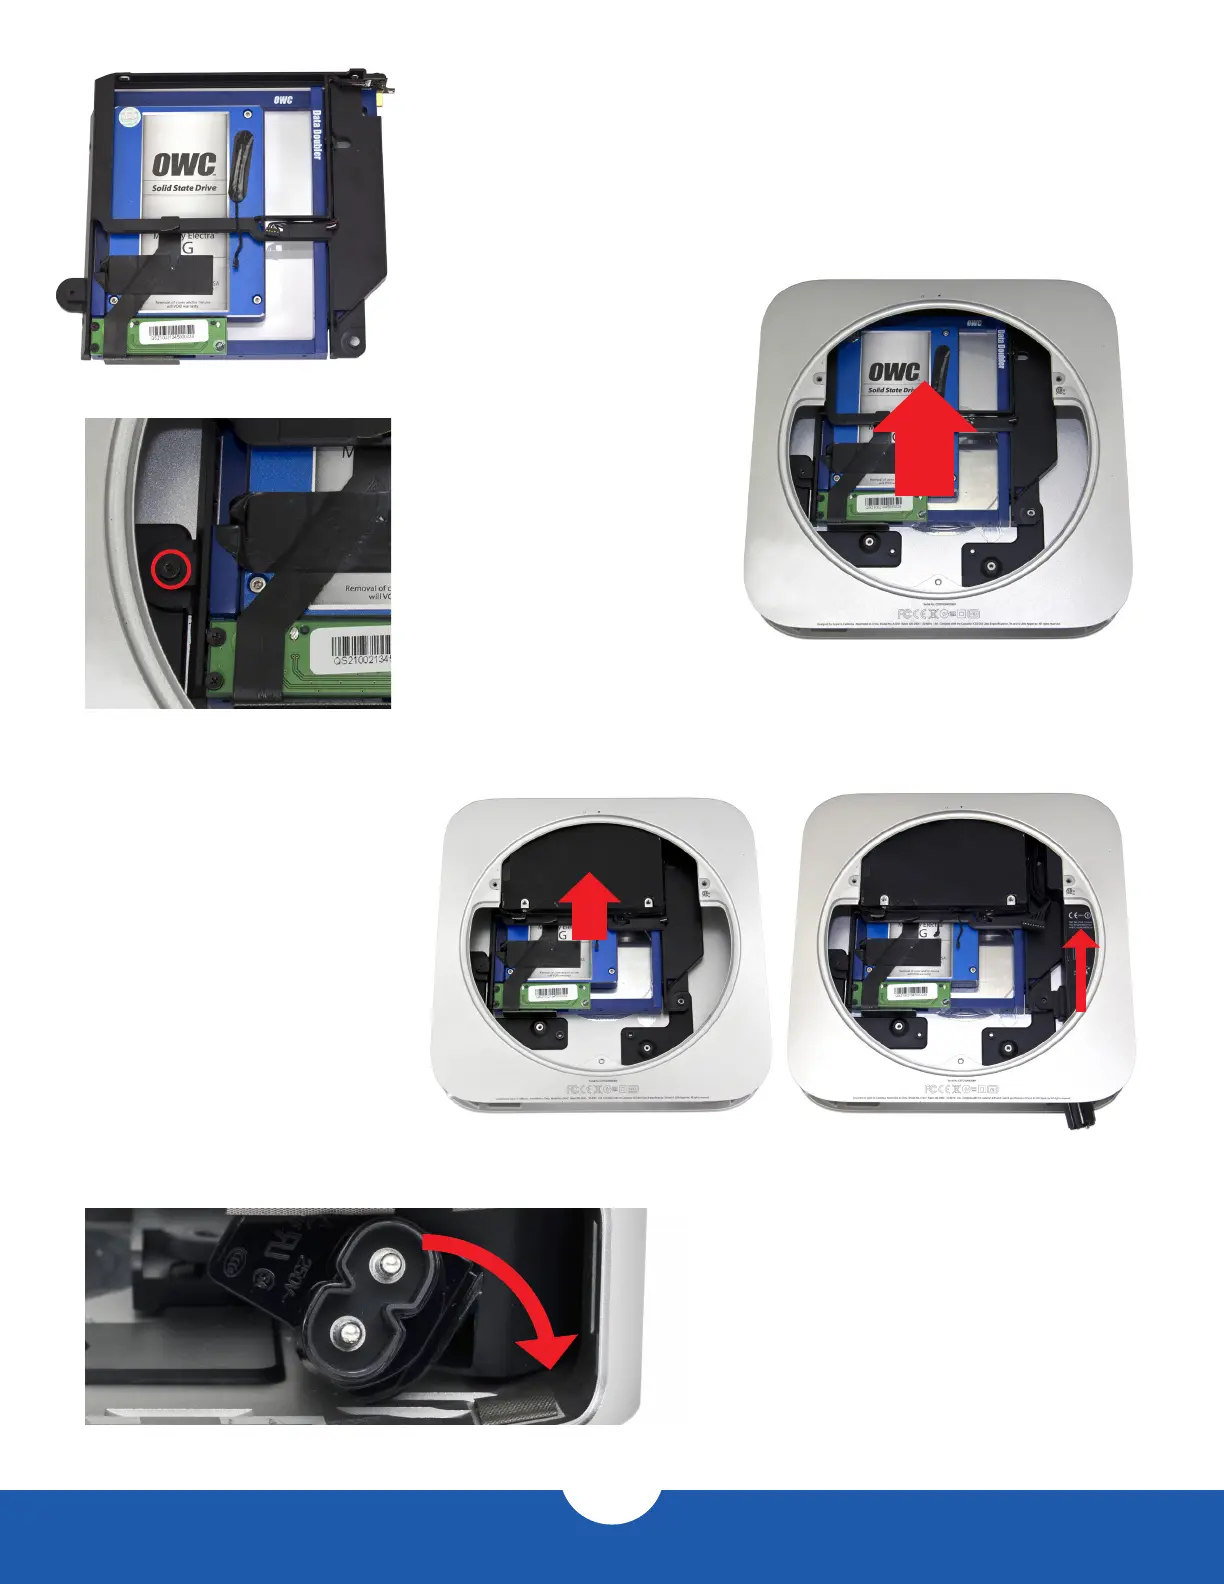
11. Slide the optical drive carrier and
Data Doubler assembly into the
aluminum housing, as shown in
the picture to the right.
12. Install the T6 screw that secures
the optical drive carrier to
the housing, as circled in the
picture to the left.
13. Slide the hard drive into the
housing, as shown in the picture
to the right. There are two pegs
on the hard drive that need to
t into corresponding grommets
in the housing.
14. Slide the power supply into
the housing, as shown in the
picture at far right. Note that
the power supply has two
alignment pins, one at the top
and one on the right. These
pins will t into their corresponding
notches inside the housing.
15. Rotate the power cord socket back to its
original position. If you are having diculty
getting the power cord socket to align,
it may help to plug in the power cord (make
sure the other end is not plugged into an
outlet) and use it to straighten out the socket.