Installation
3
OWC Data Doubler
5. Disconnect the fan cable from the logic board, as circled in the picture to the left.
The connector lifts straight up; you can use the plastic pry tool to assist.
7. To remove the cowling, lift it up slightly to allow it to move clear of other
hardware, then pull it out to the right, rotating the cowling slightly clockwise,
as shown in the picture to the right. When removing the cowling, be
careful not to catch it on any other hardware.
6. Remove the short T6 screw at the bottom of the black plastic cowling, as circled in the
picture to the left.
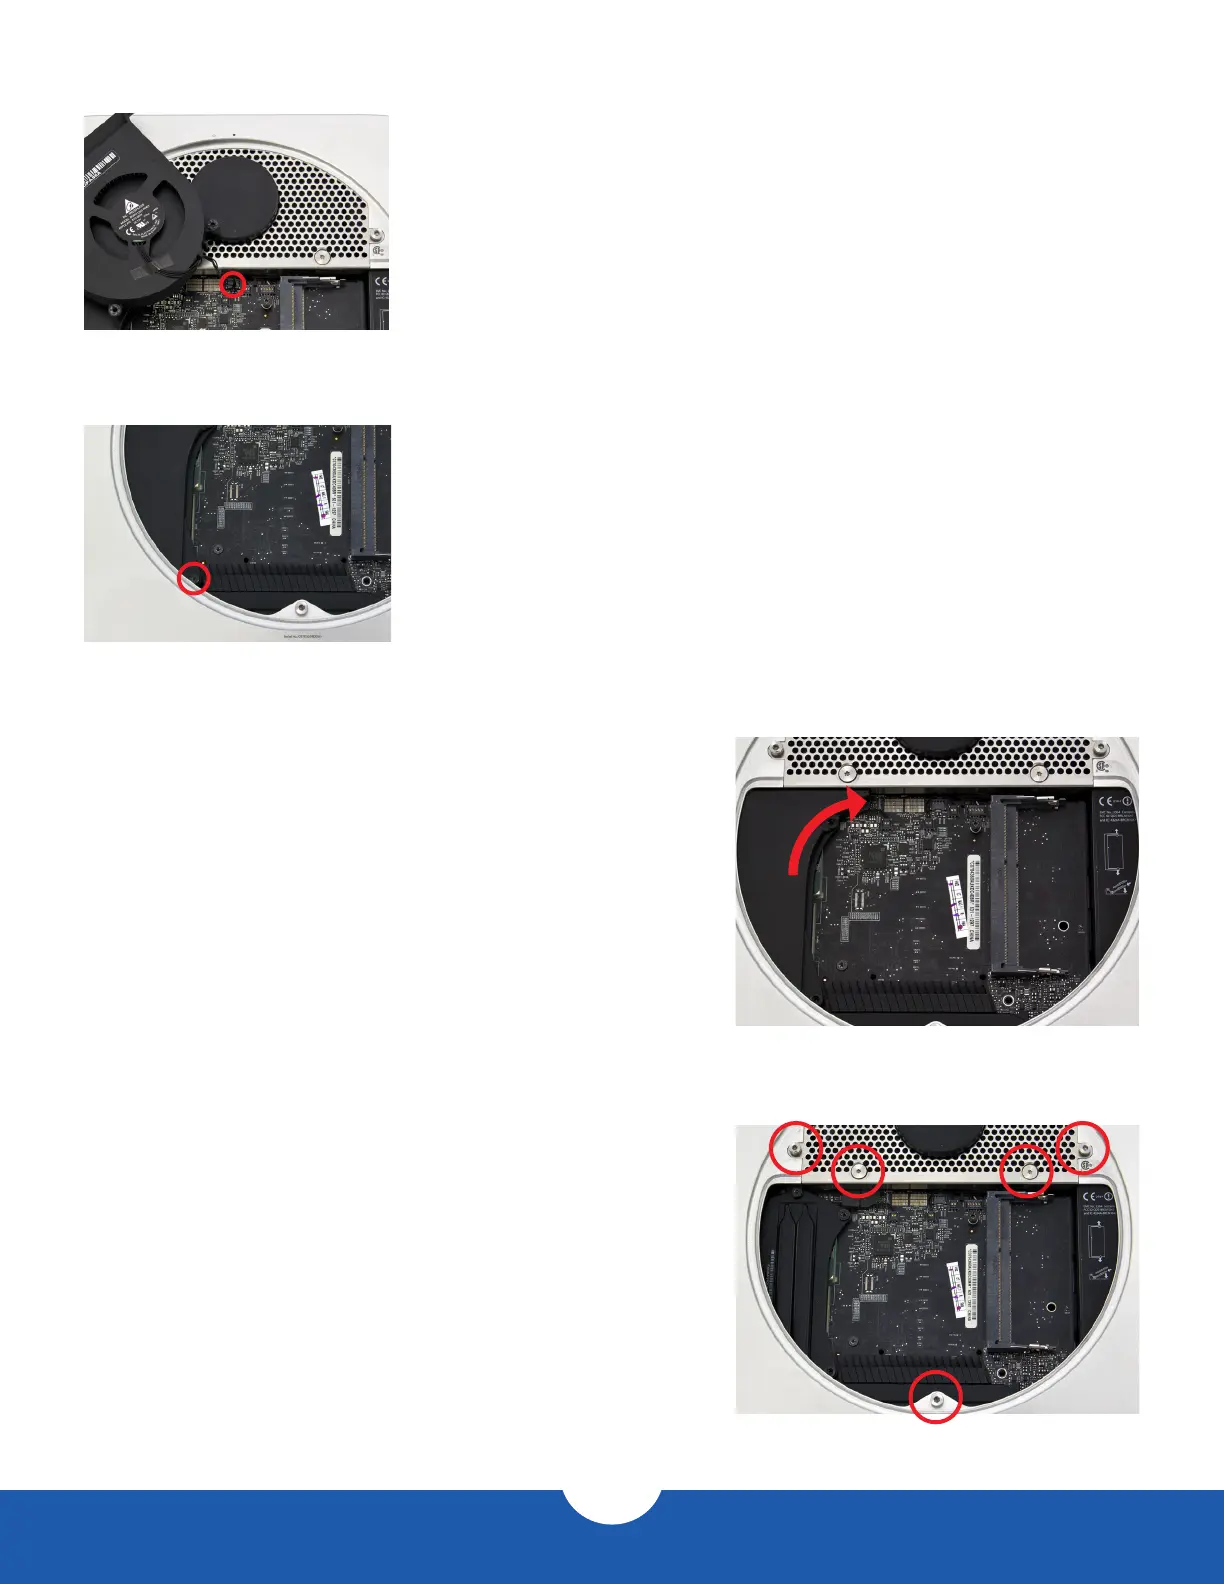
8. Use a Torx T8 screwdriver to remove the ve screws circled in the picture
to the right. The screw at the bottom and the two outside screws at the
top are 2mm hex screws, but the Torx T8 screwdriver will t. Be careful not
to exert too much force on the hex screws. The two inside screws at the
top are standard T8.