EasyManuals Logo
Home>OWC>Storage>Mercury Elite Pro Dual

OWC Mercury Elite Pro Dual Assembly Manual & User Guide

OWC Mercury Elite Pro Dual
16 pages
To Next Page IconTo Next Page
To Previous Page IconTo Previous Page
Page #7 background imageLoading...
Page #7 background image
MERCURY ELITE PRO DUAL
DEVICE SETUP
5
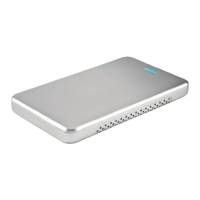
2. Slide the inner chassis out the front of the
outer case, as shown at left. Start by pushing
on the back cover, then grip the front grill and
pull the chassis the rest of the way.
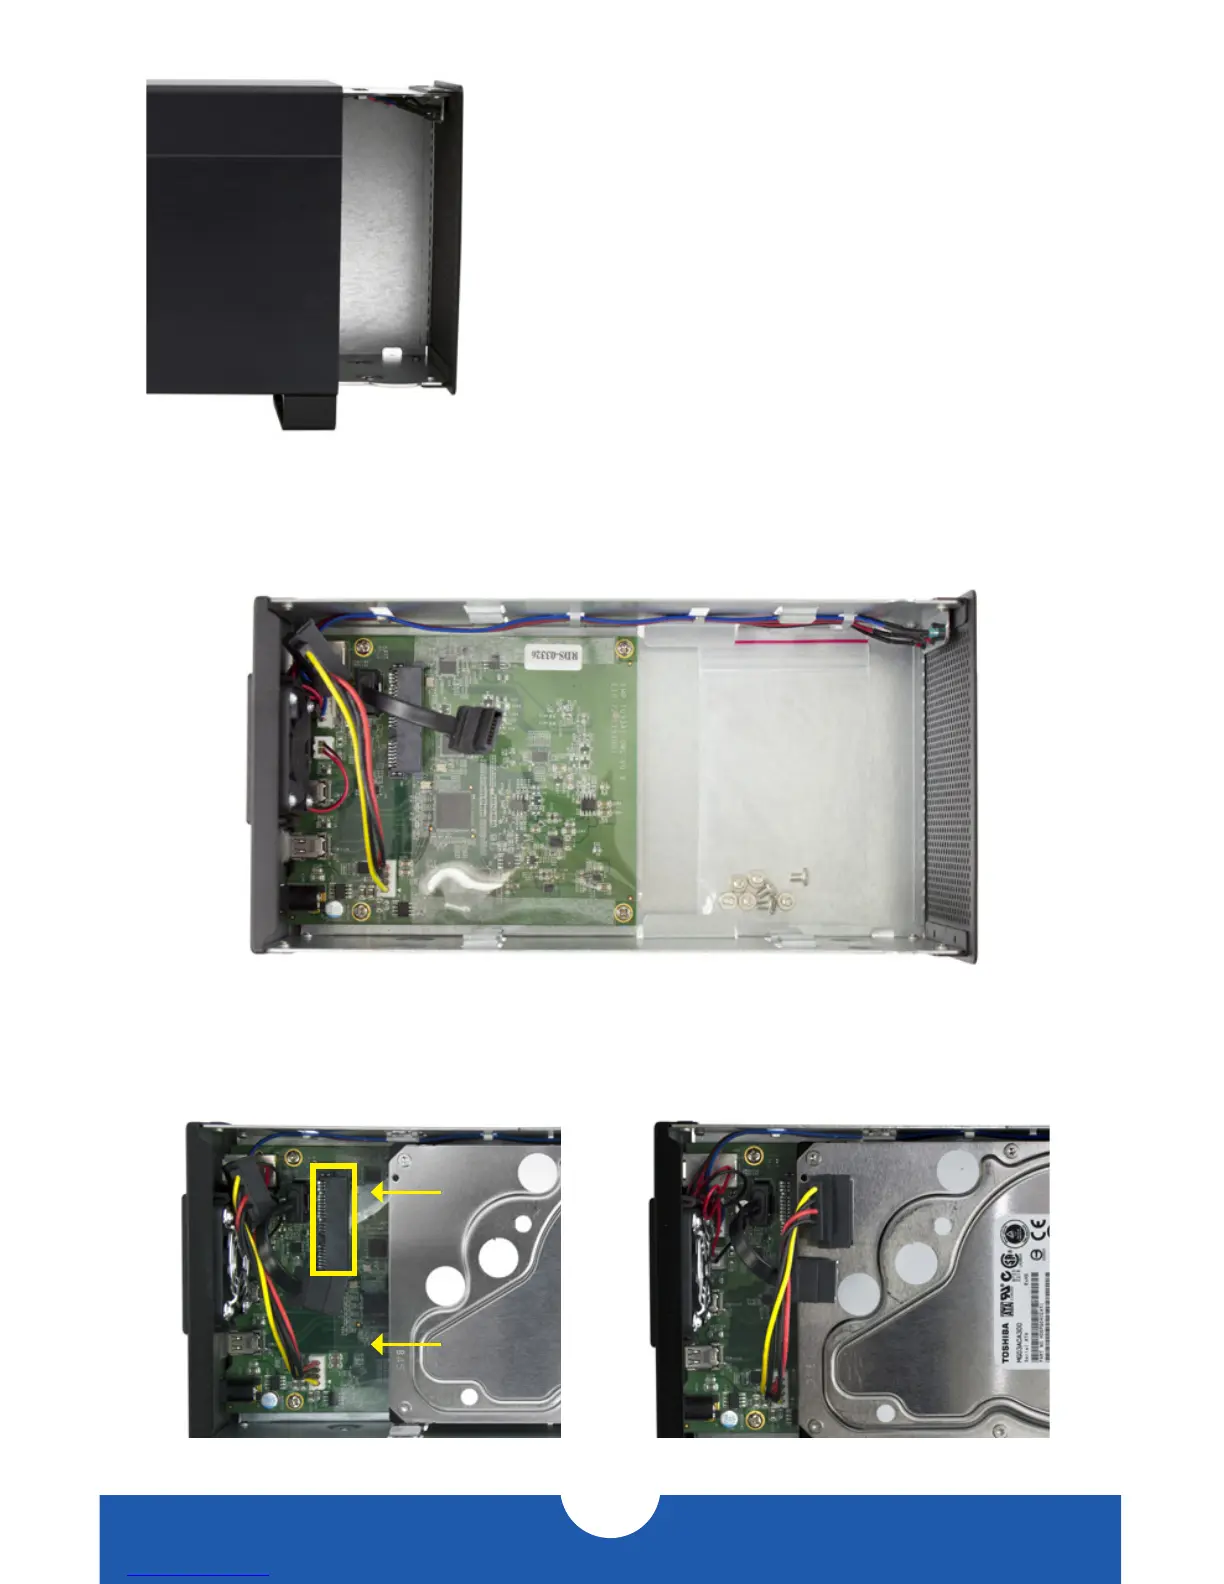
3. Remove the packet of screws from the inner chassis and set them aside; they will
be used in upcoming steps. Note: the plastic shield over the circuit board is there
by design and should not be removed.
4. Install the lower hard drive (HDD2), as shown below. Slide the SATA connector on
the hard drive into the black SATA connector highlighted below-left. Make sure the
drive is rmly connected to the SATA port before continuing.

Other manuals for OWC Mercury Elite Pro Dual

Questions and Answers:

Question and Answer IconNeed help?

Do you have a question about the OWC Mercury Elite Pro Dual and is the answer not in the manual?

OWC Mercury Elite Pro Dual Specifications

General IconGeneral
Hot-swapYes
RAID levels0, 1
Storage drive size3.5 \
Total storage capacity8000 GB
Number of storage drives supported2
InterfaceThunderbolt
Product colorAluminum
Storage temperature (T-T)-40 - 65 °C
Operating temperature (T-T)5 - 42 °C
Storage relative humidity (H-H)5 - 95 %
Operating relative humidity (H-H)8 - 90 %
Cache internal128 MB
Weight and Dimensions IconWeight and Dimensions
Depth228.6 mm
Width71.2 mm
Height133.4 mm

Related product manuals