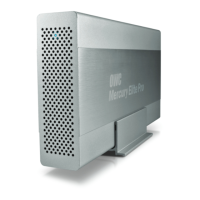
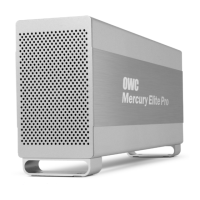
OWC MERCURY ELITE PRO DUAL
INTRODUCTION
2
1.4 REAR VIEW
1.4.1 Rear Features
1. FireWire 400 port — Attach the included 6-6 pin FireWire 400 cable here.
2. FireWire 800 ports — Attach the included 9-9 pin FireWire 800 cable to one of these
ports and to your computer. Use the other FireWire 800 port to daisy chain other
FireWire 800 devices.
3. USB 2.0 port — Attach the included USB 2.0 (Standard-A to Standard-B) cable here.
4. eSATA port — Attach the included eSATA cable here.
5. On/o switch — Turn on and off the Mercury Elite Pro Dual here.
6. Power input — Connect the included power supply here.
7. Kensington® Security Slot — Connect a security tether here.
1.5 QUICK START
Before your new Mercury Elite Pro Dual can be put to use, it needs to be formatted. To help
with the formatting process, the OWC Drive Guide formatting utility has been installed on
your Mercury Elite Pro Dual. Follow these steps to use Drive Guide to format your Mercury
Elite Pro Dual for Mac OS X (10.4 and later) or Windows (XP and later):
1. Connect your drive to your computer using the proper cable, then turn on your drive. If
you prefer to use a different formatting utility, do so at this time and skip the rest of these
instructions.
2. Your drive will show up as “OWC HD”. Open your drive to view its contents.
3. Open the “Macintosh Setup” or “Windows Setup” folder, depending on your computer’s
operating system, then double-click the Drive Guide application.
1 2 3 4 5 6 7
 Loading...
