OWC Mercury Elite Pro Chapter 2 - System Setup
2.1 Hard Drive Assembly & Installation (continued)
2 SYSTEM SETUP
Place your drive mechanism into the chassis and onto the bridge card,
and press the drive towards the ports to rmly ax the drive into the SATA
connector. You may need to wiggle the drive from side to side to t it in
between the rubber grommets that the drive is secured with. Be sure to not
tear them when inserting the drive into the chassis.
➂
➃
➙
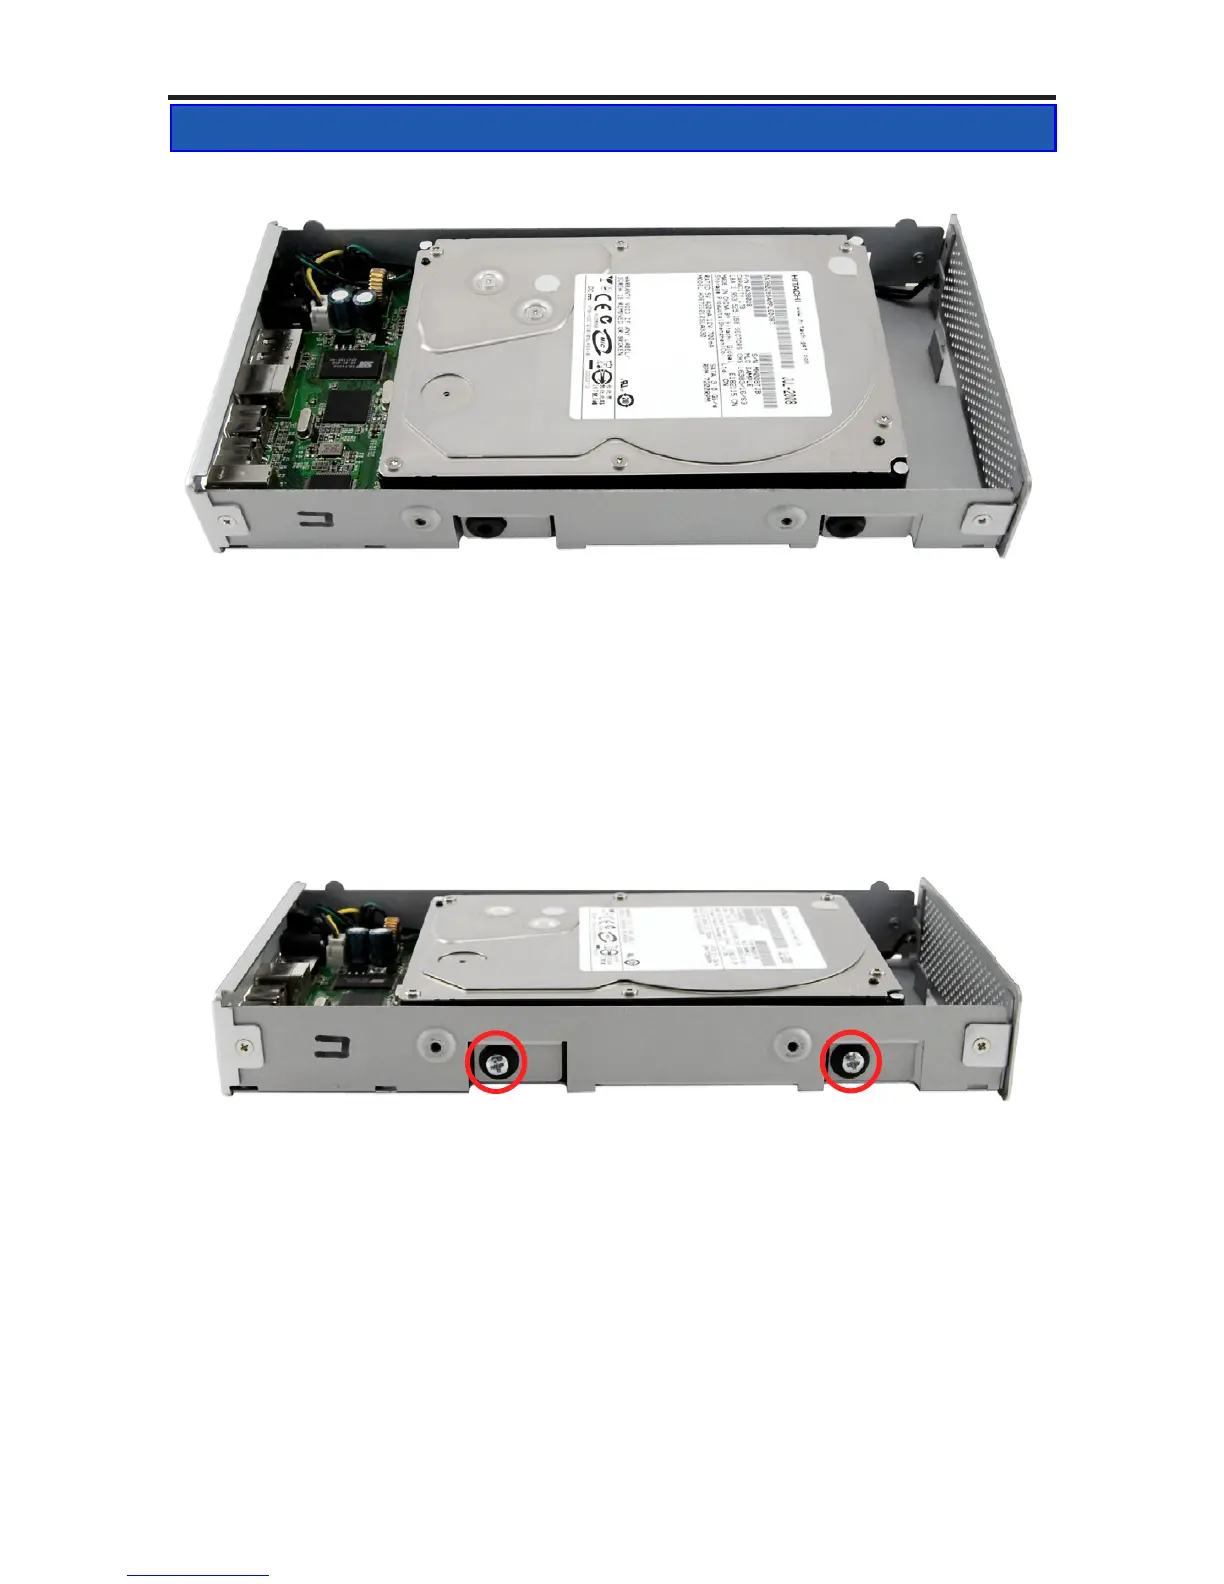
Insert (but not fully tighten) 2 of the included Phillips screws into the drive
mechanism through the rubber grommets on the side of the enclosure.
Repeat on the other side of the enclosure - there are 4 screws total. Once
you have inserted all 4 screws into the drive you can fully tighten them.

 Loading...


