22
6.3.2
Setting up the Cryojet driver
The basic commands that must be used when setting up the instrument driver are as
follows.
Window or
location in which
command is
found
Command to be selected, or
information to be entered
Result
Cryojet driver Configure Configure submenu
appears
Cryojet driver,
Configure
submenu
Interface
Cryojet driver,
Configure Interface
Select the type of communication link and
the COM port you are using on your
computer. This will be 1 if your computer
only has one COM port (serial port).
Set the ISOBUS (or GPIB) address you wish
to use for the Cryojet controller. (You may
leave the default value of 1, providing no
other instrument on the ISOBUS at the
same time uses the same address)
Configure Interface
window appears
Cryojet driver,
Configure interface
Set address. Then follow the instructions
on the screen.
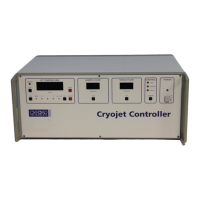
Physical Cryojet
controller front
panel
Press and hold CAL/STORE, and press SET
(NB This will interrupt the flow
momentarily.)
The address is
stored in the
EEPROM, so it is not
lost when the
controller is
switched off.
Cryojet driver Connect Driver becomes
“live”, current
nozzle temperature
is displayed.
6.3.3
Control of the Cryojet
The Cryojet instrument driver in ObjectBench is intended to be self-explanatory.
Control of the instrument may either be LOCAL from the front panel, or REMOTE via the
computer interface. The LOC/REM button may be used to switch between LOCAL and
REMOTE.
 Loading...