20
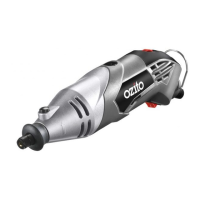
Removing Drill/Driver Bits
Remove the battery (2) from the multi head tool.
Loosen the keyless chuck (18).
Remove the drill or driver bit.
Caution:
Do not handle drill bits without gloves as drill bits and other accessories are sharp
or can be hot after use. This can cause personal injury.
General Hints for Drilling in all Materials
Always use sharp drill bits.
Mark the place where you would like the hole to be drilled.
Commence with a slow speed to start the hole. Refer to the section entitled “Variable
Speed Trigger” for directions on how to control the speed of the right angle drill head.
Reduce your pressure on the multi head tool when the drill bit is about to break
through the material.
Metal Drilling
Support thin material with a piece of scrap wood.
Use a centre punch to mark the position of the hole.
If drilling a large hole, use a small drill bit first to establish a pilot hole. Then use the
larger sized drill bit as required.
Use only HSS (high speed steel) drill bits or those recommended for metal use.
When drilling into iron or steel, use a cooling lubricant such as thin oil. With aluminium,
use turpentine or paraffin. With brass, copper and cast iron, use no lubricant but
withdraw the drill regularly to assist cooling.
Wood Drilling
Mark the place where you want to drill with a punch or a nail.
To avoid splintering on breakthrough, either clamp a piece of scrap wood to the back
of your workpiece or continue the hole from the back of the wood when the drill bit
first breaks through.
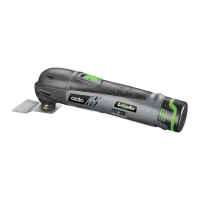
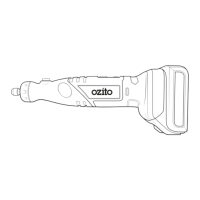
LED Lights
The multi head tool has 1 LED Light (6) built into the unit which will illuminate dark areas or
tight corners.
The LED light is located above the variable speed trigger (5).
The LED light (6) turns on automatically when you depress the variable speed trigger
(5).
1.
2.
3.
1.
2.
3.
4.
1.
2.
3.
4.
5.
1.
2.
1.
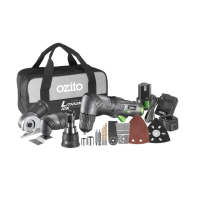
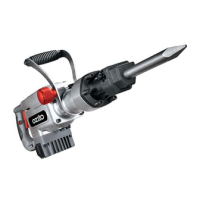
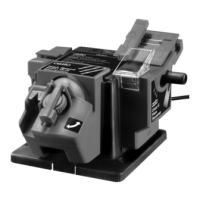
MULTI HEAD TOOL OPERATION
 Loading...