AUTO
SCANNER
OBD2/EOBD Code Reader
[ ] = SetuP
[ ] = Scan
OBDII
12V AUTOMOTIVE SCAN TOOL
KNOW YOUR PRODUCT
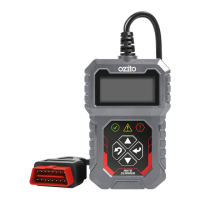
1. KNOW YOUR PRODUCT OVERVIEW
ONLINE MANUAL
Scan this QR Code with your mobile
device to take you to the online manual.
1. Backlit LCD
2. Red LED
3. Yellow LED
4. Green LED
5. Up Button
6. Back Button
7. OBD2, 16-Pin Connector
8. Down Button
9. OK Button
4
5
1
2
3
6
7 8 9
1. Backlit LCD
Indicates setup, scan, menu options and test results.
2. Red LED
Indicates there is a problem in one or more of the vehicle’s
systems. The red LED is also used to show that DTCs are present.
DTCs are shown on the Scan Tool’s display. In this case, the MIL
lamp on the vehicle’s instrument panel will light steady on.
3. Yellow LED
Indicates there is a possible problem. A “Pending” DTC is present
and/or some of the vehicle’s emission monitors have not run their
diagnostic testing.
4. Green LED
Indicates that engine systems are running normally (The number
of monitors on the vehicle which are active and performing their
diagnostic testing is in the allowed limit, and no DTCs are present).
5. Up Button
Scrolls up through menu items
6. Back Button
Returns to previous menu.
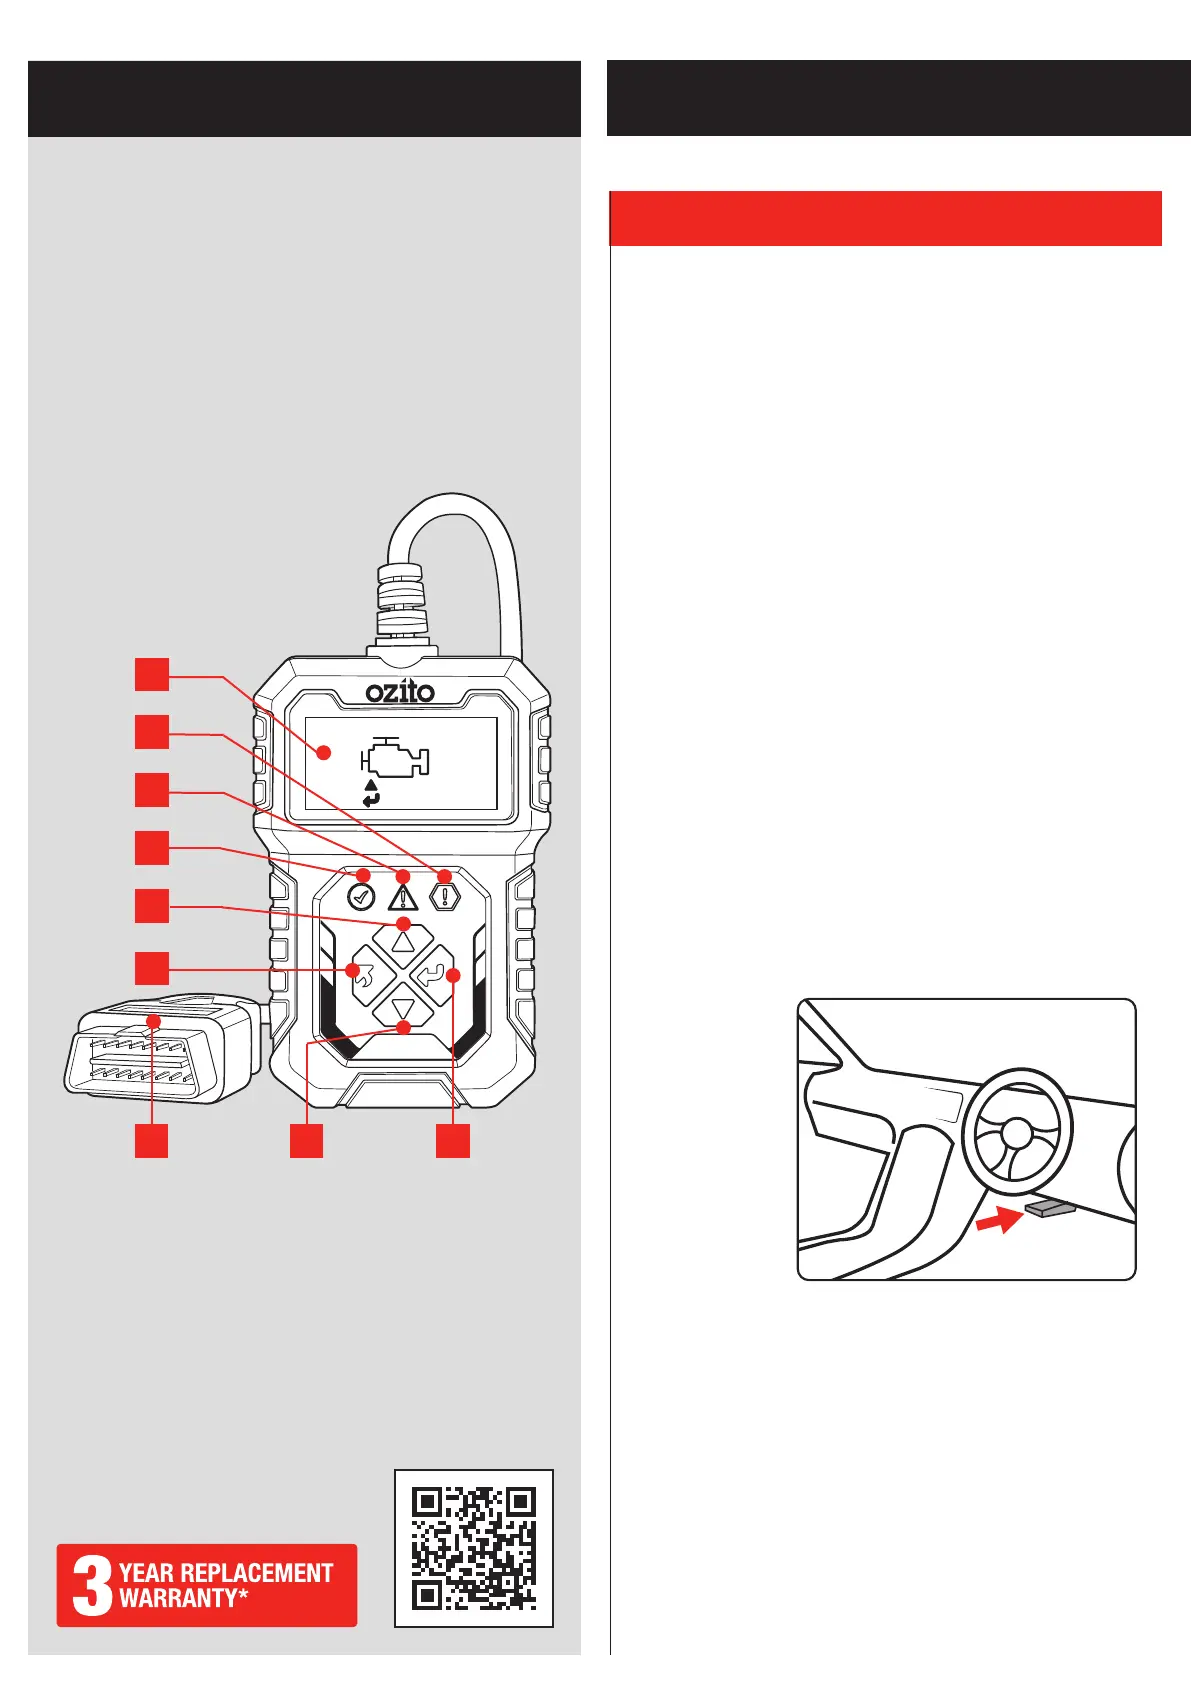
7. OBD2 16-Pin Connector
Connects the scan tool to the vehicle’s Data Link Connector (DLC).
Your DLC is usually located near centre under the instrument
panel (dash), under or around the driver’s side of most vehicles.
Do not force OBD2
Connector into the
DLC, ensure the
connector is in the
correct orientation
to the DLC to avoid
damaging the pins.
Note: Refer to your
vehicle’s service
manual for the
location if the DLC
cannot be found.
8. Down Button
Scrolls down through menu items.
9. OK Button
Confirms a selection (or action) from a menu item.
SETUP & PREPARATION