1/2
AUTO
SCANNER
I/M Readiness
Since DTCs Cleared
This Drive Cycle
AUTO
SCANNER
I/M Readiness
MIL OFF
MIS OK
FUEL OK
CCM OK
CAT OK
HCAT N/A
1/2
1/2
AUTO
SCANNER
I/M Readiness
Since DTCs Cleared
This Drive Cycle
AUTO
SCANNER
I/M Readiness
MIL OFF
MIS OK
FUEL OK
CCM OK
CAT OK
HCAT N/A
1/2
Freeze Frame
01/01
DTCFRZF U3FFF
YES
NO
1/2
AUTO
SCANNER
Erase DTC
Read Codes
CT DTC: 00
PD DTC: 00
PT DTC 00
1/29
AUTO
SCANNER
All Datastream
DTC_CNT 0
LOAD_PCT 0.0%
ECT 40ºC
MAP 100.0KPa
RPM 0/min
5. DIAGNOSTIC MENU (cont.)
• Freeze Frame: Records the vehicle operation, status information
(fault code, vehicle speed, RPM, water temperature, etc.) at
the moment when a DTC is detected. This information can aid
the technician by allowing the parameters to be duplicated for
diagnostic and repair purposes. This data will only exist when
there is a fault code.
1. Use the “UP” and “DOWN” buttons to select Freeze Frame from
the Diagnostic Menu and press the “OK” button to confirm.
2. Wait a few seconds while the
automotive scan tool validates
the PID.
3. If retrieved information covers
more than one screen, use the
“UP and DOWN” button, as
necessary, until all the data is
displayed.
If there is no freeze frame data available, an advisory message
“The vehicle does not have freeze frame data” shows on the
backlit LCD.
4. Press “BACK” button to return to previous menu.
• I/M Readiness: Used to check the operations of the Emission
System on OBD2 compliant vehicles.
CAUTION - By clearing trouble codes you also clear the readiness
status for the individual emission system readiness tests. In order
to reset these monitors, the vehicle must be driven through a
complete drive cycle with no trouble codes in memory. Times for
reset vary depending on vehicle.
1. Use the “UP” and “DOWN” buttons to select I/M Readiness from
the Diagnostic Menu and press the “OK” button to confirm.
2. Wait a few seconds while the automotive scan tool validates the
PID.
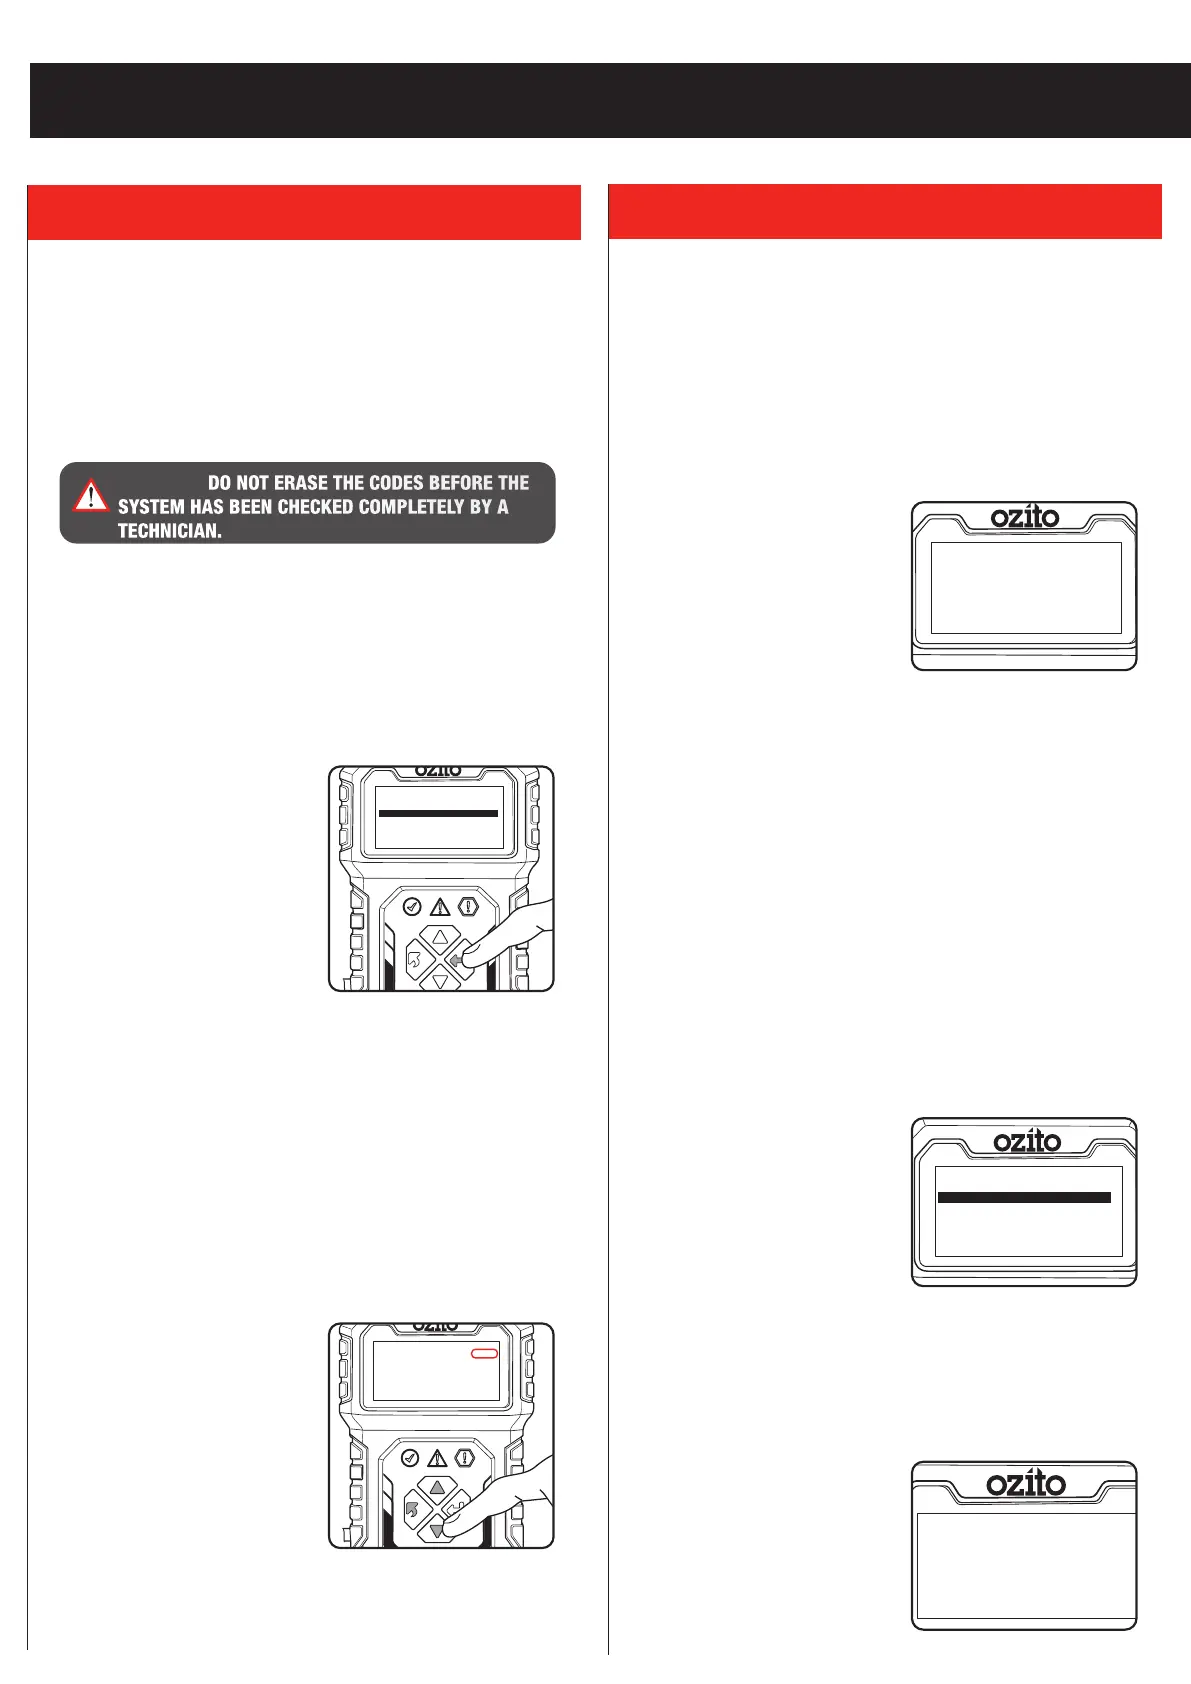
3. If the vehicle supports both
types of tests, then both types
will be shown on the screen for
selection.
Since DTCs Cleared- indicates
status of the monitors since the DTCs are erased.
This Drive Cycle- indicates status of monitors since the beginning
of the current drive cycle.
4. Use the “UP and DOWN” button to select module and press the
“OK” button to confirm.
An I/M Readiness Status result of
“NO” does not necessarily indicate
that the vehicle being tested will fail
the state I/M inspection. For some
states, one or more such monitors
may be allowed to be “Not Ready”
to pass the emissions inspection.
OPERATION (cont.)
• Erase Codes: This module can be used to clear DTCs in the
system.
Erasing the Diagnostic Trouble Codes may allow the automotive
scan tool to delete not only the codes from the vehicle’s on-
board computer, but also “Freeze Frame” data and manufacturer
specific enhanced data. Furthermore, the I/M Readiness Monitor
Status for all vehicle monitors is reset to Not Ready or Not
Complete status.
Note: Erasing codes does not mean that trouble codes in ECU
have been eliminated completely. As long as there is fault with the
vehicle, the trouble codes keeps on presenting. Ignition on engine
off. Do not start the engine.
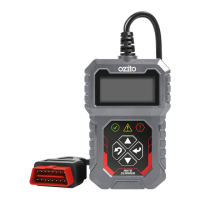
1. Use the “UP” and “DOWN” buttons to select Erase Codes from
the Diagnostic Menu and press the “OK” button to confirm.
2. If you do not want to proceed with erasing codes, select NO and
press “OK” button to return to
Diagnostic Menu.
3. To erase codes, select YES
and Press “OK” button to
confirm. If the codes are cleared
successfully, an “Erase Done!”
confirmation message shows on
the backlit LCD.
4. Press “BACK” button to return to
Diagnostic Menu.
• Date Stream: Read and display all supported sensor data, up to
249 types of parameters.
Ignition on, engine off or running.
Note: Engine running will provide live data.
1. Use the “UP” and “DOWN” buttons to select Data Stream from
the Diagnostic Menu and press the “OK” button to confirm.
2. Wait a few seconds while the automotive scan tool validates the
Performance Information Data (PID).
Note: The number to the right of
the backlit LCD indicates sequence
of highlighted item.
3. If retrieved information covers
more than one screen, use the
“UP and DOWN” button, as
necessary, until all the data is
displayed.
4. Press “BACK” button to return to
previous menu.
WARNING! DO NOT ERASE THE CODES BEFORE THE
SYSTEM HAS BEEN CHECKED COMPLETELY BY A
TECHNICIAN.
 Loading...