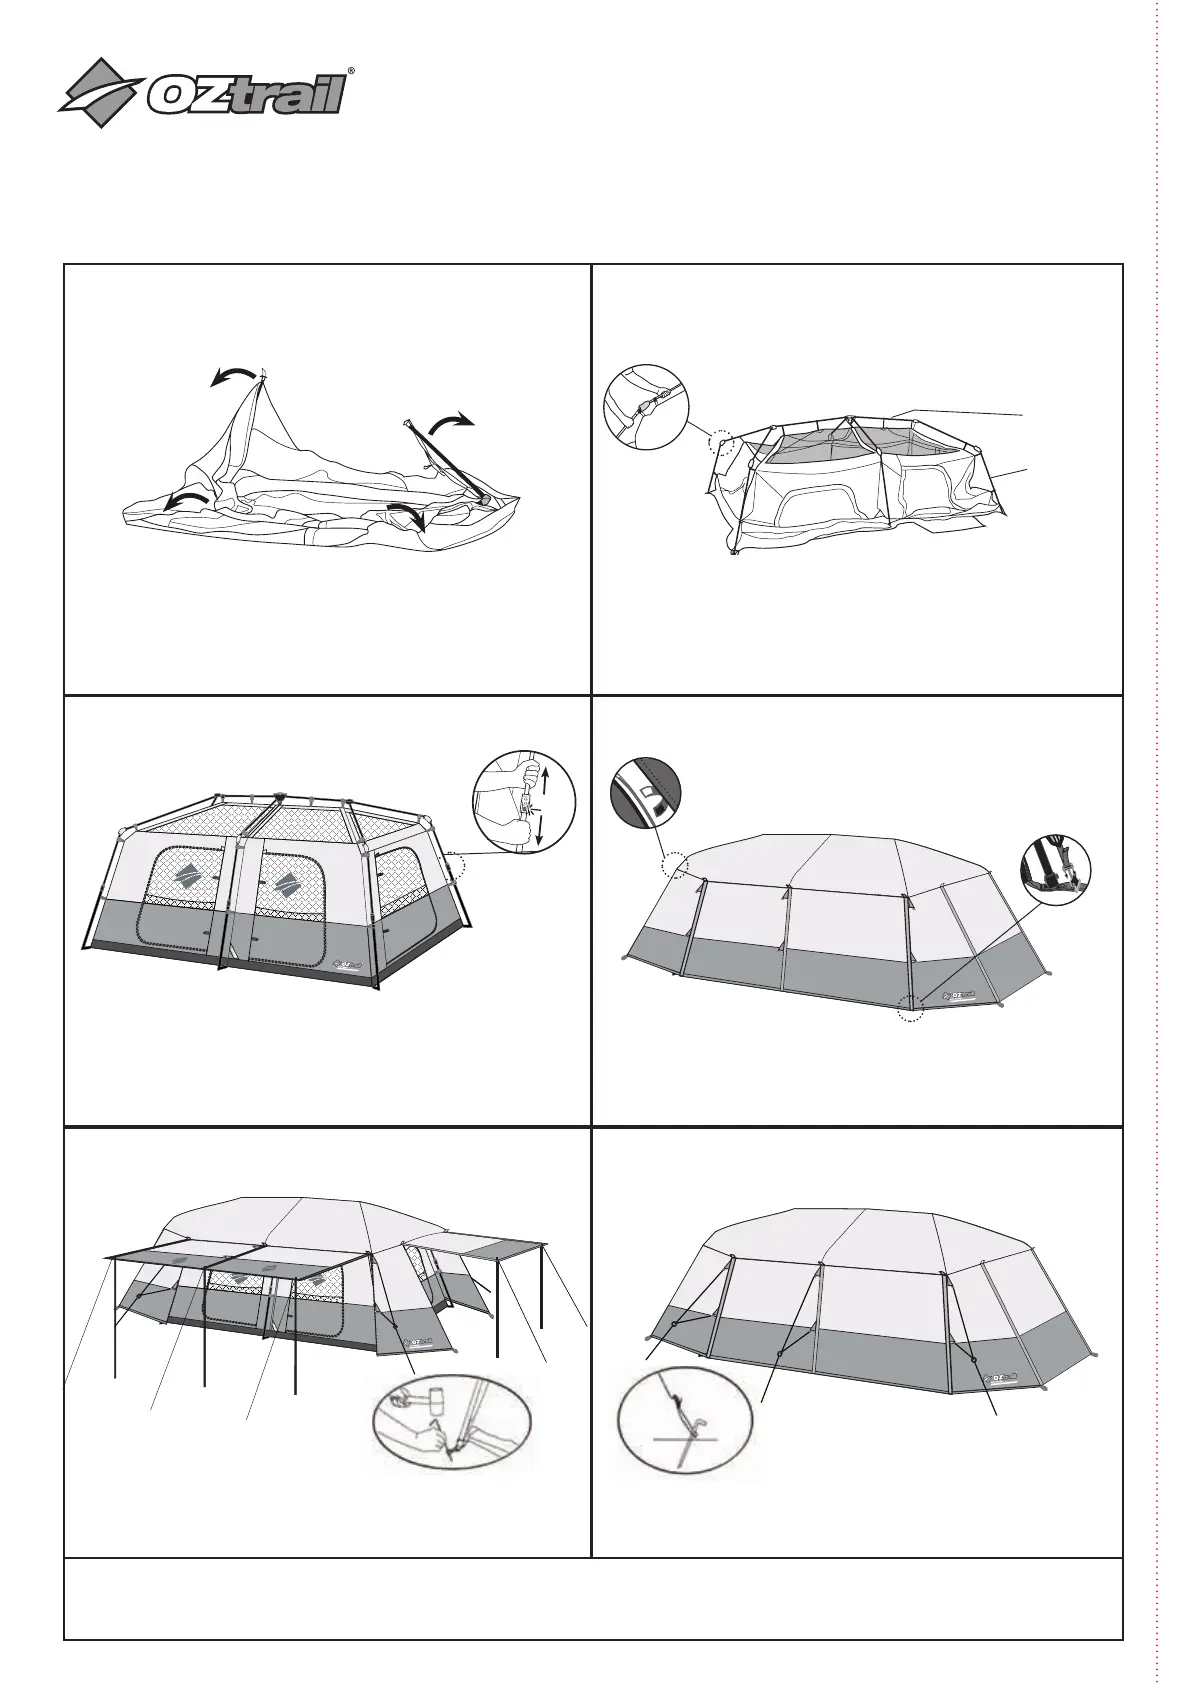
STEP 2: RAISE THE ROOF
STEP 4: SECURE FLY TO INNER TENT
STEP 6: ALWAYS PEG OUT AND USE
GUY ROPES
STITCH LINE
TENT OWNERS MANUAL
FAST FR AME 10 P ER S ON
STEP 1: LAYOUT THE INNER TENT
STEP 3: ERECT THE FRAME
• Unfold the inner tent and outstretch over a flat, clear area
• Arrange the door so it is facing your desired area for entry & exit
• Fold leg poles away from the center of the tent, so the roof
framing stands up
• Extend the vertical frame legs until they click into position,
fully extended
• Repeat on the legs in the center and other corners of the tent
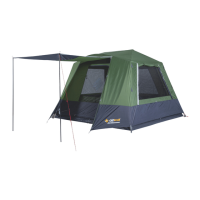
• Place rainfly over the Inner tent so red webbing on the fly face
the rear of the tent
• Secure rain fly to tent with Velcro tabs located on underside
of rain fly
• Connect the fly to the tent using red and grey buckles on
tent corners
• Locate roof poles and lift upwards from base, to the
horizontal position.
• The leg poles will angle at joints and partially stand up
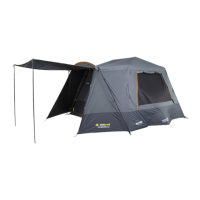
STEP 5: ASSEMBLE THE AWNINGS
PACK UP:
TO TAKE DOWN THE TENT, REVERSE THE PREVIOUS STEPS
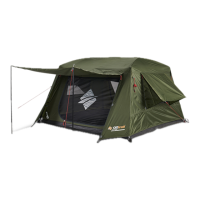
• Use the awning poles and additional ropes to suspending the
door panel overhead
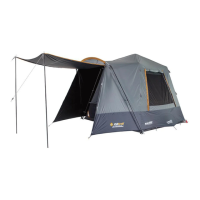
• Peg out the tent and fly around the perimeter
• In windy and rainy conditions, awnings must be
dismantled, and doors must be closed, and guy ropes
must be set out
CLICK
Roof Pole
Legs