6
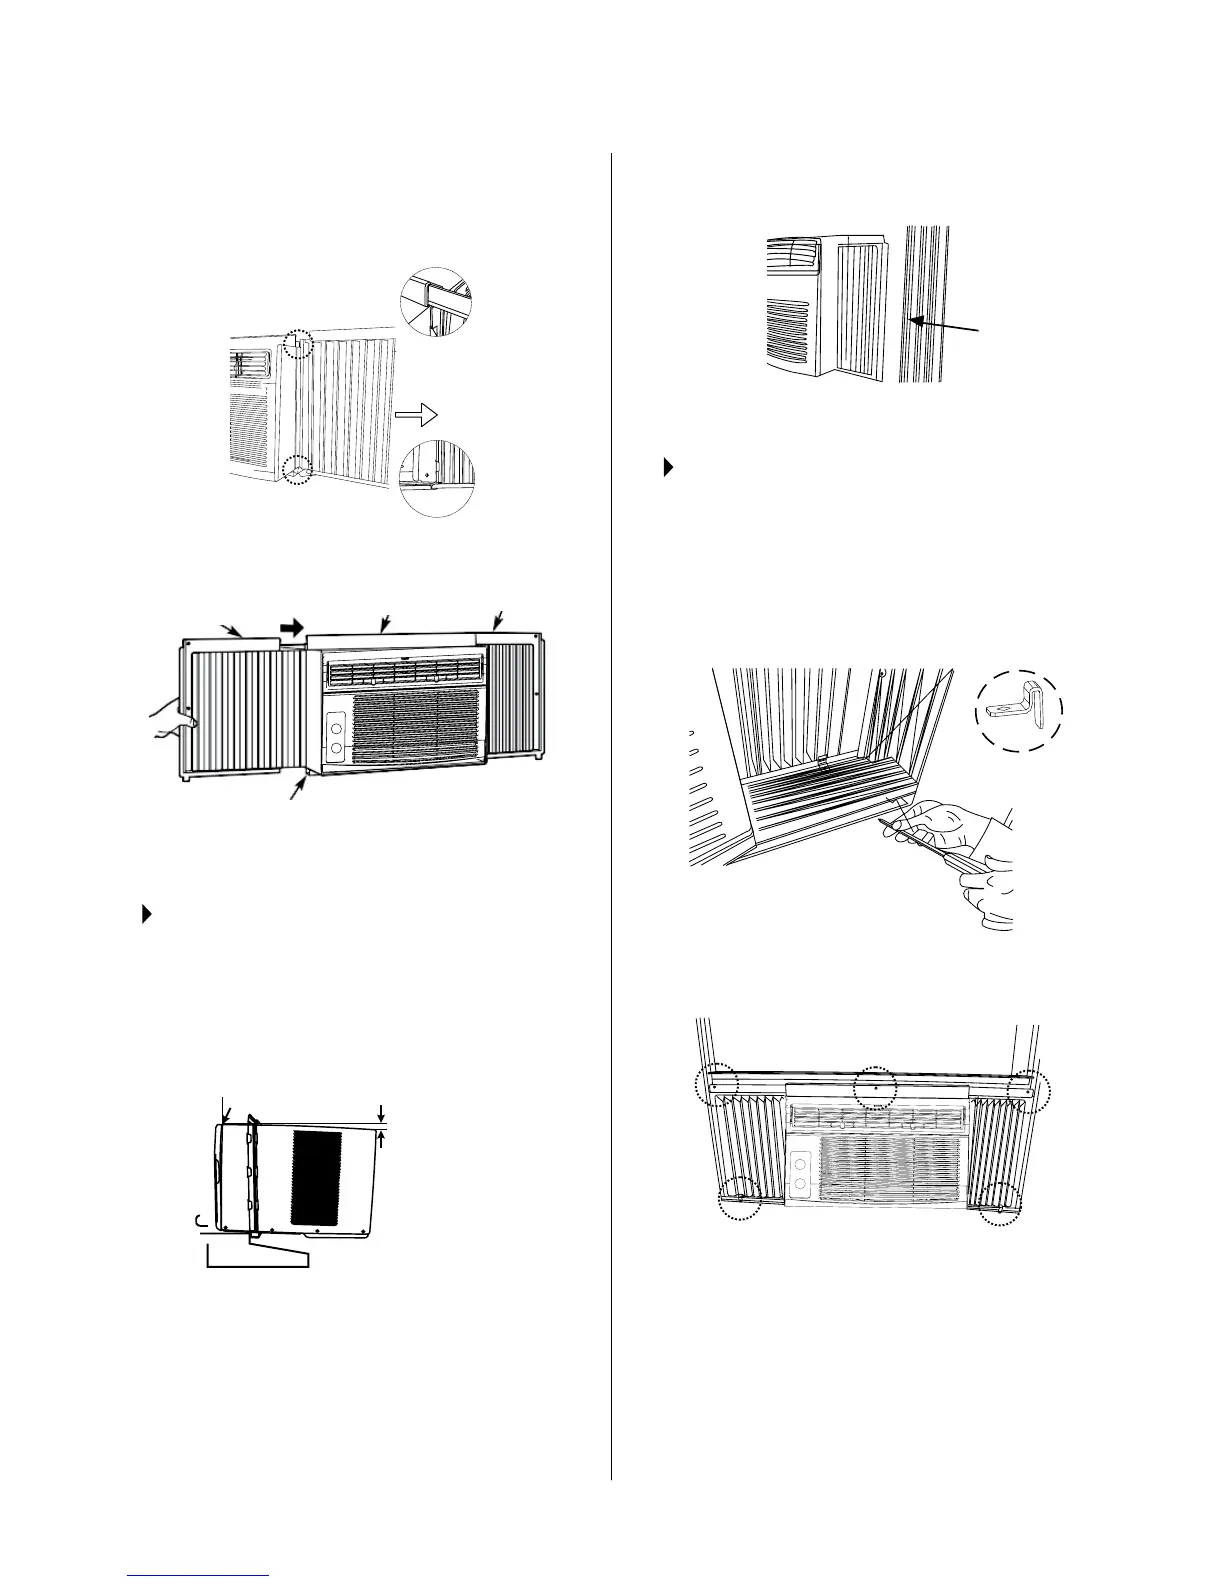
C. Oncethepanelhasbeeninstalledonthesideof
thecabinet,makesureitsitssecurelyinsidethe
framechannelbymakingslightadjustments.Slide
the top and bottom ends of the frame into the top
and bottom rails of the cabinet. (Fig. 3)
D. Slide the panel all the way in and repeat on the
other side. (Fig. 4)
NOTE:IfstormwindowblocksAC,seeFig.11,pg.7.
STEP 4:
INSTALLING THE WINDOW AC
A.Keepingarmgripontheairconditioner,carefully
place the unit into the window opening so the
bottom of the air conditioner frame is against the
window sill (Fig. 5). Carefully close the window
behind the top rail of the unit.
NOTE:Checkthatairconditioneristiltedback
approximately3/4″to1″(Fig.5above)(tiltedabout
3° to 4° downward to the outside). If, after proper
installation, condensation does not drain from the
overowdrainholeduringnormaluse,adjustslope.
B. Extend the side panels out against the window
frame (Fig. 6).
STEP 5:
INSTALL SUPPORT BRACKET
A.Placethelockframebetweentheframeextensions
andthewindowsillasshowninFig.7.Drive3/4″
(19mm)or1/2″(12.7mm)lockingscrewsthrough
thelockframeandintothesill.
NOTE: Topreventwindowsillfromsplitting,drill1/8″
(3 mm) pilot holes before driving screws.