Copyright© 2003 Pacific Digital Corporation Page 10
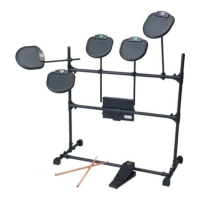
Figure 7 – Pad Rods & Pad Assembly
Step 8: Referring to Figure 7, slide (5) Part B3 drum-arm rods into the
hole of each of the remaining Part D clamps. Tighten finger tight only at
this point. Use the diagram above for reference.
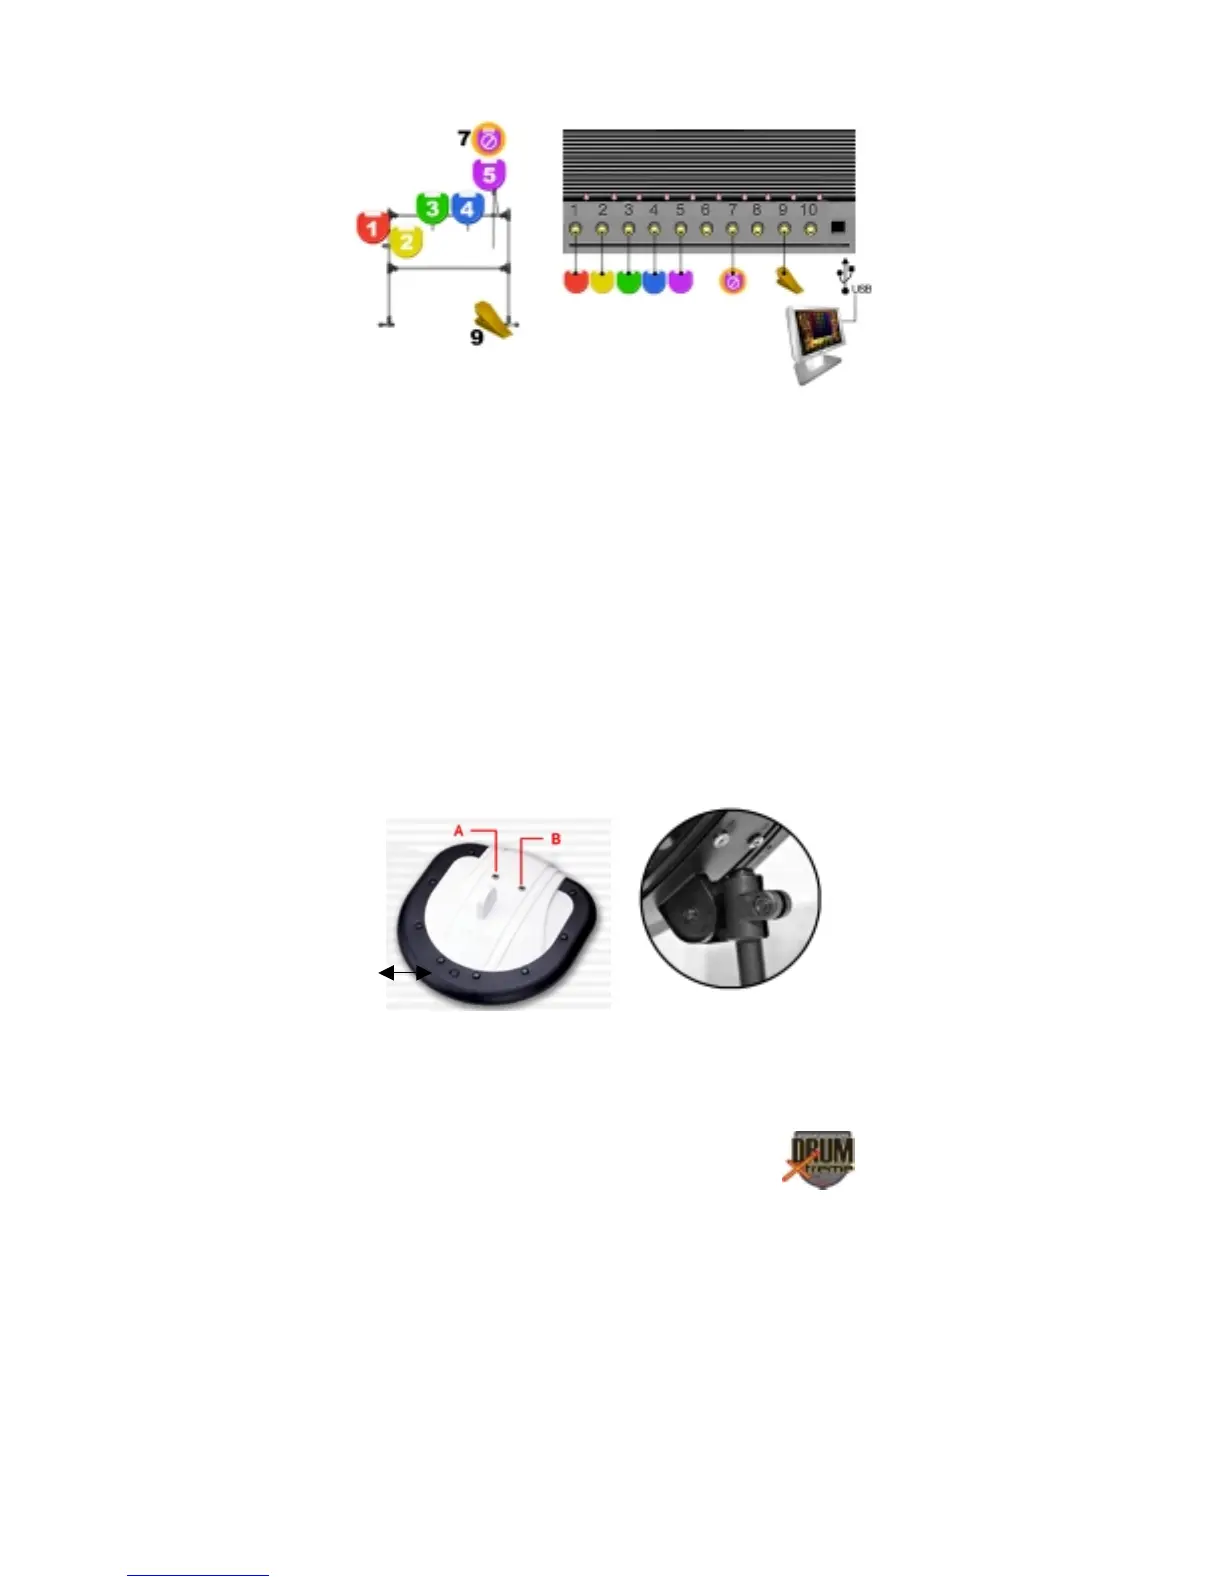
Step 9: Referring to Figure 8, note that Percussion Pad Part DX-8 (hi-
top) has an extra port connection and a pressure switch/button, which is
used to control “choke” (Tone-Mute) of cymbal 5 (pad 5). During drum
play this switch can be pressed by the drummers’ finger to activate the
feature. The DX-8 percussion pad is color coded purple and should be
mounted on the right of the drum stand. Install each of the Part DX-
8/DX-5 Percussion Pad to the rod/clamp (B3/D) combinations. Tighten
the screws when complete (do not over-tighten).
Figure 8 -Pad DX-8 (hi-top)
Switch