16
1 INITIAL CONFIGURATION
Depending on the type of installation, the best conguration needs to be selected for the stove operation.
Before proceeding, power up the stove using the safety switch on the rear.
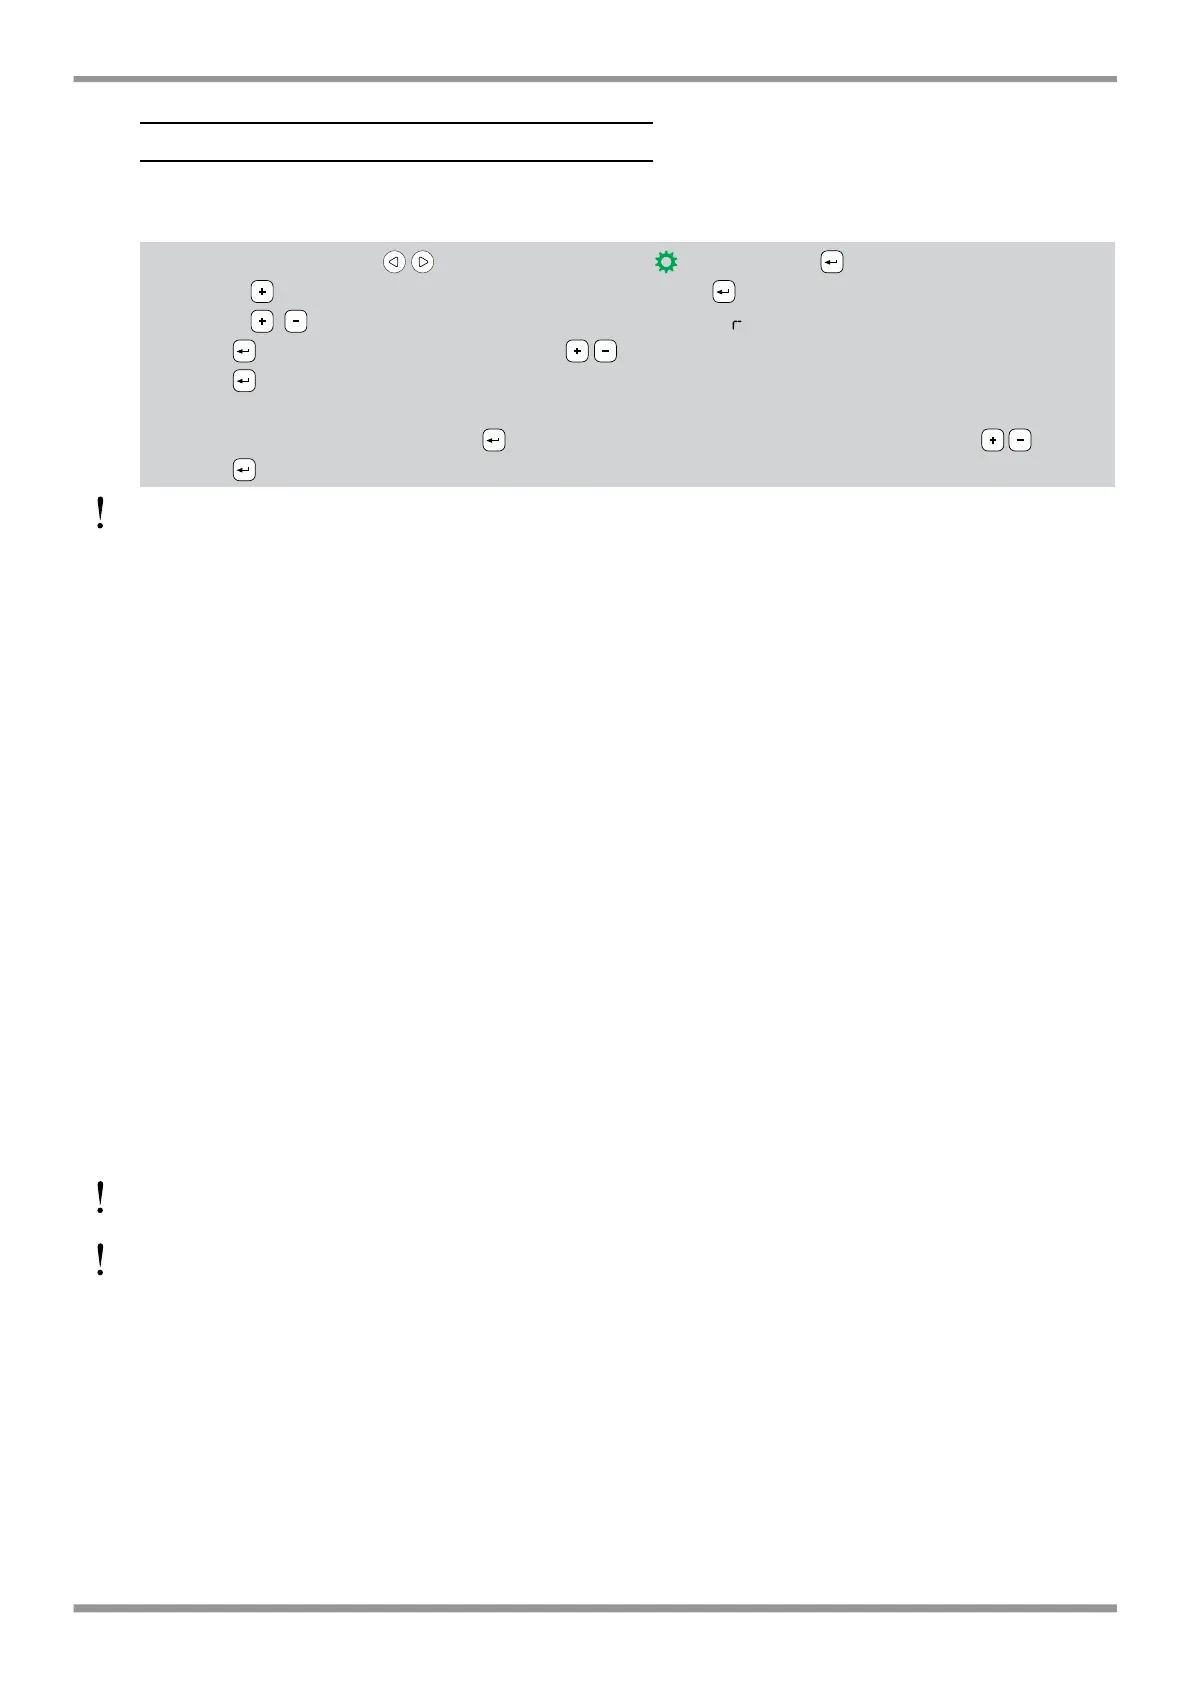
a) Use the arrow buttons to go to the setup menu and then press ;
b) Use the button to select the password “7” and then press to conrm;
c) Use the buttons to scroll to and select submenu [30]; “ --0” will ash on the display;
d) Press and enter the value “54” using the buttons;
e) Press to conrm;
f) The current conguration will be displayed;
g) To change the conguration, press and enter the value of the new conguration using the buttons;
h) Press
to conrm.
Set this conguration to switch the stove on or o manually or in programmed mode.
The stove will module its power according to the room temperature read by the probe on the stove.
In this conguration it is possible to set also the antifreeze function.
CONFIGURATION 2
Set this conguration when the stove is controlled by an external thermostat (or timer thermostat).
In this conguration it is not possible to set also the antifreeze function.
CONNECTION TO AN EXTERNAL TIMER THERMOSTAT
The stove can be connected to an external timer thermostat that switches the stove on or o according to the
set temperature.
The external thermostat must be connected to terminals 1 and 2 of the connector on the back of the heater
which are connected to the external probe at the factory. So disconnect the external probe and connect the two
contacts of the thermostat in its place.
The stove must be set to conguration 2 following the instructions shown in the paragraph on “Initial conguration”.
After rst installing the timer thermostat, the stove needs to be switched on manually, while the timer thermostat is
in “call” status. This operation is also required in the event of power failures or if the stove is switched o manually.
To avoid overlapping the working time bands, it’s recommend to disable (set to OFF) the stove’s timer.
 Loading...