28
You will receive a notification
message confirming that your
software is installed and you are now
connected to Xpress Mail.
3. Set up access to your corporate email from your device by pressing
Applications and selecting the Xpress Mail icon .
4. When prompted, select Work > Professional Edition > Register Device.
5. Enter the name and password you created when you signed up on your
computer to complete the process.
Note: Remember that the computer you use to access your corporate email must
remain on and connected to the corporate network. For help with this process, go
to wireless.att.com/xpressmail
or to the AT&T Web tutorials page at att.com/
WirelessTutorials.
Create and send email in Xpress Mail
1. From the Inbox, select New .
2. Enter the addressee’s email address, a subject, and your message. Separate
recipients’ names with commas (for example: janesmith_4028@example1.com,
joesmith_9056@example2.com)
Note:
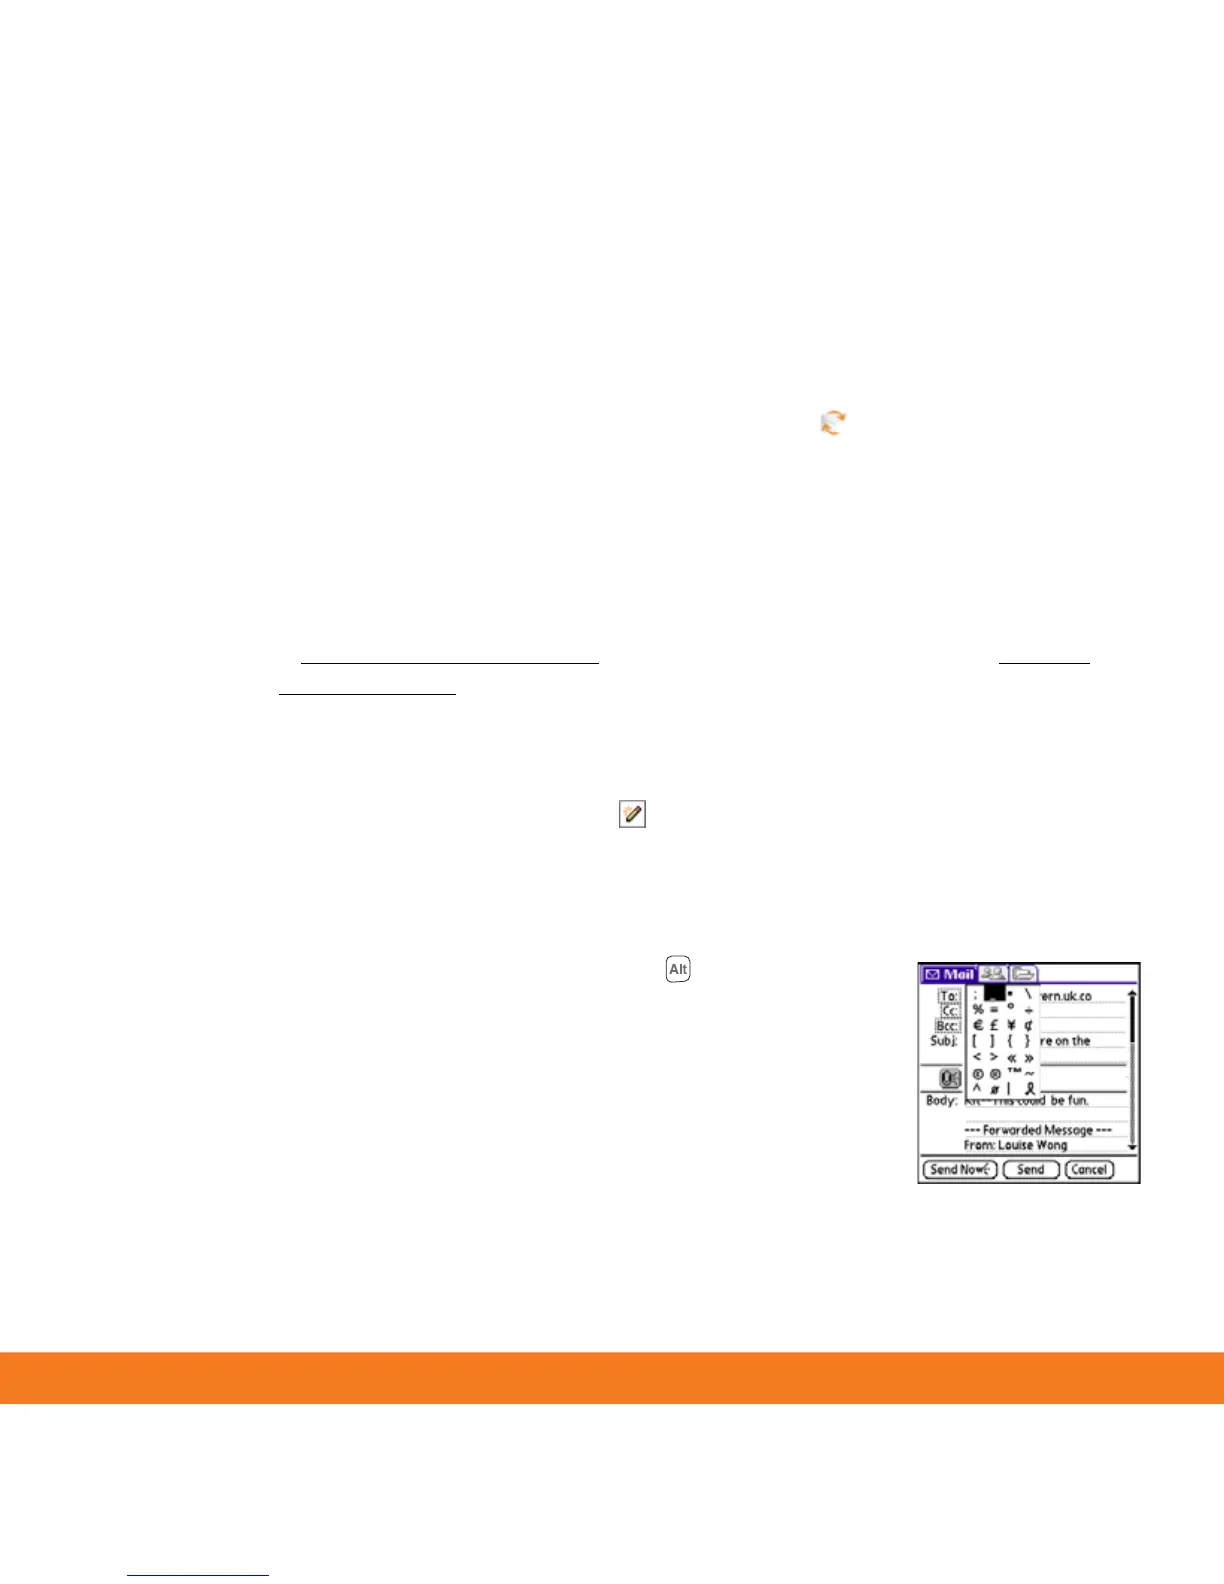
To type an underscore, press Alt following a space or
at the beginning or end of a line and select the underscore
character from the pop-up list of alternate characters..
3. Select Send Now to send the email right away; select
Send to send it later. (Send is useful if you’re not currently
connected to the Internet.)
Tip
Having trouble
sending messages?
Enter AT&T’s
outgoing mail
server name. On
your desktop
computer, open
Xpress Mail and click
the Messaging tab.
Click Server
Setting and enter
cwmx.com as the
outgoing mail SMTP
server. Click OK.


 To Next Page