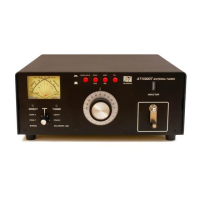
14 Operating Your AT2KD cont’d
1-800-773-7931 WWW.PALSTAR.COM
This procedure takes patience the first time.
The TUNE control varies the capacitor and
provides fine adjustments. The roller induc-
tor crank control provides coarse adjust-
ment.
10. When you have tuned your antenna to the best SWR,
record the settings of the ANTENNA, TUNE, and IN-
DUCTOR controls on the chart above for future refer-
ence. When you retune, use these settings as your start-
ing point.
Notes
1. An SWR of 1:1 is best, but an SWR as high as 2:1 may be
acceptable. Check your transmitter/amplifier manual for
details.
2. If you cannot get an acceptable SWR, lengthen or shorten
your antenna and/or feedlines and retune.
3. Once every 4-6 months clean the roller coil with 70%
isopropyl alcohol and a clean cotton cloth. Do not trans-
fer any of the conducting grease on the rod that guides
the roller wheel as this will contaminate the windings on
the roller coil body.
4. Any time a new or different antenna is connected, it is
necessary to repeat the tuning procedure for each an-
tenna.
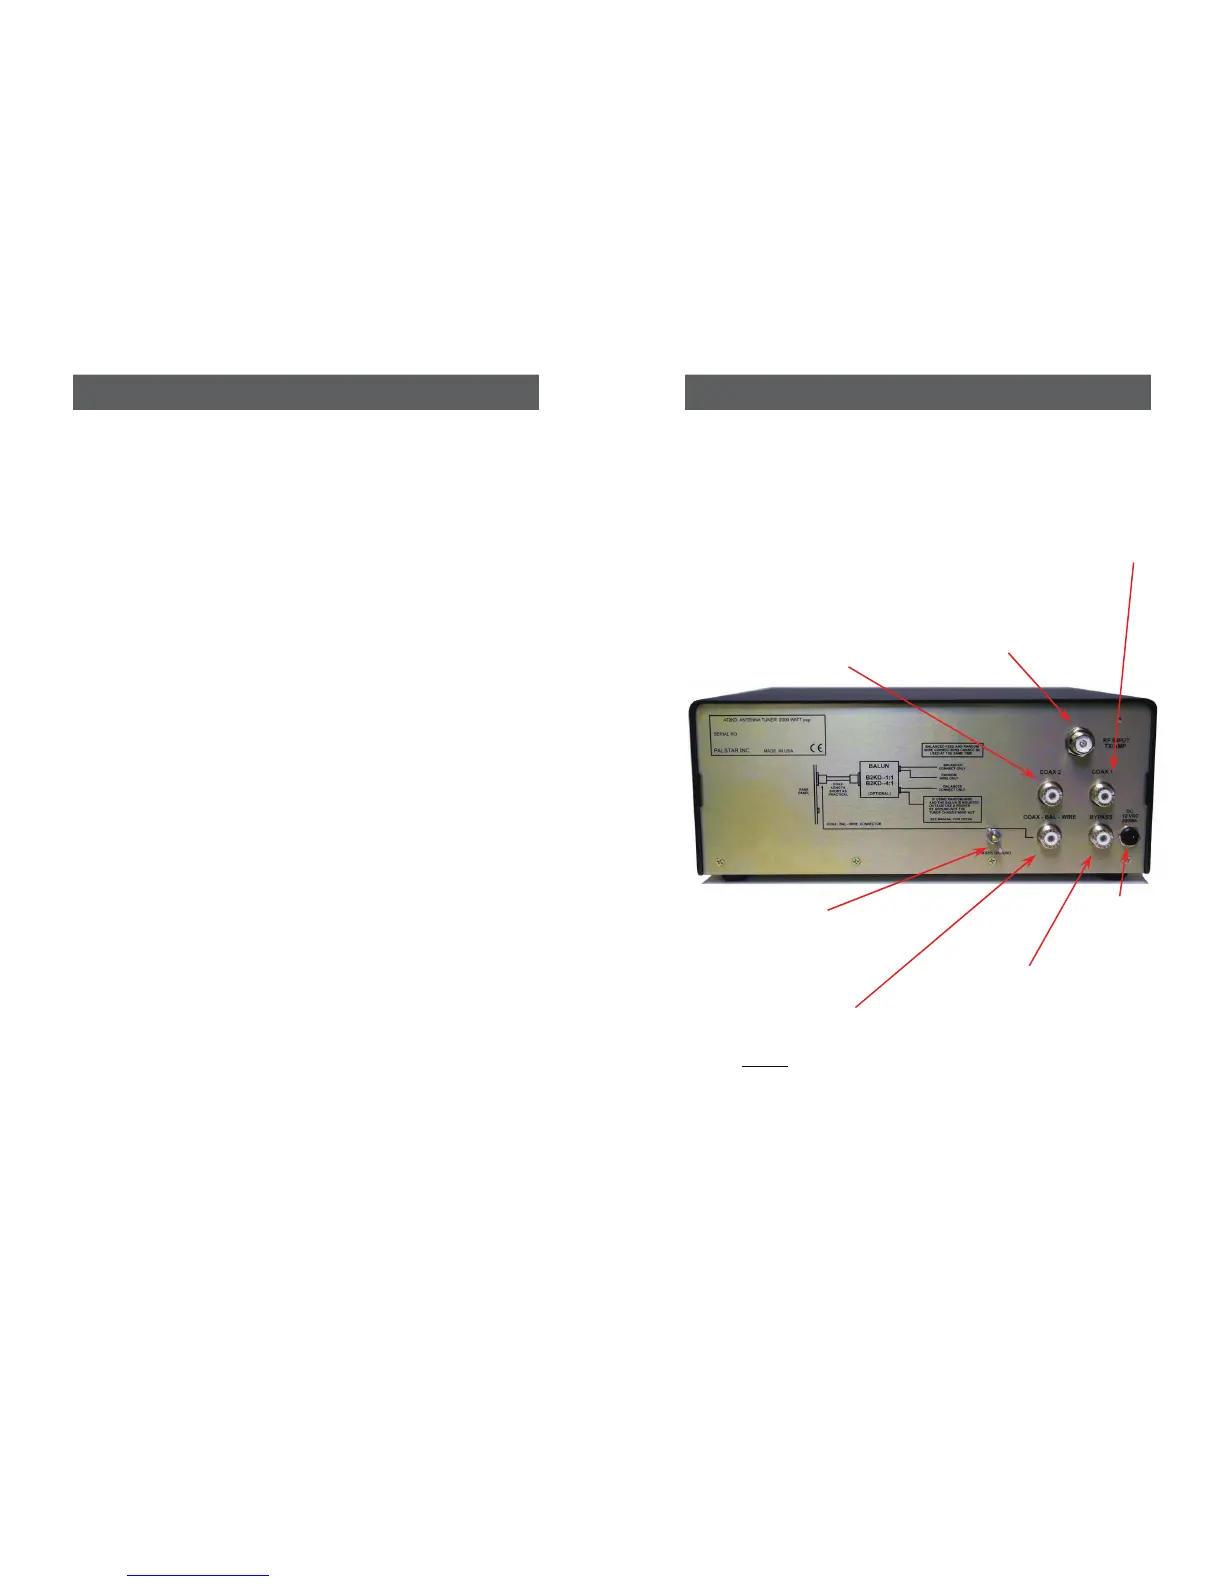
Installation cont’d. 7
1-800-773-7931 WWW.PALSTAR.COM
12 VDC INPUT
(2.1 mm plug) for
12VDC @ 200mA
to power the me-
tering circuit, relay,
and lamp.
RF INPUT coaxial
connector for
input from trans-
mitter or ampli-
fier.
GROUND post/
wing nut chassis
ground connector.
COAX 2 coaxial
connector for output
to Antenna Two.
COAX 1 coaxial
connector for output
to Antenna One.
BYPASS coaxial
connector for out-
put to dummy load
or third coax out-
put.
FIGURE 1 REAR PANEL CONNECTORS
COAX-BAL-WIRE
Use this connector
to connect an
optional 1:1 or 4:1
balun for balanced
or wire feed