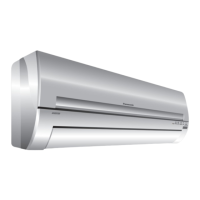
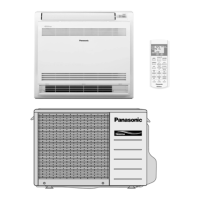
9 Operating Instructions
SAFETY PRECAUTIONS
Before operating, please read the following
“Safety Precautions” carefully.
● To prevent personal injury, injury to others and
property damage, the following instructions must be
followed.
● Incorrect operation due to failure to follow instructions
will cause harm or damage, the seriousness of which
is classified as follow:
!
Warning
This sign warns of death or serious injury.
!
Caution
This sign warns of damage to property.
● The instructions to be followed are classified by the
following symbols:
This symbol (with a white background) denotes an
action that is PROHIBITED.
These symbols (with a black background) denote
actions that are COMPULSORY.
O
F
F
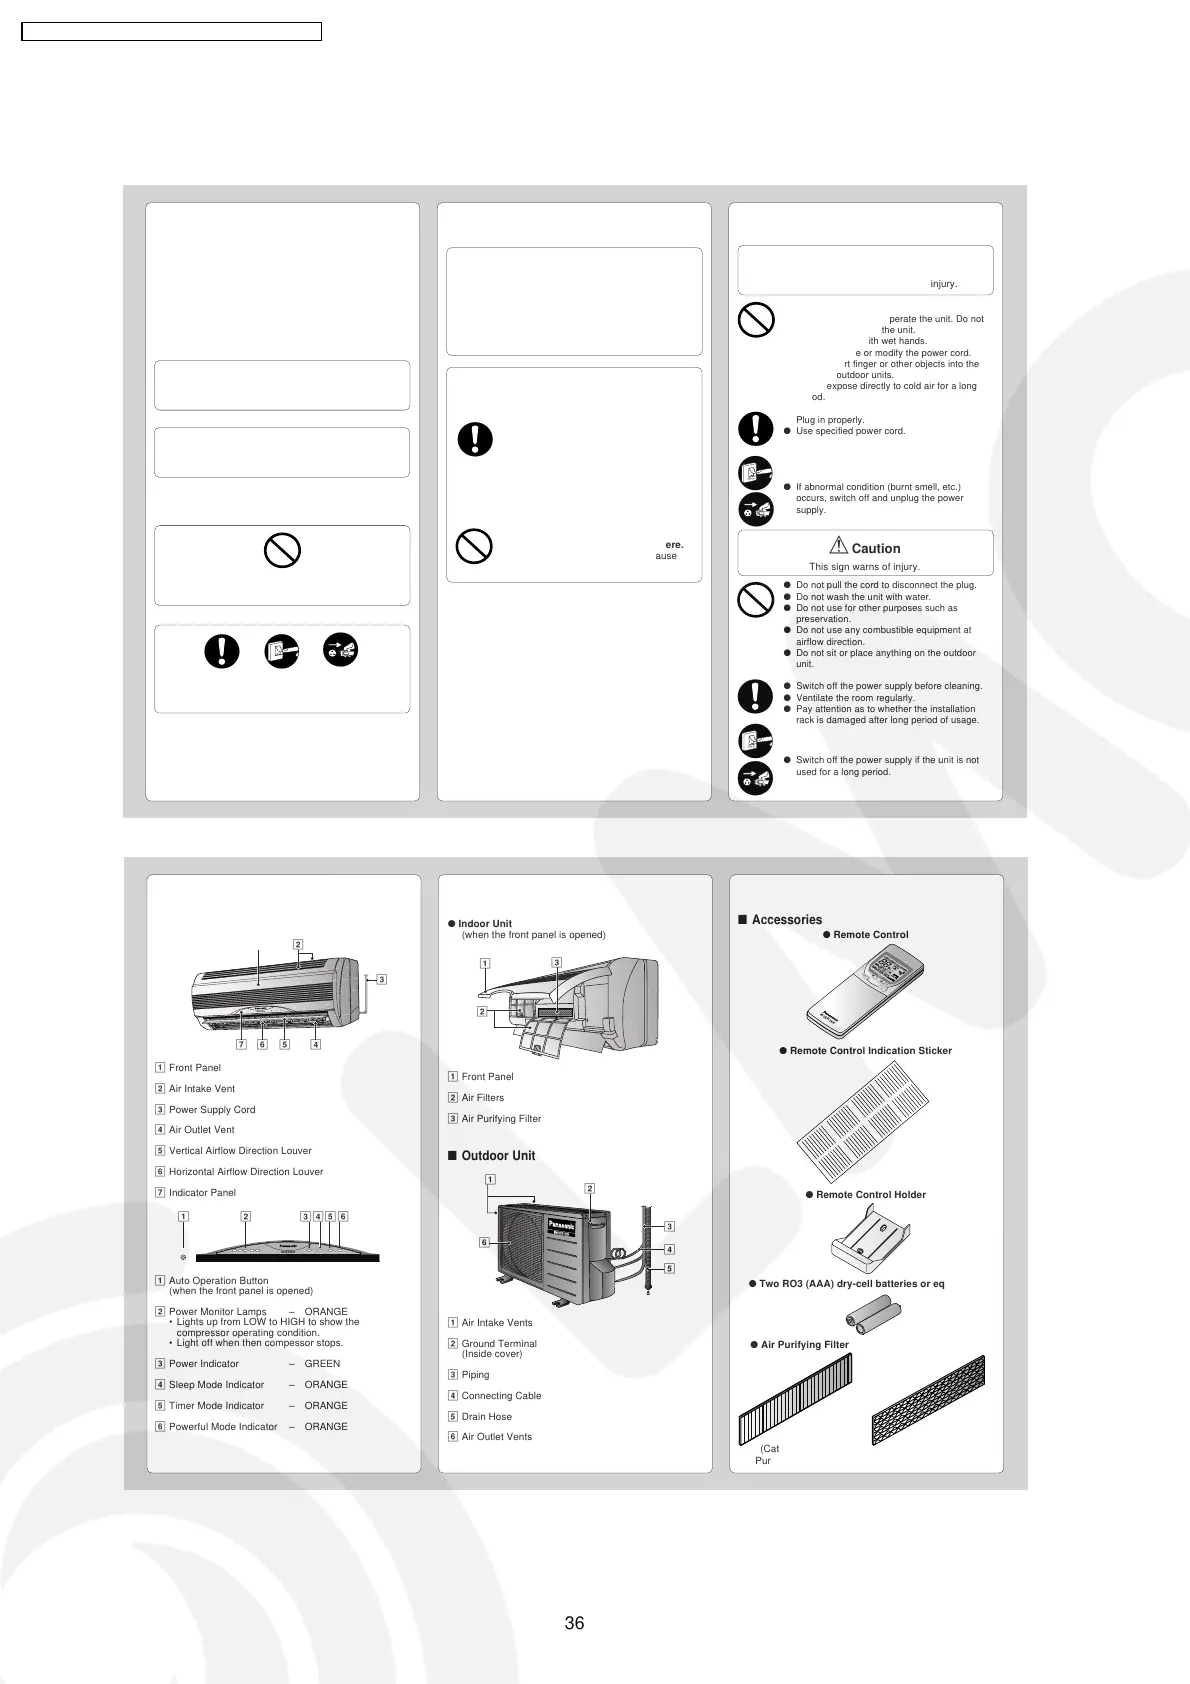
■ Installation Precautions
!
Warning
● This room air conditioner must be
earthed.
Improper grounding could cause
electric shock.
● Ensure that the drainage piping is
connected properly.
Otherwise, water will leak out.
● Do not install the unit in a
potentially explosive atmosphere.
Gas leak near the unit could cause
fire.
● Do not install, remove and reinstall the unit by
yourself.
Improper installation will cause leakage, electric
shock or fire. Please engage an authorized dealer
or specialist for the installation work.
!
Caution
■ Operation Precautions
!
Warning
This sign warns of death or serious injury.
● Do not share outlet.
● Do not insert plug to operate the unit. Do not
pull out plug to stop the unit.
● Do not operate with wet hands.
● Do not damage or modify the power cord.
● Do not insert finger or other objects into the
indoor or outdoor units.
● Do not expose directly to cold air for a long
period.
● Plug in properly.
● Use specified power cord.
● If abnormal condition (burnt smell, etc.)
occurs, switch off and unplug the power
supply.
!
Caution
This sign warns of injury.
● Do not pull the cord to disconnect the plug.
● Do not wash the unit with water.
● Do not use for other purposes such as
preservation.
● Do not use any combustible equipment at
airflow direction.
● Do not sit or place anything on the outdoor
unit.
● Switch off the power supply before cleaning.
● Ventilate the room regularly.
● Pay attention as to whether the installation
rack is damaged after long period of usage.
● Switch off the power supply if the unit is not
used for a long period.
OFF
O
FF
NAME OF EACH PART
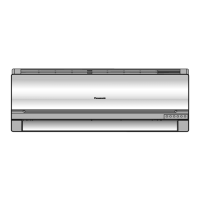
■ Indoor Unit
1 Front Panel
2 Air Intake Vent
3 Power Supply Cord
4 Air Outlet Vent
5 Vertical Airflow Direction Louver
6 Horizontal Airflow Direction Louver
7 Indicator Panel
1 Auto Operation Button
(when the front panel is opened)
2 Power Monitor Lamps – ORANGE
• Lights up from LOW to HIGH to show the
compressor operating condition.
• Light off when then compessor stops.
3 Power Indicator – GREEN
4 Sleep Mode Indicator – ORANGE
5 Timer Mode Indicator – ORANGE
6 Powerful Mode Indicator – ORANGE
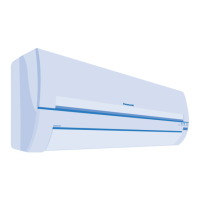
● Indoor Unit
(when the front panel is opened)
1 Front Panel
2 Air Filters
3 Air Purifying Filter
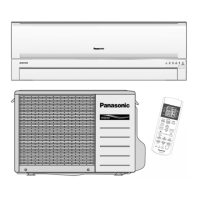
■ Outdoor Unit
1 Air Intake Vents
2 Ground Terminal
(Inside cover)
3 Piping
4 Connecting Cable
5 Drain Hose
6 Air Outlet Vents
1
2
3
4576
IN
V
E
R
T
E
R
2
1
3
1
6
2
3
4
5
ECONOMYLOW-POWER MONITOR-HIGH TIMER POWERFULSLEEP
ECONOMY TIMER POWERFULSLEEP
INVERTER
LOW-POWER MONITOR-HIGH
123456
■ Accessories
● Remote Control
● Remote Control Indication Sticker
● Remote Control Holder
● Two RO3 (AAA) dry-cell batteries or equivalent
● Air Purifying Filter
C
H
E
C
K
T
E
M
P
AUT
O
O
N
O
F
F
AU
T
O D
R
YFA
N
C
O
O
L
FAN
AUT
O
AUTO
R
E
S
E
T
B
A
T
T
E
R
Y
C
L
O
C
K
M
O
D
E
SLEEP
E
C
O
N
O
M
Y
FAN SPEED
A
IR
SW
IN
G
O
F
F
CANC
EL
O
N
S
E
T
Step
1
2
3
TIM
ER
+
P
O
W
E
R
F
U
L
H
EA
T
O
FF
/ON
INVERTER
(Catechin Air
Purifying Filter)
(Solar Refreshing
Deodorizing Filter)
36
CS-E9BKP CU-E9BKP5 / CS-E12BKP CU-E12BKP5