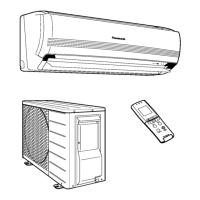
Outdoor Unit
1 Installing Outdoor Unit
When installing the outdoor unit, refer to “Precautions for Selecting the Location” and the “Indoor/outdoor
Unit Installation Drawings.”
If drain work is necessary, follow the procedures below.
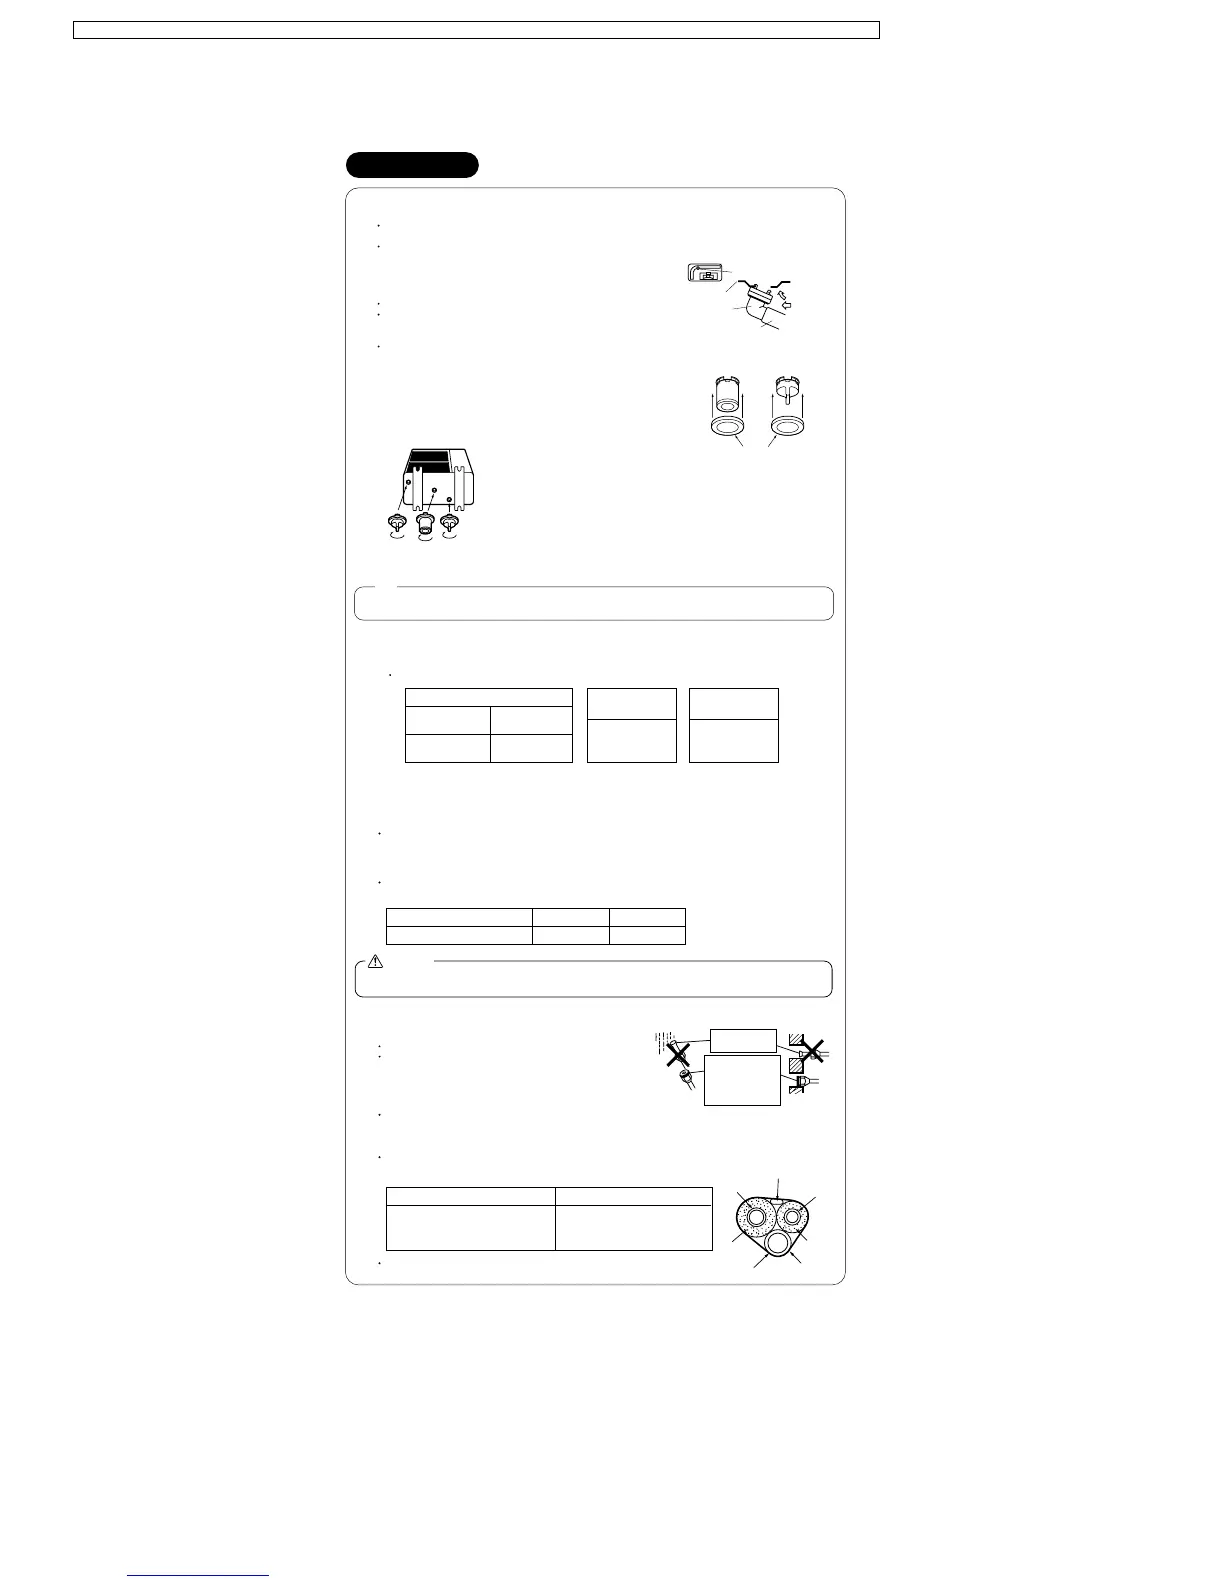
2 Drain Work
(CU-3E23CBPG)
Use drain plug for drainage.
If the drain port is covered by a mounting base or floor surface, place
additional foot bases of at least 30 mm in height under the outdoor
unit’s feet.
In cold areas, do not use a drain hose with the outdoor unit.
(Otherwise, drain water may freeze, impairing heating performance.)
(CU-4E27CBPG)
1. Insert drain receiver (C) onto drain socket (A) and drain cap (B)
beyond 4 projections around drain socket and drain cap.
2.
I
nsert drain socket and drain caps into their matching drain hole ;
Drain socket (A) into drain hole I and drain caps (B) into drain hole II
and III . After insertion, turn them about 40 clockwise.
3 Refrigerant Piping
1.
Align the centres of both flares and tighten the flare nuts 3 or 4 turns by hand. Then tighten them fully with
the torque wrenches.
Use torque wrenches when tightening the flare nuts to prevent damage to the flare nuts and escaping gas.
2. To prevent gas leakage, apply refrigeration machine oil on both inner and outer surfaces of the flare.
(Use refrigeration oil for R-410A)
4 Purging Air and Checking Gas Leakage
When piping work is completed, it is necessary to purge the air and check for gas leakage.
3. Connect vinyl hose on the market (intemal diameter of 25 mm) to drain socket (A)
(If the house is too long and hangs down, fix it carefully to prevent the kinks.)
Drain-water hole
Bottom frame
Drain plug
While
pressing
Hose (available
commercially, inner
dia. 16mm)
(C) Drain receiver
(A) Drain socket (B) Drain cap
(Be sure not to insert them into wrong drain holes, or
there causes water leakage.)
(View from bottom)
I
II
III
If the drain holes of the outdoor unit are covered with the mounting bracket or the floor, raise the unit to provide
the space of more than 100mm under the leg of the outdoor unit.
Note
Flare nut tightening torque
Flare nut for 6.4
Flare nut for 9.5
14.2-17.2N·m
(144-175kgf·cm)
32.7-39.9N·m
(333-407kgf·cm)
Valve cap tightening
torque
Liquid pipe
26.5-32.3N·m
(270-330kgf·cm)
Service port cap
tightening torque
10.8-14.7N·m
(110-150kgf·cm)
3P097711-1
(M02B043)
5 Charging with Refrigerant
If the total length of piping for all rooms exceeds the figure listed below, additionally charge with 20 g of
refrigerant (R-410A) for each additional meter of piping.
6 Refrigerant Piping Work
Cautions on Pipe Handling
Protect the open end of the pipe against dust and moisture.
All pipe bends should be as gentle as possible. Use a pipe
bender for bending.
(Bending radius should be 30 to 40 mm or larger.)
Selection of Copper and Heat Insulation materials
When using commercial copper pipes and fittings, observe the following:
Insulation material: Polyethylene foam
Heat transfer rate: 0.041 to 0.052kW/mK (0.035 to 0.045 kcal/mh C)
Refrigerant gas pipe’s surface temperature reaches 110 C max.
Choose heat insulation materials that will withstand this temperature.
Be sure to insulate both the gas and liquid piping and to provide insulation
dimensions as below.
Use separate thermal insulation pipes for gas and liquid refrigerant pipes.
Outdoor capacity class CU-
4
E
27
CBPG CU-
3
E
23
CBPG
Total length of piping for all rooms
40
m
30
m
Pipe size Pipe insulation
O.D : 6.4mm / Thickness : 0.8mm
O.D : 9.5mm, 12.7mm / Thickness : 0.8mm
O.D : 15.9mm / Thickness : 1.0mm
I.D : 8-10mm / Thickness : 10mm min.
I.D : 12-15mm / Thickness : 13mm min.
I.D : 16-20mm / Thickness : 13mm min.
Even though the shut-off valve is fully closed, the refrigerant may slowly leak out; do not leave the flare nut
removed for a long period of time.
CAUTION
Gas pipe
Liquid pipe
Gas pipe
insulation
Liquid pipe
insulation
Finishing tape
Drain hose
Inter-unit wiring
Wall
Be sure to place
a cap.
Rain
If no flare cap is
available, cover the
flare mouth with
tape to keep dirt
or water out.
φ
φ
°
°
76
CS-ME7CKPG / CS-ME10CKPG / CS-ME12CKPG / CS-ME14CKPG / CS-ME18CKPG / CU-2E15CBPG / CU-2E18CBPG / CU-3E23CBPG / CU-4E27CBPG
 Loading...