11
RQT8023
Getting started
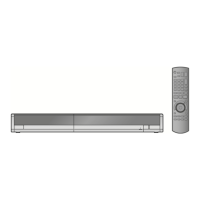
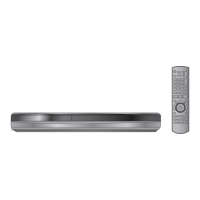
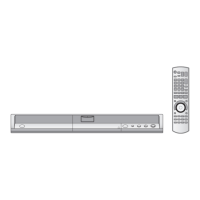
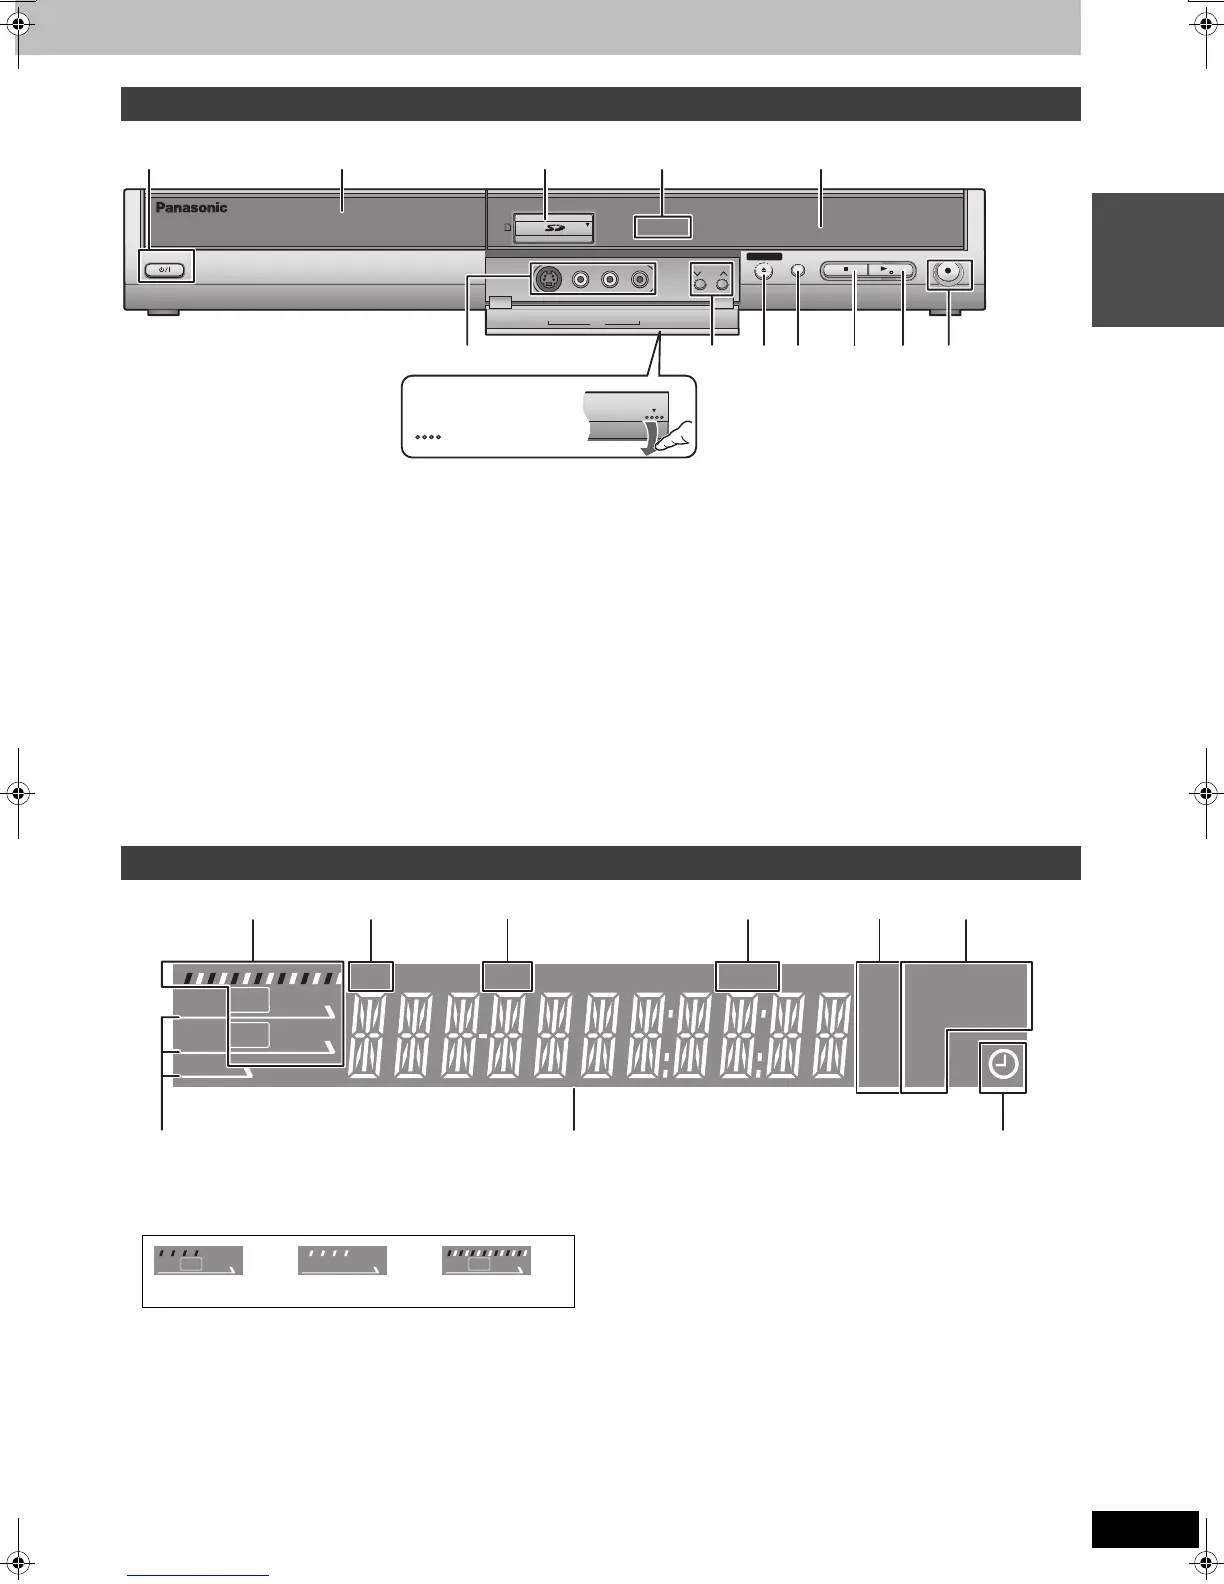
1 POWER button (POWER Í/I) (➡ 16)
Press to switch the unit from on to standby mode or vice versa. In
standby mode, the unit is still consuming a small amount of
power.
2 Disc tray (➡ 20, 30)
3 SD card slot (➡ 5)
4 Lights when the HDD, DVD or SD drive is selected
5 Display (➡ below)
6 Connecting to external equipment (➡ 47)
7 Channel select (➡ 20)
8 Open/close disc tray (➡ 20, 30)
9 Select drive (➡ 20, 30, 34)
Drive changes each time you press [DRIVE SELECT].
: Stop (➡ 20, 30)
; Start play (➡ 30)
< Start recording/Remote control signal sensor (➡ 20)
Specify the time to stop recording (➡ 21)
Rear panel terminals (➡ 12)
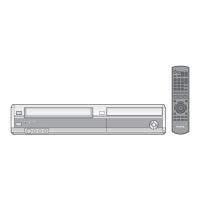
1 e.g.,[HDD]
2 Channel
3 Transferring (dubbing) indicator
4 D.MIX (multi-channel DVD-Audio only)
When lit: Down-mixing (➡ 68) is possible.
When off:The disc prevents down-mixing so only the two front
channels can be played (➡ 8, Regarding DVD-Audio).
5 Recording mode
6 Disc type
7 Lights when the HDD, DVD or SD drive is selected
8 Main display section
9 Scheduled recording indicator
Main unit
IN2
CH
HDD
DVD SD
S VIDEO
VIDEO
L/MONO
-
AUDIO
-
R
OPEN/CLOSE
DRI
VE
SELECT
REC
POWER
/x
1.3
12 345
7:9<;86
Opening the front panel
part
with your finger.
Press down on the
The unit’s display
HDD
REC
PLAY
PLAY
REC
XP
SP
LP
EP
DVD
SD
CH
DUB
D.MIX
DVD
AVCD
RWRAM
VR
SD
-
+
-
12 3 564
78 9
Recording Playback Recording/Playback
HDD
REC
HDD
PLAY
HDD
REC
PLAY
EH50English.book Page 11 Tuesday, February 1, 2005 6:36 PM
 Loading...