2
2. BASIC INFORMATION AND PREPARATIONS
AE = Auto-exposure AF = Auto-Focus EV = Exposure-Value SH = shutter pressed halfway = UL,LL,UR,LR screen corners
SD Card: recordable JPEG quality-fine pictures with ratio 4:3, and MP4 movies
Picture / Movie | 16 MB 3 MB | FHD HD VGA
Card type Size | 4608x3456 2048x1536 | 1920x1080 1280x720 640x480
Internal Memory 78 MB | 14 50 | - - 2’30”
SD (8 MB - 2 GB) 1 GB | 160 700 | 6’15” 12’15” 31’15”
SDHC (4 - 32 GB) 8 GB | 1300 5700 | 50’00” 1h 40’ 4h 10’
SDHC (4 - 32 GB) 32 GB | 5400 23300 | 3h 20’ 6h 50’ 17h 10’
SDXC (48 - 64 GB) 64 GB | 10800 46700 | 6h 50’ 14h 00’ 34h 30’
Inserting/Removing Battery & Card Check: Camera off, Lens retracted!
Slide the Card/Battery door’s button inwards to open the door.
Insert the Battery following its arrow, until it locks. To remove, slide the grey lock first.
Insert the Memory Card with contacts visible (label facing the camera front) until it clicks.
To remove, push the card until it clicks, then pull the card out. SD card Class
4
If no Memory Card is inserted, the camera uses the very small Built-in Memory (78Mb).
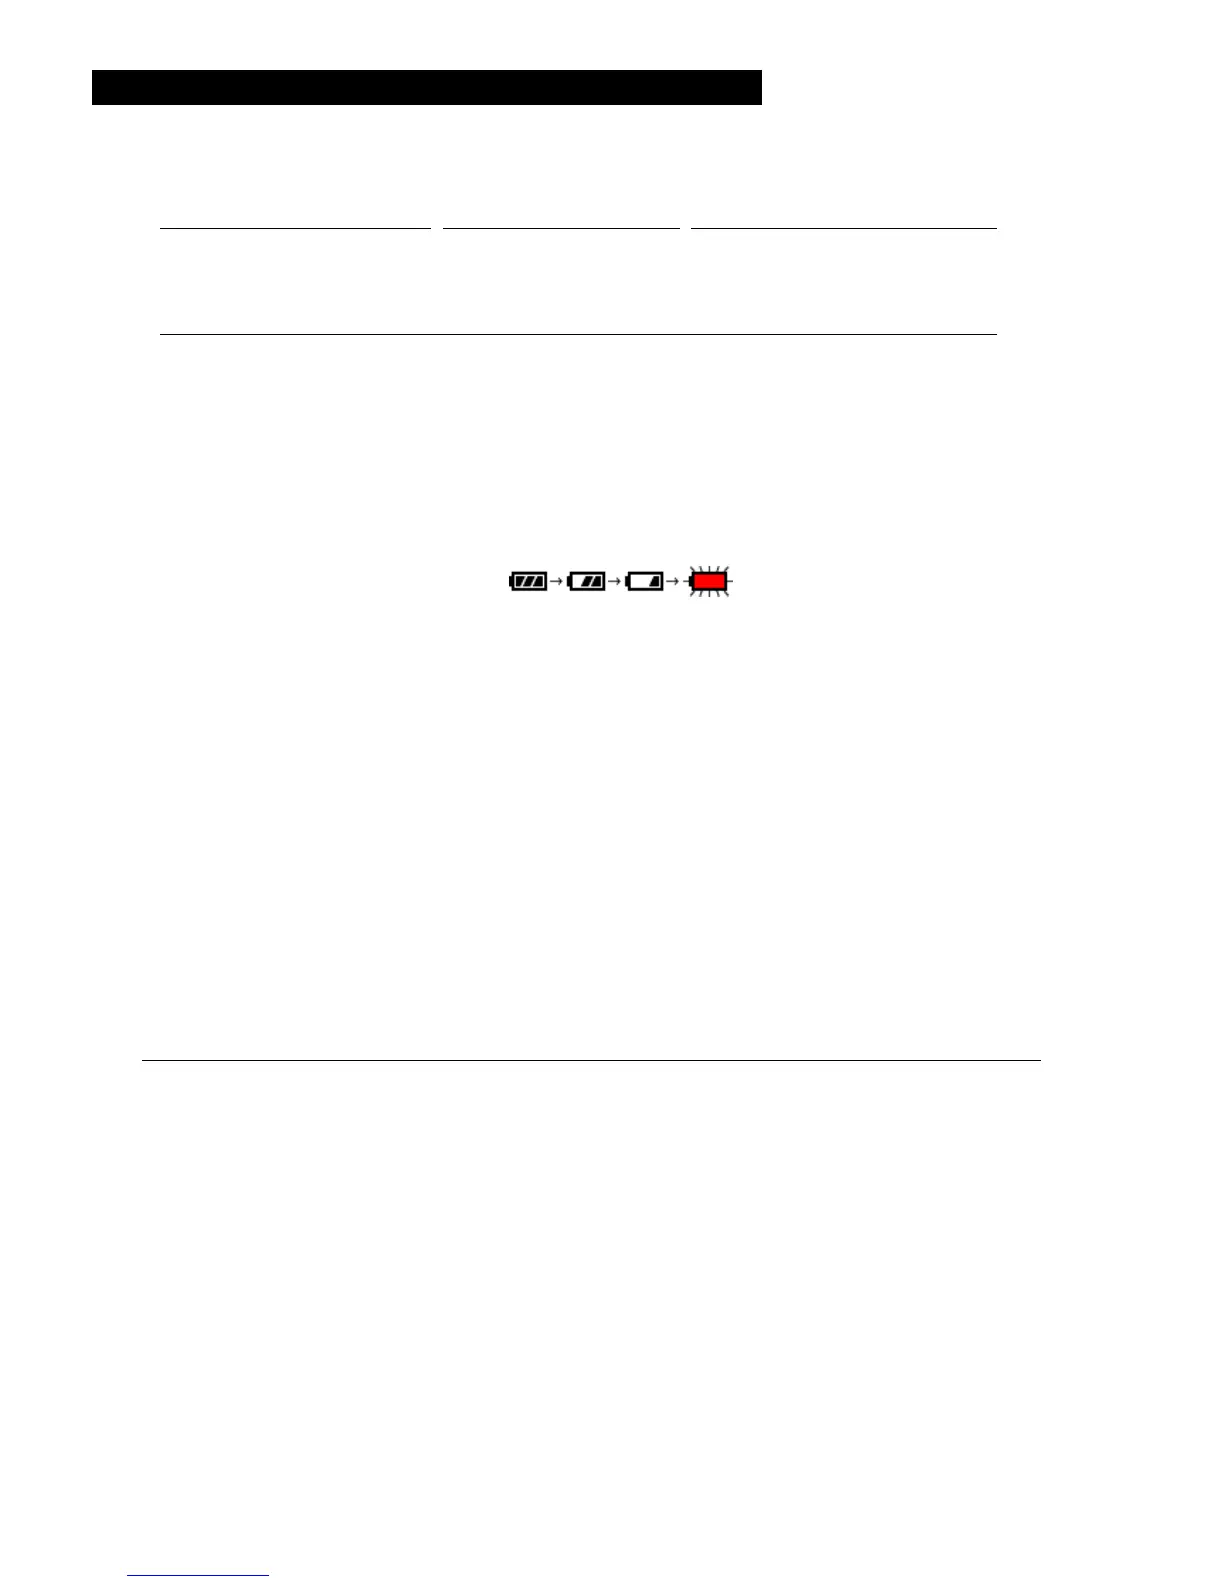
Battery power
The battery power appears on :
When the indication turns red and blinks, recharge or replace the battery.
Every 10 photos or minutes, turn the camera off so that the battery cools off.
To charge plug the USB cable with its arrow towards the camera front: red charging lamp lits.
Or else use a special USB/AC adapter to charge the battery outside the camera .
When the battery is fully charged, the charging lamp goes off: disconnect the USB cable.
When the camera is not in use, remove the battery: settings & clock are preserved for 3 months.
Charging time: Approx. 2
h
30’ = 210’
Number of pictures (50% flash): Approx. 350 pictures (recording time approx. 130’)
Length of recorded movies: Approx. 50’
Playback time: Approx. 4.5
h
Photo numbering and Folders
When the SD card is formatted, a photo folder 100 is created and file numbers start from 0001
When file number reaches 999 a new folder (101,102 … 999) is created and file numbers restarted
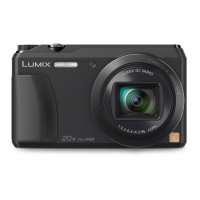
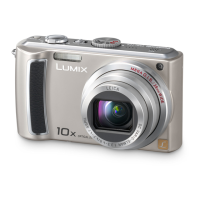
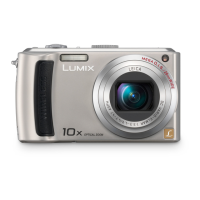
Zoom and 35mm Equivalent and Max. Aperture Always refocus after zooming!
Zoom 35mm F Zoom 35mm F Zoom 35mm F Zoom 35mm F
1 X 24 mm 3,3 1.5 X 36 mm 3.7 2 X 48 mm 4.2 4 X 96 mm 5.3
8 X 192 mm 5.5 12 X 288 mm 5.9 16 X 384 mm 5.9 20 X 480 mm 6.4
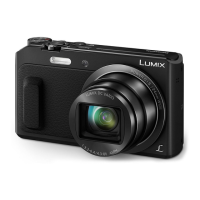
Correct posture - Accessories
Right hand: Index on shutter | Middle finger on front grip | Thumb over Charge/WiFi lamp.
Left hand: Classical index-up-thumb-down. Fingers should not cover AF lamp or Flash!
Tripod/Monopod: Ensure that the screw is less than 5.5mm long!
Arrows, Q.Menu and Menu Symbols (see also the symbols on top of this page)
Arrow buttons around the MENU/SET button. Press the MENU/SET button
Press the Q.MENU button and move arrows. SH Shutter pressed halfway
Flip-Up Monitor and Selfie Modes all
PARTIALLY UP: Allows to take pictures with the camera in either very low or very high positions.
FULLY UP: Enables Self Shot Mode. for settings such as Multi-Exposure and Self-Timer.
SELF SHOT MODE ENABLE/DISABLE: REC p. 4.