EasyManua.ls Logo

Panasonic Lumix DMC-TZ5P User Manual

Panasonic Lumix DMC-TZ5P
57 pages
To Next Page IconTo Next Page
Page #1 background imageLoading...
Page #1 background image
© 2008 Matsushita Electric Industrial Co., Ltd. All
rights reserved. Unauthorized copying and distribu-
tion is a violation of law.
ORDER NO.DSC0803021CE
B26
Digital Camera
Model No.DMC-TZ5P
DMC-TZ5PC
DMC-TZ5PL
DMC-TZ5PR
DMC-TZ5EB
DMC-TZ5EE
DMC-TZ5EF
DMC-TZ5EG
DMC-TZ5E
DMC-TZ5SG
DMC-TZ15GC
DMC-TZ15GD
DMC-TZ15GK
DMC-TZ15GN
DMC-TZ15GT
DMC-TZ15GJ
VOL.1
Colours
(S)....................Silver Type (except PR/GD)
(K)....................Black Type
(A)....................Blue Type (only DMC-TZ5P/PC/PL/PR/
EE/EG/E)
(TA)....................Dark Brown Type (only DMC-TZ5EF/
EG/E)
(T)....................Brown Type (only DMC-TZ5SG, DMC-
TZ15GC/GK/GJ)

Table of Contents

Question and Answer IconNeed help?

Do you have a question about the Panasonic Lumix DMC-TZ5P and is the answer not in the manual?

Panasonic Lumix DMC-TZ5P Specifications

General IconGeneral
TypeCompact
Sensor TypeCCD
Sensor Size1/2.33 inch
Sensor Resolution9.1 MP
Effective Pixels9.0 MP
Optical Zoom10x
Digital Zoom4x
Focal Length28 - 280 mm
Shutter Speed8 - 1/2000 sec
LCD Screen Size3.0 inch
LCD Resolution230, 000 dots
Video RecordingYes
Video Frame Rate30 fps
Image StabilizationOptical
Maximum Aperturef/3.3-4.9
ISO SensitivityAuto, 100, 200, 400, 800, 1600
Video Resolution1280 x 720
Storage MediaSD/SDHC
BatteryLithium-ion rechargeable

Summary

A WARNING

1 Safety Precaution

1.4. Discharge Flash Capacitor

Step-by-step guide for safely discharging the capacitor on the flash PCB.

2 Warning

2.1. Electrostatic Discharge (ESD) Prevention

Measures to prevent damage to sensitive electronic components from static electricity.

6 Service Mode

6.1. Error Code Memory Function

Functionality for displaying and recording error codes encountered by the device.

8 Disassembly and Assembly Instructions

8.1. Disassembly Flow Chart

Visual guide outlining the sequence of steps for disassembling the device.

8.3.2. LCD Unit Removal

8.3.5. Top Operation PCB Removal

8.3.8. Front Case and Grip Removal

8.4. Lens Disassembly Procedure

8.5. Lens Assembly Procedure

8.6. CCD Unit Removal

9 Measurements and Adjustments

9.1. Part Replacement and Adjustment Matrix

Chart mapping replaced parts to required adjustments and procedures.
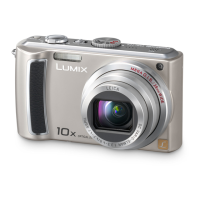
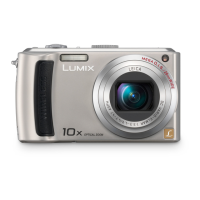
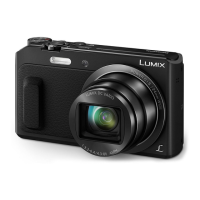
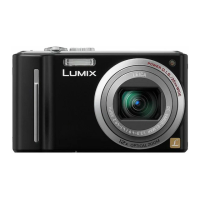
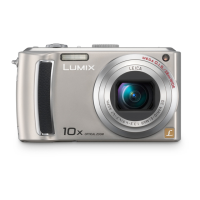
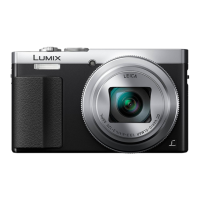
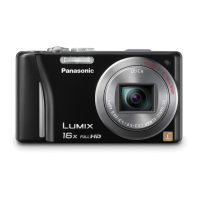
10 Maintenance

S4. Schematic Diagram

S6. Replacement Parts List

S7. Exploded View

Related product manuals