2
Grille
Drywall
Gloves
Mounting spring
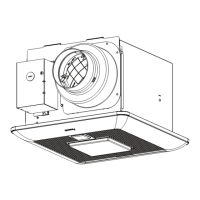
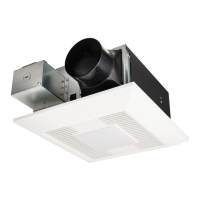
Secure the fan body to Flex-Z Fast™ bracket
using 2 self-drilling screws.
Plug connector into receptacle and secure fan
body to adaptor by using machine screw (M4X8).
1
2
Set the adjustable color temperature switch
on the lighting option required by the owner.
(FV-0511VFL1K only). (Refer to explanation
under FEATURES). (Page 6)
1
INSTALLATION (RETROFIT) CONTINUED
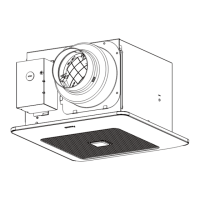
Insert fan body and slide into adaptor assembly
using the guide parts until you hear a click from
the hook.
1
Insert fan body
CAUTION
Please take care when installing the
machine screw (Step 6) to avoid cross
threading and to ensure that the screw
does not strip or come in contact with
the Flex-Z Fast™ bracket.
2
Secure fan body
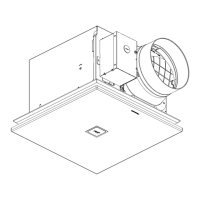
Once fan body is mounted and secure, fill gap
between flange and ceiling with caulk or other
sealant to prevent air leakage.
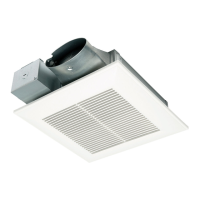
Insert the mounting springs into the slot as shown
to mount grille to fan body.
1
Adjust Pick-A-Flow switch. (Refer to explanation
under FEATURES). (Page 6)
2
2
Connect the LED lamp wire to fan body.
1
1
Install grille
Sealing
Guide parts
Guide parts
Set lighting
A
Flange
2 Self-drilling screws (fasten the
flange and Flex-Z Fast™ bracket
through the drywall)
Drywall
Joist
Plug connector
Receptacle
Machine screw (M4X8)
1
1
English
8
1
Mounting spring
Adjustable color
temperature switch
Drywall
LED lamp
wire
Receptacle
1
 Loading...