S
Stephanie DoughertySep 23, 2025
What to do if Panasonic Telephone gets wet?
- BBenjamin SampsonSep 23, 2025
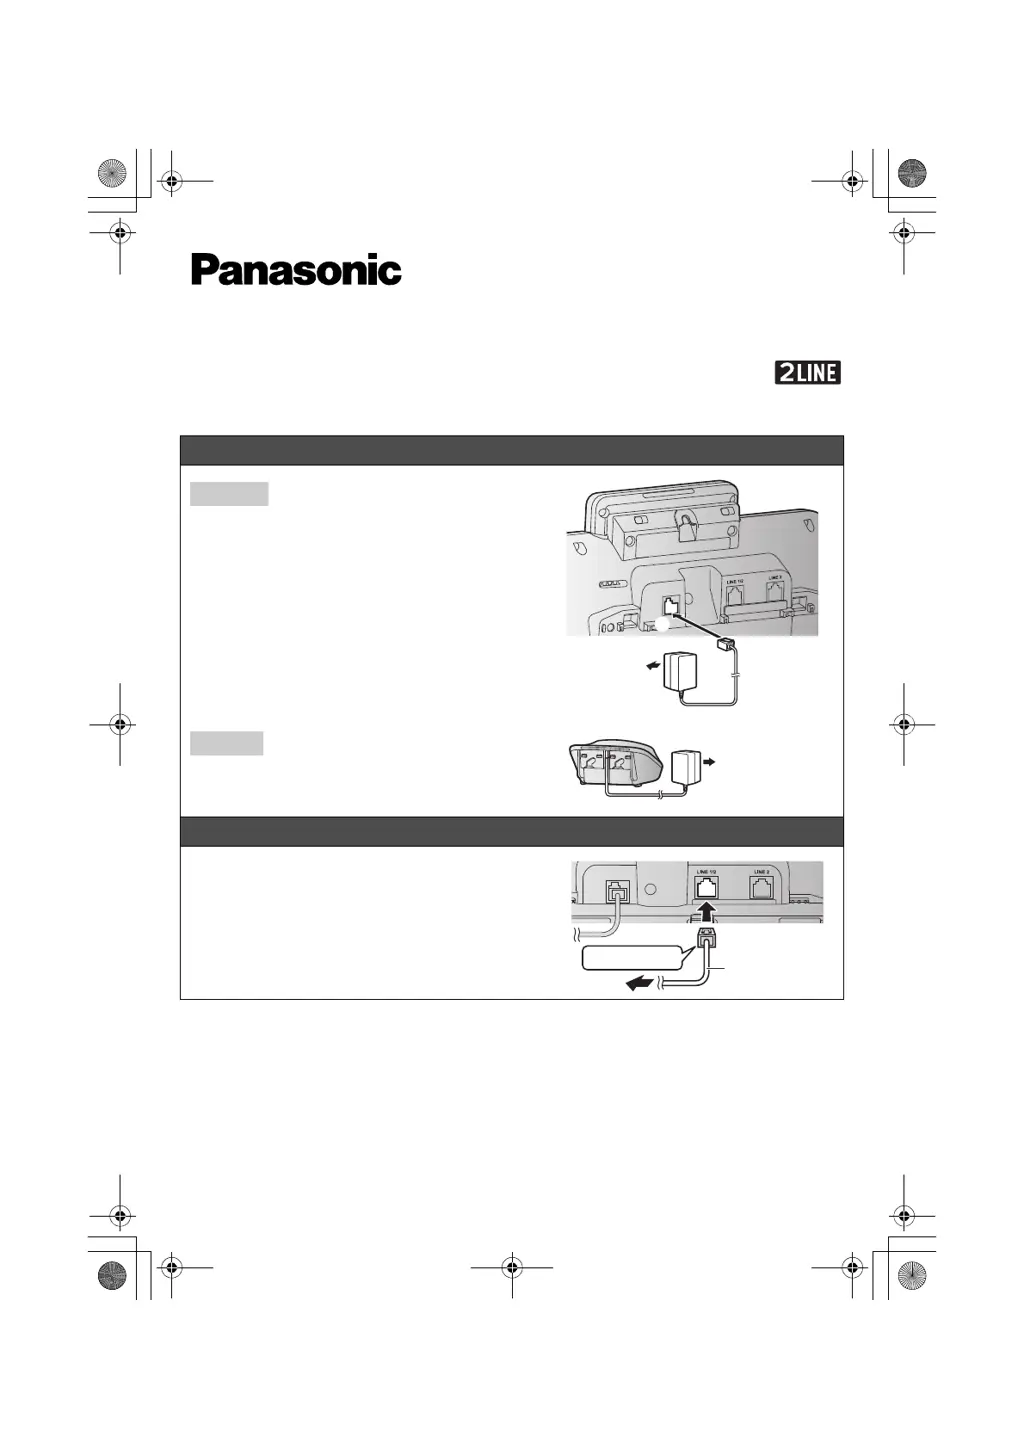
If liquid or other form of moisture has entered the handset/base unit of your Panasonic Telephone, disconnect the AC adapter and telephone line cord from the base unit. Remove the batteries from the handset and leave to dry for at least 3 days. After the handset/base unit are completely dry, reconnect the AC adapter and telephone line cord. Insert the batteries and charge fully before use.