55
VQT1C63
Advanced-Shooting
By setting the departure and return dates,
you can record which date of the vacation
you take a picture. The day of the vacation
is shown when you play a picture and you
can add it to the picture for printing with
[DATE STAMP] (P75).
• When you play back a picture, the date
on which it was taken is displayed.
• The number of days that have passed
since the departure date can be
printed on each picture by using the
software [LUMIX Simple Viewer] or
[PHOTOfunSTUDIO-viewer-] in the CD-
ROM (supplied). (For information about
printing, refer to the separate operating
instructions for PC connection.)
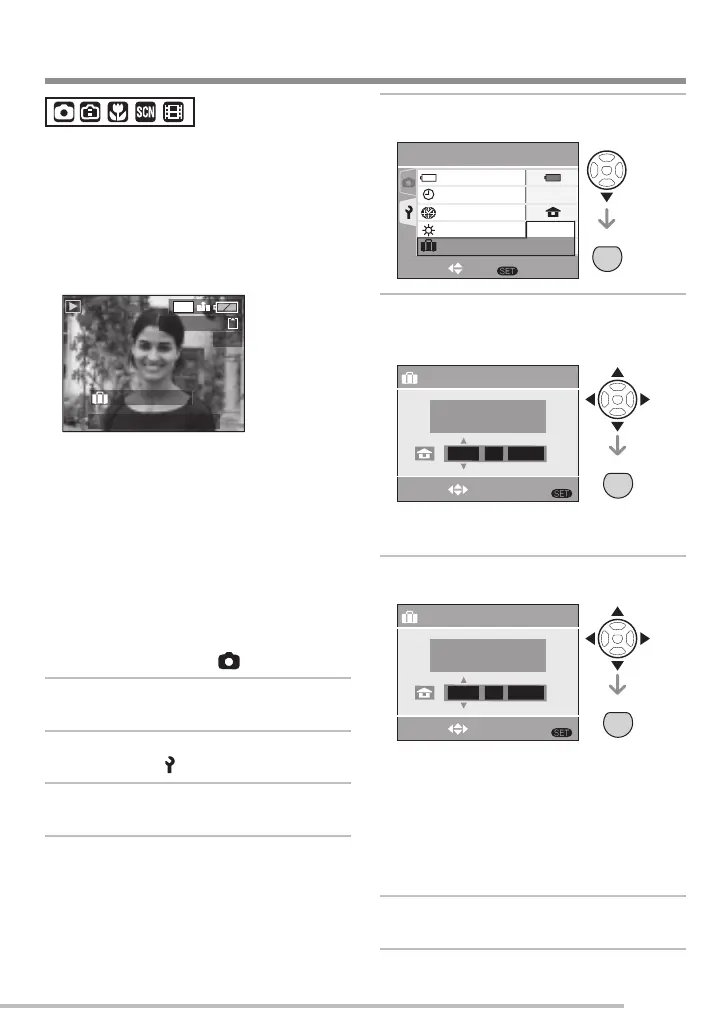
■ Setting the travel date
(Screen shows an example for the
normal picture mode [ ])
1 Press [MENU/SET] and then
press w.
2 Press r to select the [SETUP]
menu icon [ ] and then press q.
3 Press e/r to select [TRAVEL
DATE] and then press q.
4 Press r to select [SET] and then
press [MENU/SET].
5 Press e/r/w/q to select the
departure date and then press
[MENU/SET].
w/q: Select the desired item.
e/r: Set the year, month and date.
6 Press e/r/w/q to set the return
date and then press [MENU/SET].
w/q: Select the desired item.
e/r: Set the year, month and date.
• The travel date is cleared if the current
date is after the return date.
• If you have not set the return date,
press [MENU/SET] while “– – – ” is
displayed.
7 Press [MENU/SET] to exit the
menu.
Recording which day of the vacation you take the picture
MENU
SET
MENU
+
‑
0
1
/
3
SETUP
SELECT SET
BATTERY TYPE
CLOCK SET
WORLD TIME
MONITOR
TRAVEL DATE
OFF
SET
100-0001
1/19
7M
:..
10 00 DEC 1 2007
1ST DAY
MENU
SET
..
MENU
TRAVEL DATE
SELECT SET
PLEASE SET THE
DEPARTURE DATE
DEC 2 2007
MENU
SET
..
MENU
TRAVEL DATE
SELECT EXIT
PLEASE SET THE
RETURN DATE
– – – – – – – – –
 Loading...