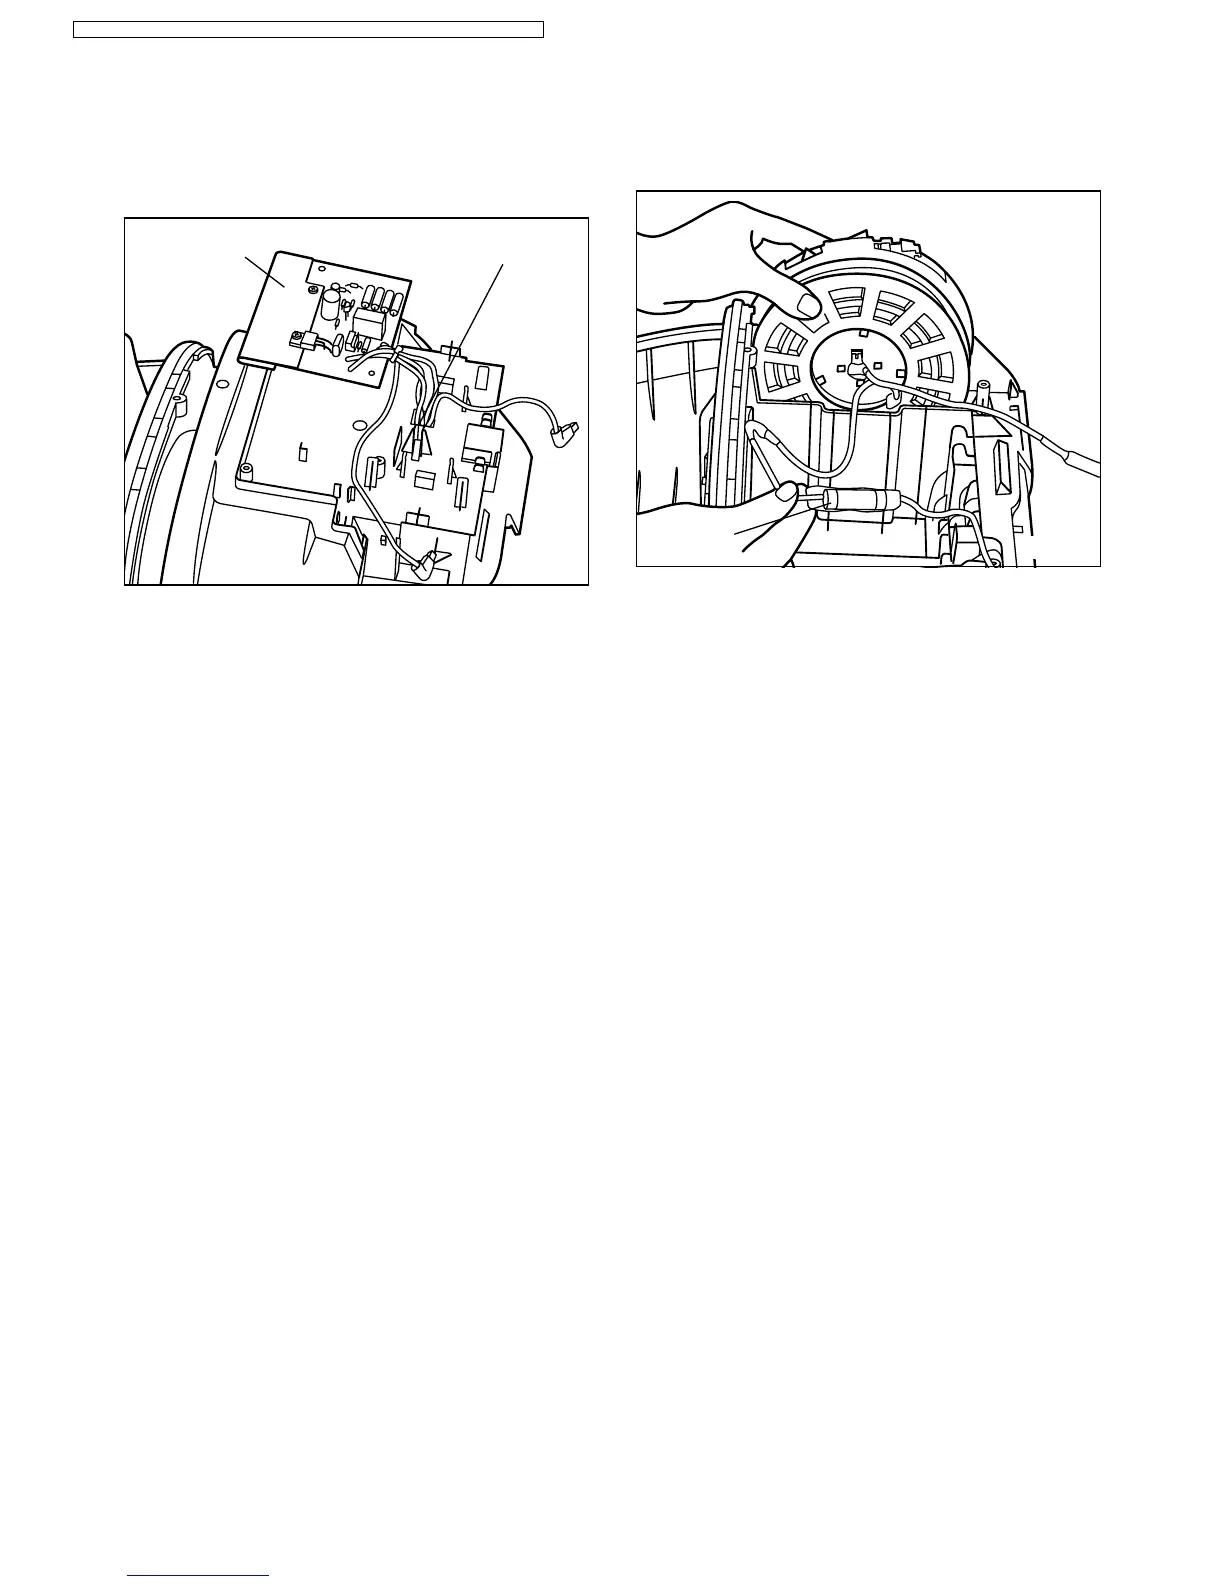
Fig. 24
Power board
Upper body hole
Fig. 25
Main fuse
NOTE: Make sure the lead wires and lower body seal
are correctly positioned to avoid pinching them
between parts.
5.10. Replacing power board
1. Remove the lead wires from the hole of the upper body.
2. Remove the power board from the upper body and
replace with a new one. (Fig. 24)
3. Connect the lead wires according to the schematic
diagram and reassemble power board and remaining
parts in the reverse order to the removing procedure.
5.11. Replacing main fuse
1. Remove main fuse connections and replace
with a new one. (Fig. 25)
2. Connect main fuse according to the schematic diagram
and reassemble the remaining parts in the reverse order
to the removing procedure.
13
MC-E7305 / MC-E7305K / MC-E7303 / MC-E7303K / MC-E7302 / MC-E7301 / MC-E7301K