Before Use
-18-
[TITLE IN]
Adding a Title
-38-
3) [CARD]
Card Setup Sub-Menu
[PICT QUALITY]
Picture Quality
-22-
[CREATE TITLE]
Title Creation
-37-
[BURST MODE]
Continuous Photoshot
-22-
4) [DISPLAY]
Display Setup Sub-Menu
[DISPLAY]
Display Mode
-47-
[DATE/TIME]
Date and Time Indication
-47-
5) [LCD/EVF]
Adjusting Brightness and Colour Level
≥All of the items on the [LCD/EVF] Sub-Menu are
the same as those on the [LCD/EVF] Sub-Menu
of the [TAPE RECORDING MENU].
6) [INITIAL]
Initial Setup Sub-Menu
[AV JACK]
AV Socket
-58-
[REMOTE]
Remote Controller Mode
-10-
[BEEP SOUND]
Beep Sound
-48-
[CLOCK SET]
Date and Time Setting
-18-
[INITIAL SET]
Initial Setting Mode
-47-
ª [PICTURE PLAYBACK MENU]
(NV-GS15 only)
Picture Playback Mode
1) [DELETE]
Deleting a File Sub-Menu
[FILEBYSEL]
Selecting and Deleting a File
-39-
[ALL FILES]
Deleting All Files
-39-
[TITLE BY SEL]
Selecting and Deleting a Title
-39-
2) [EDITING]
Editing a File Sub-Menu
[FILE LOCK]
Setting the Lock
-39-
[DPOF SET]
Setting DPOF
-38-
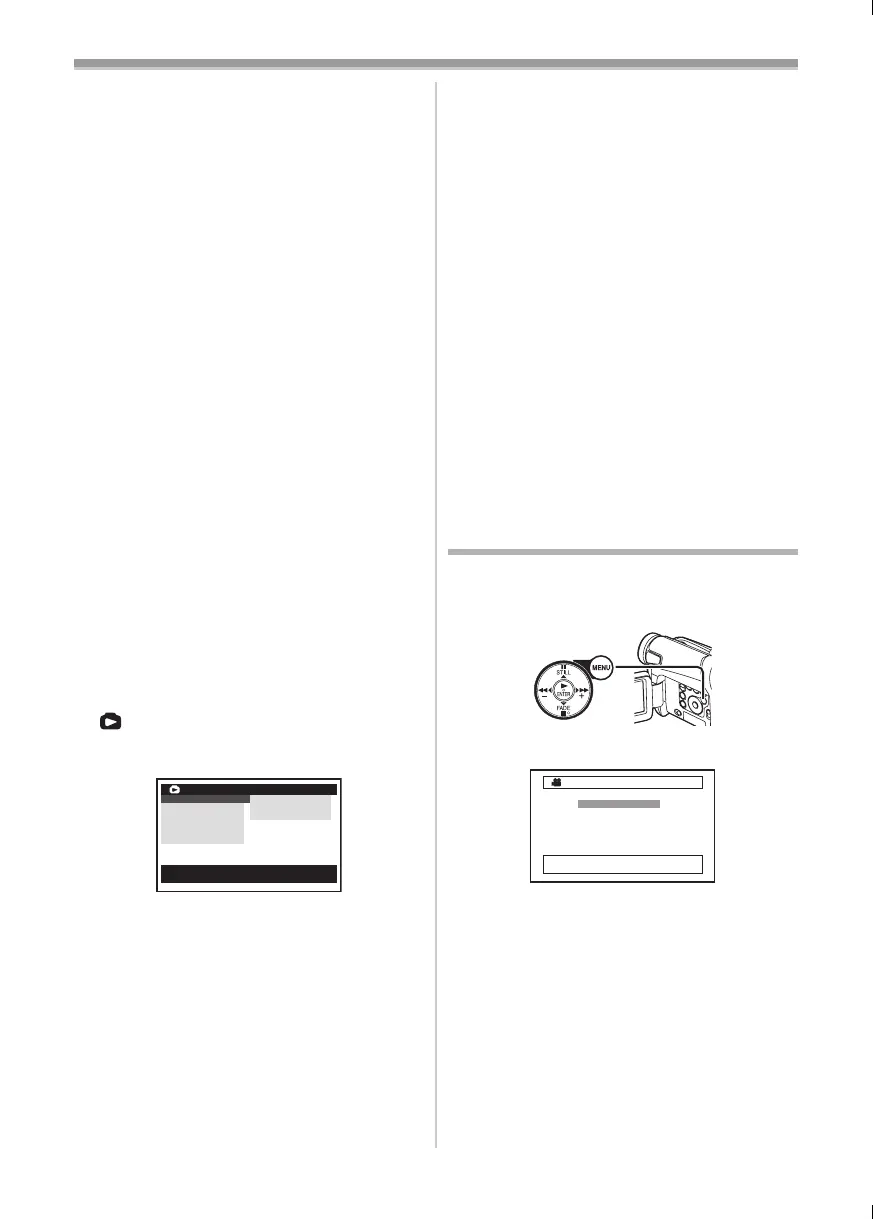
PICTURE PLAYBACK MENU
EDITING
DISPLAY
LCD/EVF
INITIAL
DIGITAL
DELETE !
ALL FILES
TITLE BY SEL
FILE BY SEL
;/∫:SELECT %:NEXT
MENU:EXIT
[CARD FORMAT]
Formatting a Card
-39-
3) [DIGITAL]
Playback Digital Setup Sub-Menu
[TITLE IN]
Adding a Title
-38-
4) [DISPLAY]
Display Setup Sub-Menu
≥All of the items on the [DISPLAY] Sub-Menu are
the same as those on the [DISPLAY] Sub-Menu
of the [TAPE RECORDING MENU].
5) [LCD/EVF]
Adjusting Brightness and Colour Level
[LCD/EVF SET]
LCD and Viewfinder Adjustment
-15-
[EVF ON/AUTO]
Using the Viewfinder
-14-
6) [INITIAL]
Initial Setup Sub-Menu
[AV JACK]
AV Socket
-58-
[REMOTE]
Remote Controller Mode
-10-
Setting Date and Time
Since the internal clock of the Movie Camera has
a slight imprecision, make sure to check the time
before recording.
1 Set [INITIAL] >> [CLOCK SET] >> [YES].
2 Press the [;/∫] Button to select [YEAR],
[MONTH], [DAY], [HOUR] or [MIN.] and
press the [6/5] Button to set it to the
desired value.
≥Year will cycle in the order shown below.
2000, 2001, ..., 2089, 2000, ...
3 Press the [MENU] Button (20) to finish
setting the date and time.
≥The clock operation starts from [00] second.
≥If the built-in battery is weak, the [0] Indication
flashes. In this case, charge the built-in battery.
≥The clock uses the 24-hour system.
(20)
;/∫:SELECT &/%:SETUP
!/MENU:EXIT
1YEAR 2004
MONTH 10
DAY 8
HOUR 14
MIN. 30
CLOCK SET
15B-ENG.book 18 ページ 2004年2月2日 月曜日 午後4時45分



 To Next Page