5. Installation of Lens Ass'y
Take care not to damage the motor leads.
Install the Lens Ass'y with the 2 Bosses and 2 Screws
(533).
Fig. D5
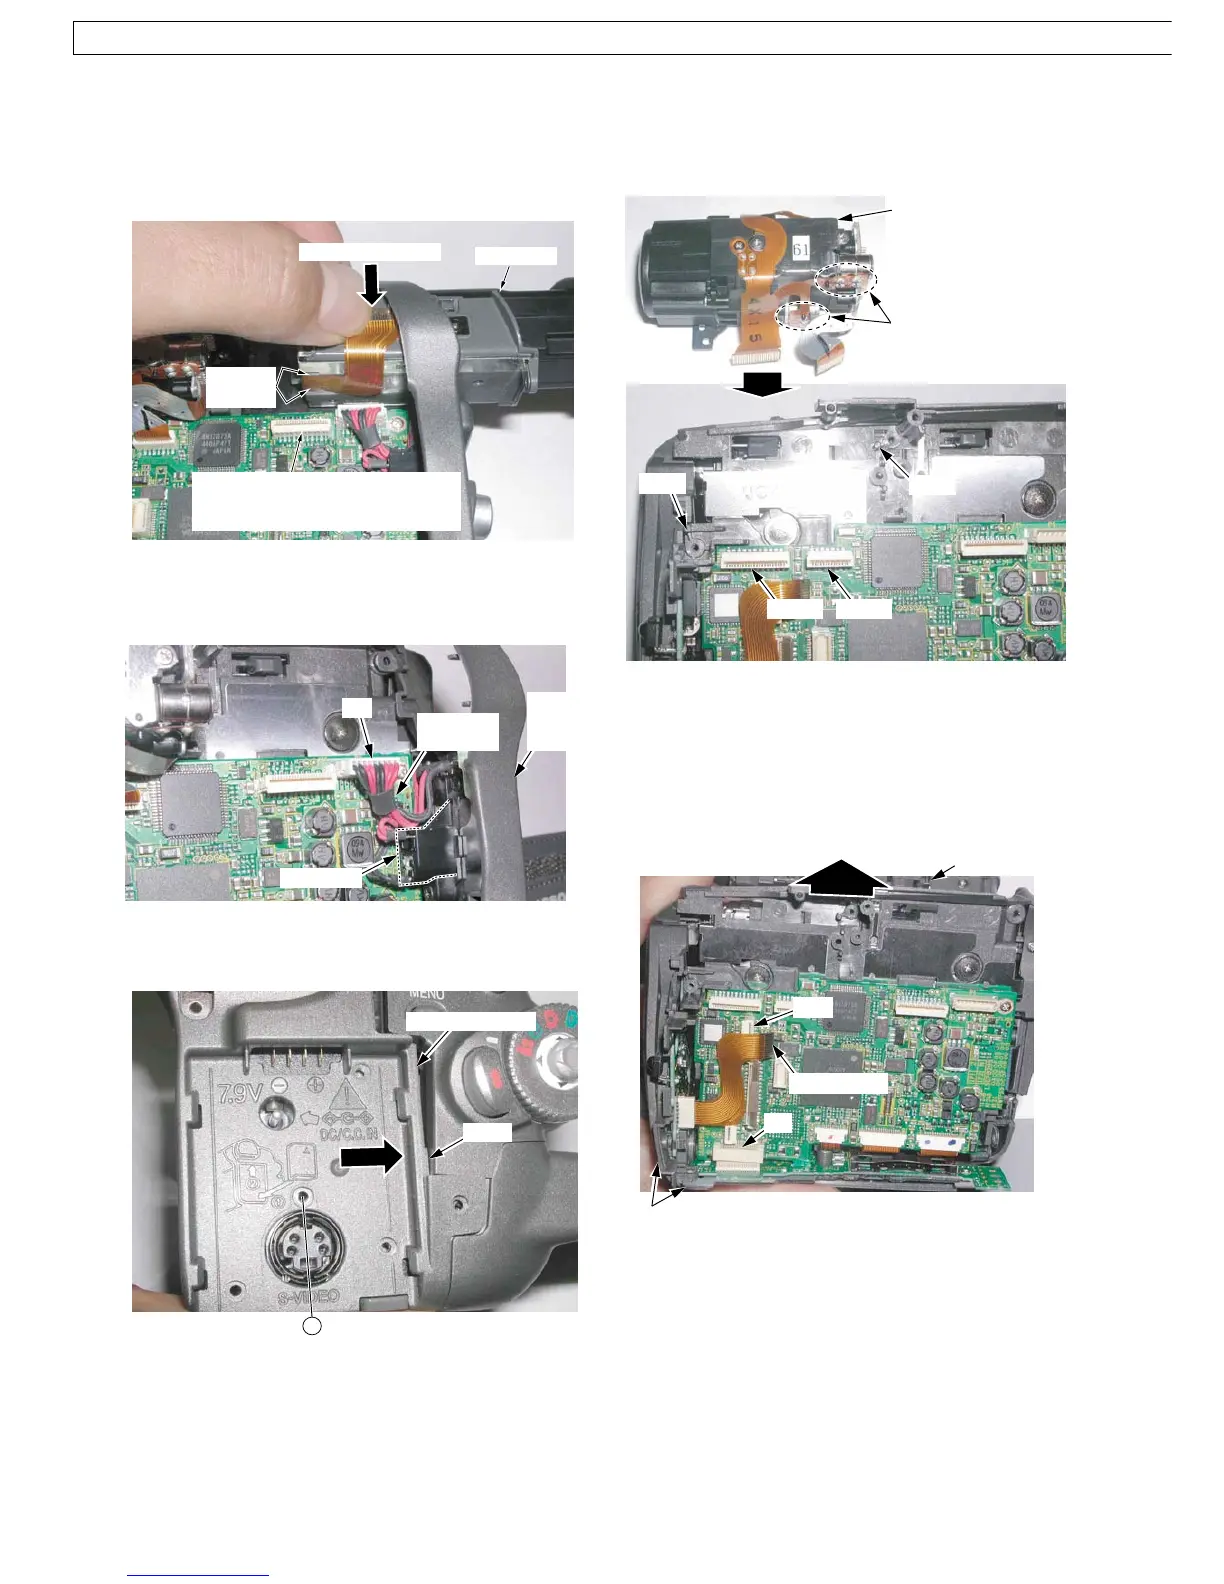
6. Removal of Front Case Ass'y & Bottom Ass'y
1) Disconnect the Front F.P.C. from the Connector FP6.
2) Open the Cassette Cover and remove the 3 Screws
(433).
3) Remove both the Front Case Ass'y & Bottom Case
Ass'y and continue to grasp them, while disconnecting
the Connector B1.
Fig. D6
Alternative method:
If necessary, the Front Case Ass'y can be removed at first.
Boss
Lens Ass'y
FP701 FP301
Boss
Motor leads
FP6
Cassette Cover
Front F.P.C.
B1
Front Case Ass'y & Bottom Case Ass'y
3. Installation of EVF Unit
1) Confirm that the EVF F.P.C. is hooked to the Hooking
Portions on the Bottom.
2) Install the EVF Unit while holding the EVF F.P.C. to
avoid damage of the EVF F.P.C.
Fig. D3
4. Installation of Rear Case Unit
1) Position connector leads so as not to cover Portion A.
Fig. D4-1
2) Secure the Locking Tab (L-1) of the Rear Case Unit to
install it.
Fig. D4-2
EVF Unit
FP9
(For model with Color EVF)
or
FP11
(For model with Monochrome EVF)
Hooking
Portions
Hold EVF F.P.C.
P1
Portion A
Rear
Case
Unit
Connector
leads
(L-1)
(For model with S-VIDEO)
Rear Case Unit
533
46
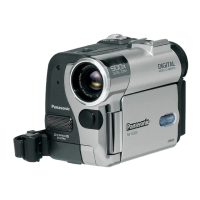
NV-GS6EE / NV-GS6GC / NV-GS17E / NV-GS17EB / NV-GS17EF / NV-GS17EG / NV-GS17EP / NV-GS18E / NV-GS21E / NV-GS21EB / NV-GS21EG / NV-GS21EK / NV-GS21EP / NV-GS25GC / NV-GS25GN /
GS28GK / NV-GS35E / NV-GS35EB / NV-GS35EG / NV-GS35EP / NV-GS35GC / NV-GS35GN / NV-GS38GK
 Loading...