Screen Screen
All measurements and the calculation results below are approximate and may differ from the actual measurements.
Throw distance (16:9) Throw distance (2.35:1)
Screen Diagonal
(SD)
Minimum distance
(LW)
Maximum distance
(LT)
Minimum distance
(LW)
*1
Maximum distance
(LT)
2.03 m (80") 2.4 m (7'10") 4.7 m (15'5") 2.6 m (8'6") 3.8 m (12'5")
2.54 m (100") 3.0 m (9'10") 5.9 m (19'4") 3.2 m (10'6") 4.7 m (15'5")
3.05 m (120") 3.6 m (11'9") 7.2 m (23'7") 3.8 m (12'5") 5.7 m (18'8")
When using both 2.35:1 and 16:9 aspect images onto a 2.35:1 sized screen.*1.
J
Calculation methods for screen dimensions
You can calculate more detailed screen dimensions from the screen diagonal.
16:9 size 2.35:1 size
Screen height (SH) = SD (m) × 0.490 = SD (m) × 0.392
Screen width (SW) = SD (m) × 0.872 = SD (m) × 0.920
Minimum distance (LW) = SD (m) × 1.189 − 0.04 = SD (m) × 1.256 − 0.04
Maximum distance (LT) = SD (m) × 2.378 − 0.05 = SD (m) × 1.899 − 0.05
NOTE:
You can tilt the projector body less than approximately ±30 ° vertically and ±10 ° horizontally. •
Overtilting may result in shortening the component’s life.
Do not cover the air exhaust/intake ports or place anything within 50 cm (19 5/8") of them. •
+30 °
−30 °
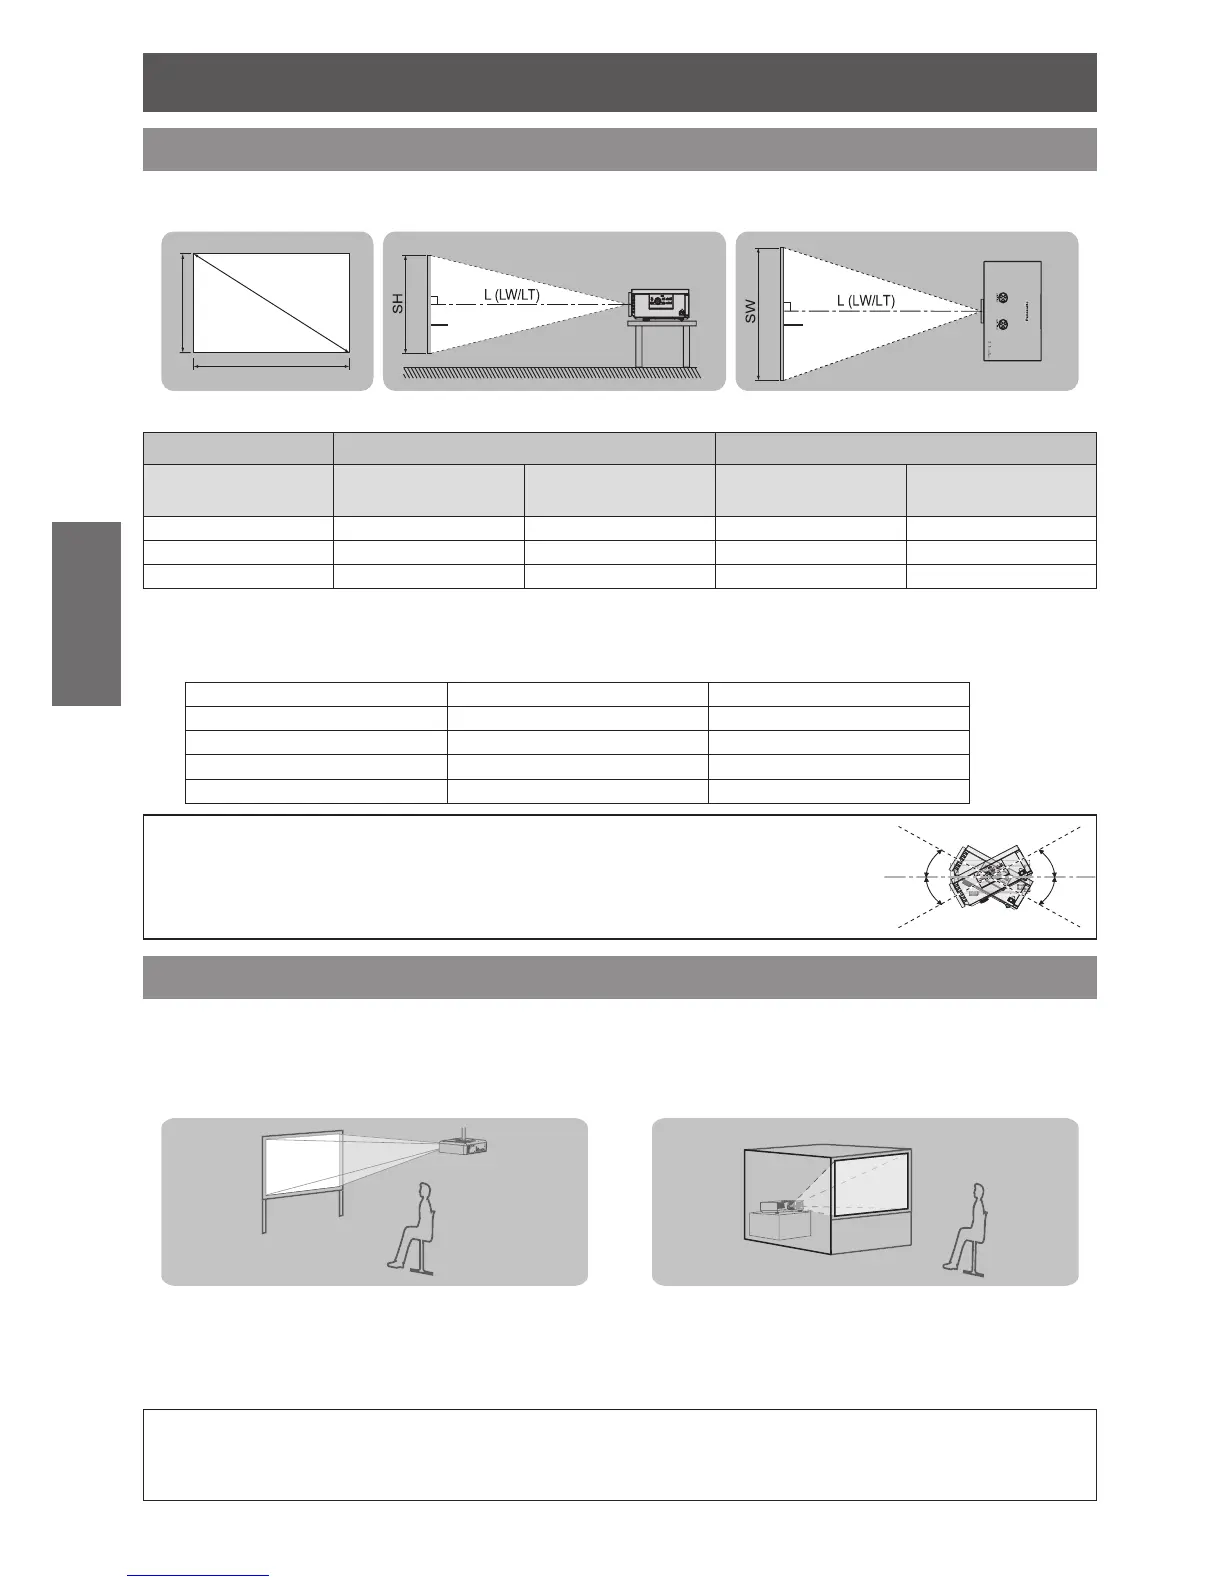
Projection method
You can use the projector with any of the following 4 projection methods. To set the projector in the desired
method, see “INSTALLATION” in “OPTION menu” of the functional instructions that is in the provided CD-ROM.
Mounting on the ceiling and
J
projecting from front
Setting on a desk/oor and
J
projecting from rear
INSTALLATION: FRONT/CEILING INSTALLATION: REAR/DESK
Mounting on the ceiling and
J
projecting from rear
Setting on a desk/oor and
J
projecting from front
INSTALLATION: REAR/CEILING INSTALLATION: FRONT/DESK
NOTE:
A translucent screen is required for rear projection. •
When mounting the projector on the ceiling, the optional ceiling mount bracket (ET-PKE2000, ET-PKE1000S) is required. •
See “Ceiling mount bracket safeguards” on page • 30.
Getting Started
 Loading...