7
ADJUSTING AIRFLOW DIRECTION (CONTINUED)
ADJUSTING AIRFLOW DIRECTION FOR MULTIPLE
INDOOR UNITS USING SINGLE REMOTE CONTROLLER
(WIRED)
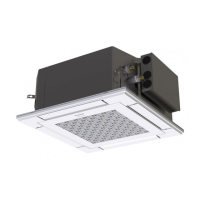
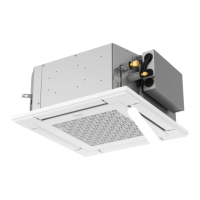
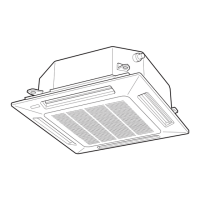
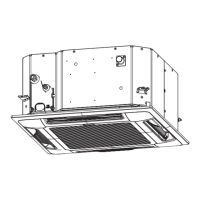
4-way cassette (Y2)
Y2 type air conditioner is equipped with auto flaps.
You can set the airflow direction to a specific angle or to the sweep mode using the remote
controller.
Do not move the flap with your hands.
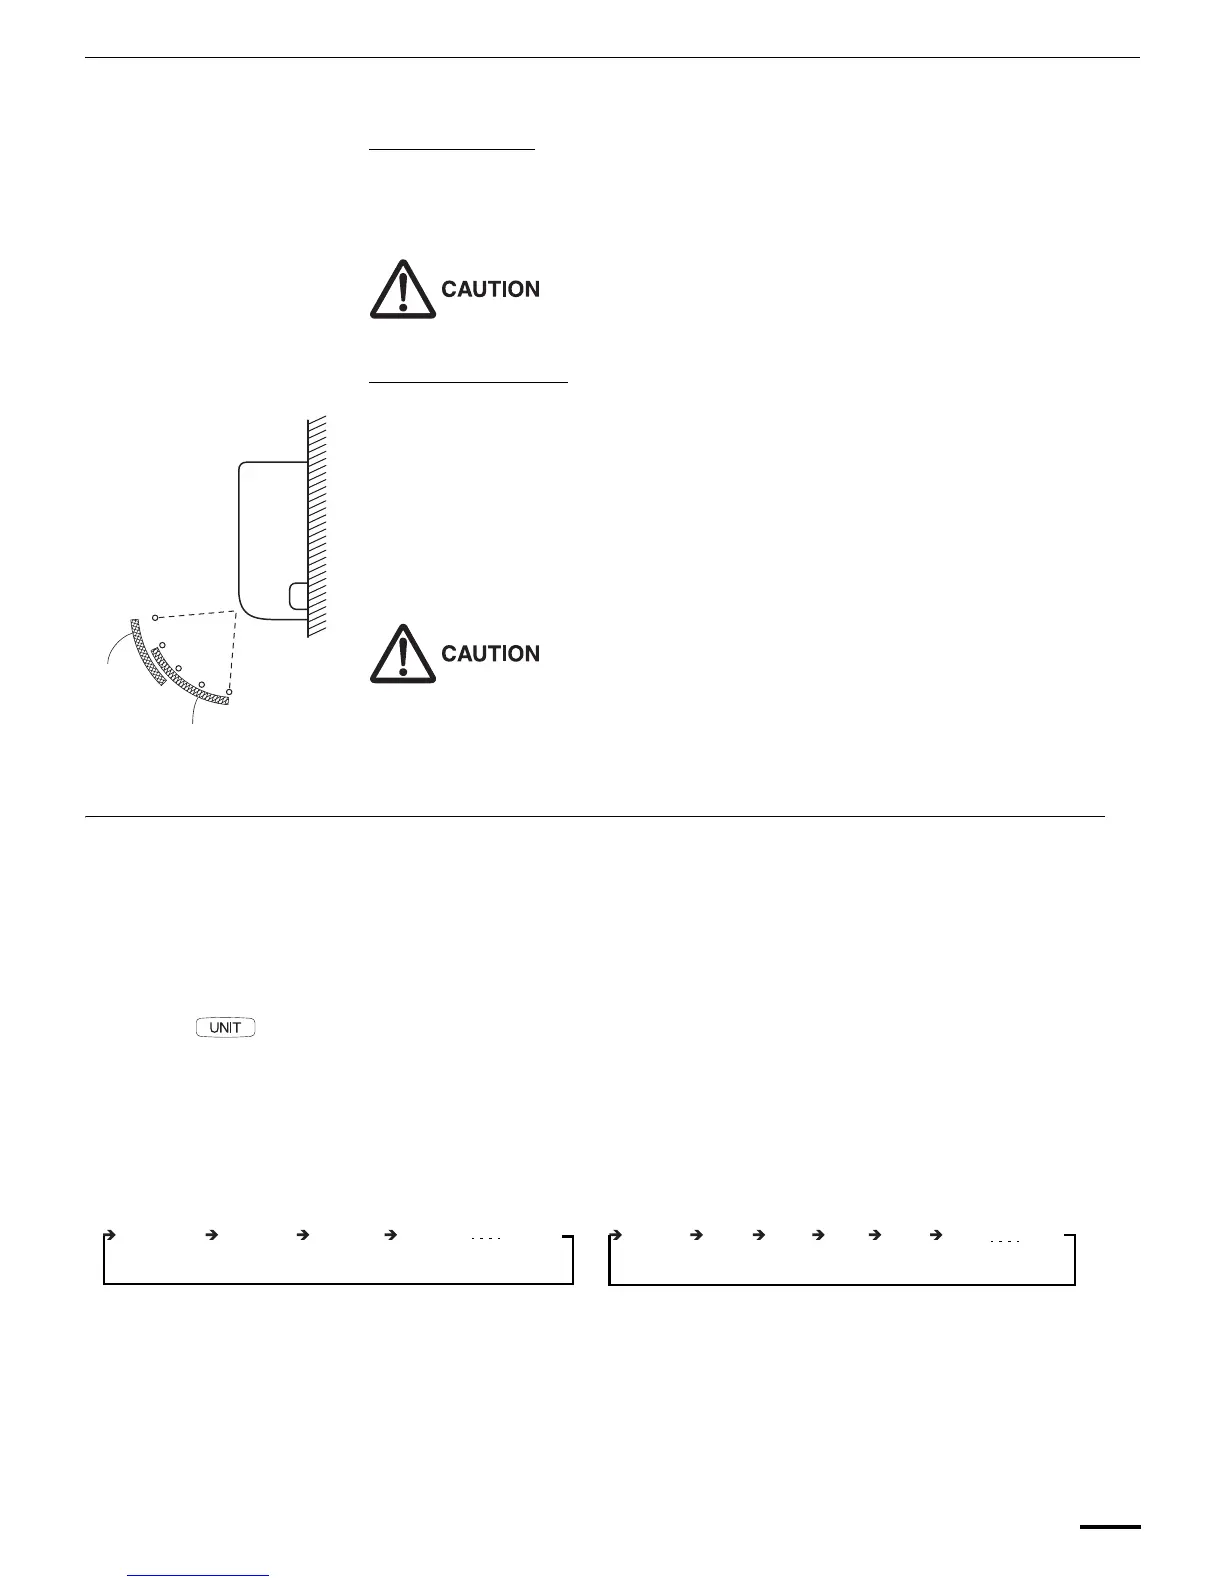
Wall mounted type (K2)
Vertical directions (automatic)
Confirm that the remote controller has been turned on. Press the FLAP button to start the flap
moving up and down. If you want to stop the flap movement and to direct the air in the desired
direction, press the FLAP button again. In the cool mode, do not direct the flap down and move out
of the cooling zone “A”, otherwise, condensation may drip on to the floor. Zone ‘‘A’’ is the
recommended flap position for cooling.
When operating continuously in the fixed airflow direction setting for about an hour, the airflow
direction is automatically controlled and the flap position is changed. The airflow direction may be
different from the display on the remote controller.
Do not move the flap with your hands.
Horizontal directions (manual)
The horizontal airflow direction can be adjusted manually by moving the vertical vanes to the left or
right.
• If multiple indoor units are connected to a remote controller, the airflow direction can be set
for each indoor unit by selecting the indoor units (see the operation below).
Auto Flap ( ) button
• To set the airflow for individual units, press the UNIT button. Display shows the indoor unit
number under group control. Set the airflow direction for the indoor unit that is shown on the
display.
• Each time UNIT is pressed, the indicator changes in the order shown below.
• When nothing is displayed, you can make the setting for all indoor units in one operation.
• The unit number is displayed as Outdoor Unit Number–Indoor Unit Number. It varies
depending on the number of units under group control.
One outdoor unit and eight indoor units Two outdoor units and four indoor units
Indoor unit
Zone ‘‘B’’ for
heating
Zone
‘‘A’’ for
cooling
No display
Unit No.
1–1
Unit No.
1–2
Unit No.
1–3
Unit No.
1–8
No
display
Unit
No.
1–1
Unit
No.
1–2
Unit
No.
1–3
Unit
No.
2–4
Unit
No.
1–4
Unit
No.
2–1
F569695_VRF_EN.fm Page 7 Thursday, August 14, 2014 3:43 PM