16 17
Viewing
Viewing from an SD card
Displaying PC Screen on TV
Displaying PC Screen on TV
The screen of the PC connected to the unit can be displayed on the TV.
You can also listen to PC sound with the audio cable connected. To connect PC (p. 12)
PC menu setting (change as desired)
Making settings “How to Use Menu Functions” to (p. 19)
Menu Item Adjustments/Configurations (options)
Picture
PC
adjustments
Reset to defaults
Resets PC adjustments. Confirmation screen is displayed. Select “Yes” and press OK to reset.
Sync
H & V
: The H and V sync signals are input from the HD/VD connector. (p. 33)
On green: Uses a synchronized signal on the Video G signal, which is input from the
G connector. (p. 33)
Dot clock
Alleviates the problem if a picture appears to be vertically-striped, flickers partially or is blurred.
H-position
Adjusts the horizontal position.
V-position
Adjusts the vertical position.
Clock phase
Alleviates the problem if the whole picture appears to flicker or is blurred.
First adjust the Dot Clock to get the best possible picture, then adjust the
Clock Phase so that a clear picture appears.
Note
It may not be possible to display a clear picture due to poor input signals.
Input
resolution
Switches to wide display.
Input signal switched from 640×480 to 852×480
Input signal switched from 1024×768 to 1280×768 or 1366×768
H-frequency
V-frequency
Displays the H (Horizontal)/V (Vertical) frequencies.
Display range
Horizontal: 15 - 110 kHz
Vertical: 48 - 120 Hz
Audio menu (p. 20)
Display the Input select menu
Input select
TV
1
5
2
3
4
6
7
8
Component
HDMI 2
HDMI 3
Video 1
PC
Video 2
AUX
HDMI 1
DVD
(example)
Select “PC”
PC
Displays
PC screen
Corresponding signals
(p. 33)
To return to TV /
Viewing from an SD card
This function that lets you easily view still images on a television by simply inserting an SD card into the SD card slot.
(Media other than SD Cards will not work.)
Press to exit from
a menu screen
Press to return to
the previous screen
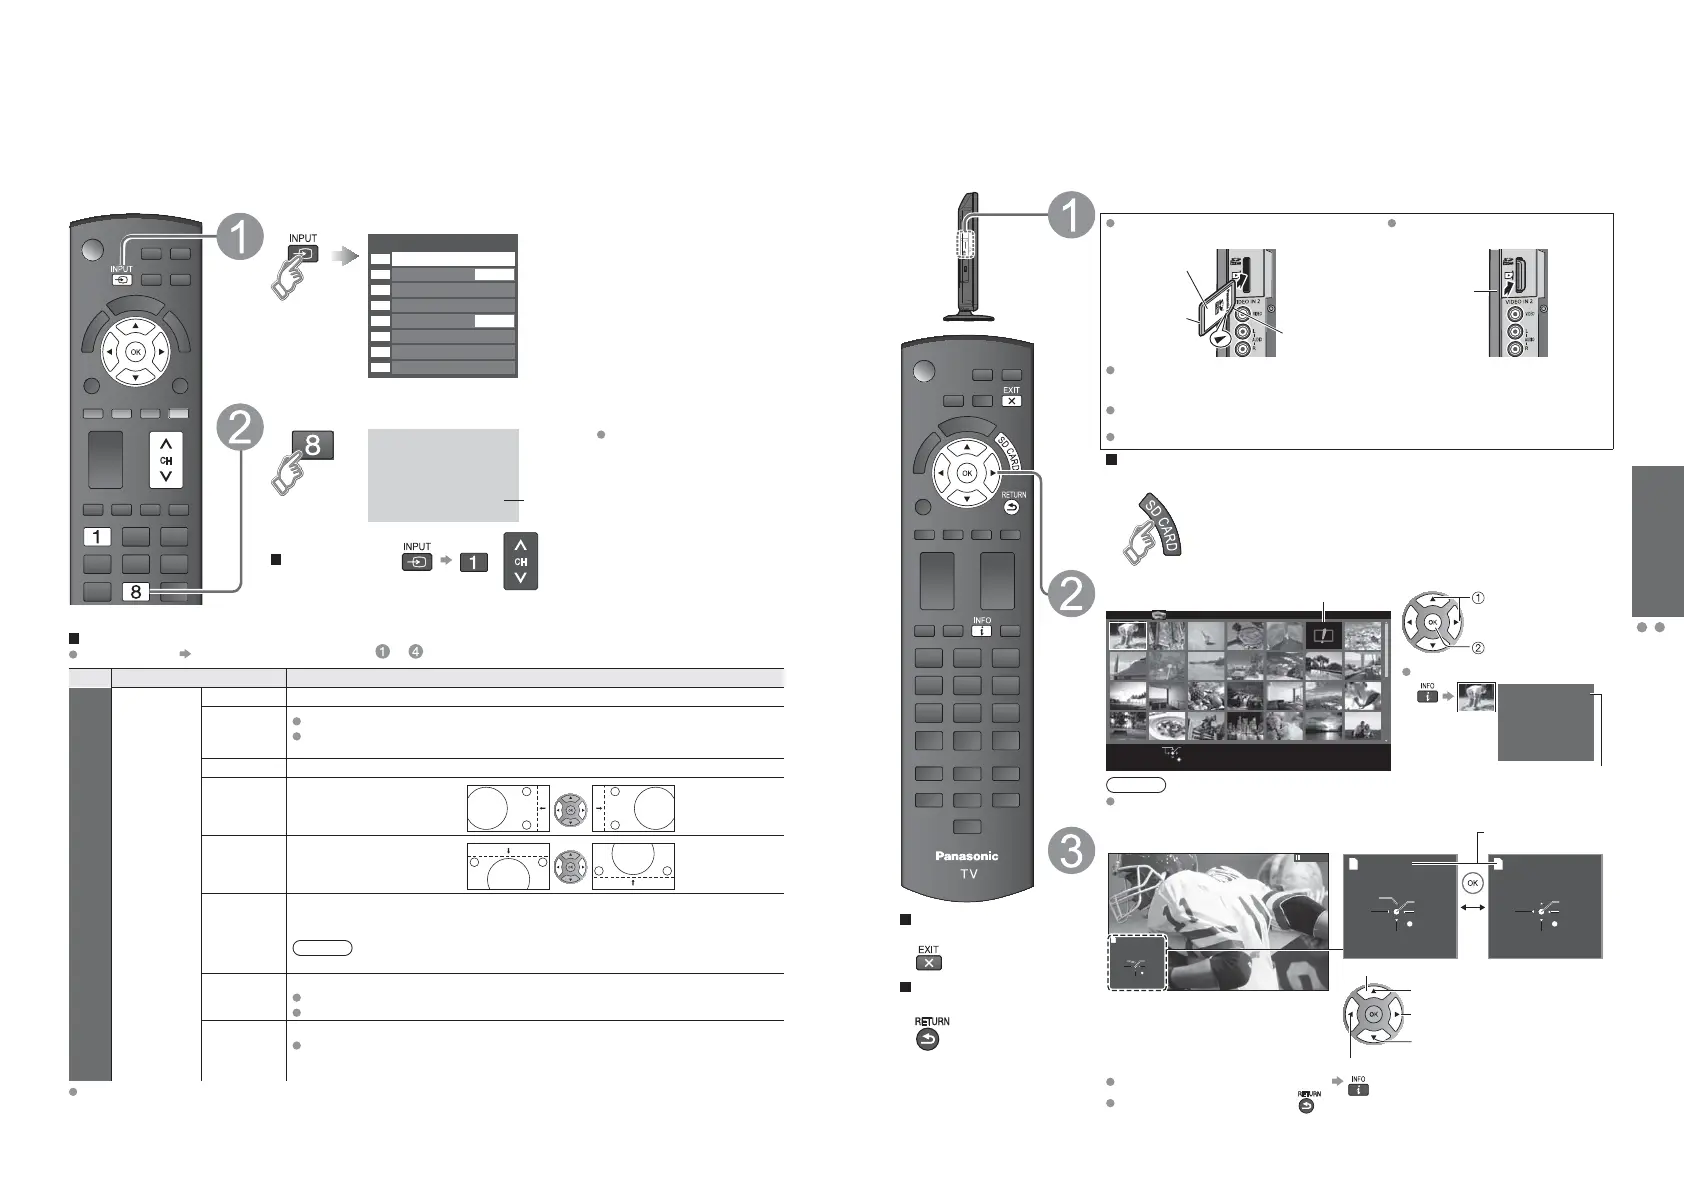
Insert the SD card
Insert the card Remove the card
Gently insert the SD Card label surface facing front.
Label surface
Push until a
click is heard
Cutout
Press in lightly
on SD Card,
then release.
Compliant card type (maximum capacity): SDXC Card (64 GB), SDHC Card (32
GB), microSDHC Card (16 GB), SD Card (2 GB), miniSD Card (2 GB), microSD
Card (2 GB) (requiring microSDHC Card/miniSD Card/microSD Card adapter)
If a microSDHC Card, miniSD Card or microSD Card is used, insert / remove it
together with the adapter.
For cautions and details on SD Cards (p. 31)
Manual operation (“Image viewer auto play” is “Off”)
Display “Photo” (Thumbnail)
Select the data to be viewed
sotohpllAPhotosreyalPaideM
SD memory card
Select
RETURN
OK
Error display (titles that could not be loaded, etc.)
select
view
To display/hide the Navigation area
1/48
File name
p1010001.JPG
Date
23/10/2009
Pixel
1600X1200
file number / total file number
Note
Depending on the JPEG format, “Information” contents may not be displayed
correctly. Refer to p. 31 (Data format for SD card browsing) for details.
View
Next
Rotate
Prev.
RETURN
Play
Stop
Accessing
Single view
Displays one at a time
Rotate 90 degrees (counter-clockwise)
To next photo
Stop
To previous photo
Accessing
Next
Prev.
Rotate
RETURN
Accessing
Pause
Next
Prev.
RETURN
Play
Stop Stop
Navigation area
Present status
(While reading the data)
Single photo view
Slideshow
To display/hide the Navigation area
Return to the Thumbnail view
 Loading...