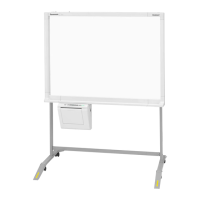
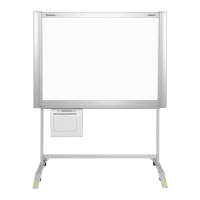
Assembling the Electronic Board
7
English
■ If you are using the wall-mounting
kit (option):
1) Hang the scanner / printer unit on the wall-
mounting fixtures using the wing bolts
A
or
B
(
➊
).
2) Screw the two wing bolts [included in the wall-
mounting kit (option)] into the lower side
wall-mounting fixtures (➋).
• The electronic board can be mounted
200 mm (7
7
/8”) higher than hang position A
by hanging it with the wing bolts B.
6
Remove the fastening belt
(
➊
),
cushions (➋) and tapes (➌).
7
Insert the two supplied screen
fastening brackets into the screen
unit frame.
8
Open the screen film surface.
• When opening the screen film surface, be
careful not to scratch or wrinkle it.
2
2
1
1
A
B
Wall mounting fixture L
Wall
mounting
fixture R
Screen unit
Fastening
belt
Pull here to
remove the
fastening
belt.
Pull
Pull
Fastening belt
(required for
repacking)
2
2
1
1
3
3
Tape
Projection
Screen fastening
bracket
Screen fastening
bracket
Screen film surface
Roller
Caution
UB-5325_IM_EN.book 7 ページ 2008年1月8日 火曜日 午後5時7分
 Loading...