6
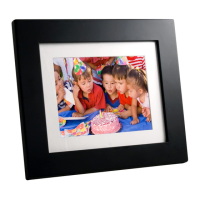
Setting Up the Digital Photo Frame
The Digital Photo Frame is easy to set up. Just follow these steps:
1. Plug the AC Power Adapter into the Digital Photo Frame and into a wall outlet.
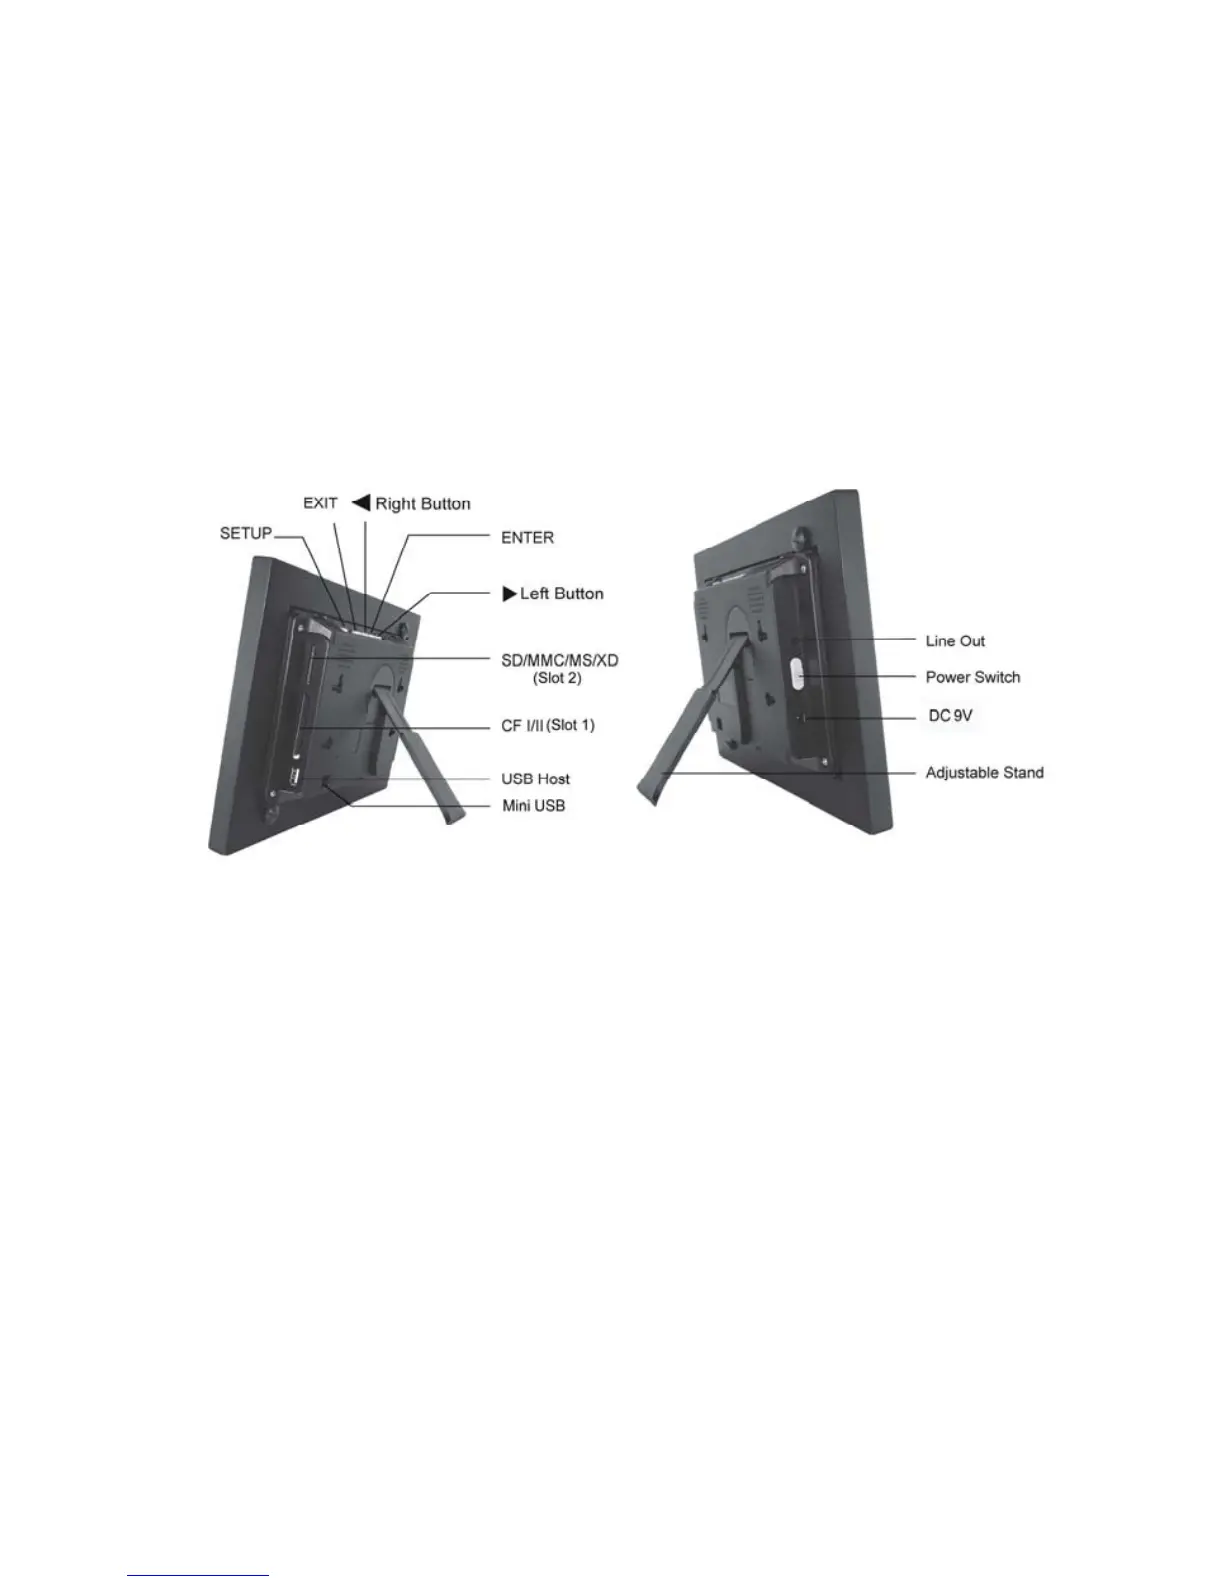
2. Insert a memory card into the appropriate slot.
Slot 1 - Compact Flash™
Slot 2 - Secure Digital™ or MultiMedia Card™,
Memory Stick™, MemoryStick Pro™, Memory Stick Duo™, or Memory Stick
Pro Duo™, or xD Memory Card™
Note: The card will only fit in one direction; do not force it. The card should fit
snugly when properly inserted.
3. Slide the POWER button on the left side of the Digital Photo Frame up, the
Digital Photo Frame will power on and automatically start a slideshow of the
photos on the card. Slide the POWER button down to power off.
4. To display photos individually, press the EXIT button on the remote control to
pause slideshow.
5. Press of Exit button will display thumbnail screen. Use the directional arrows
to choose a photo. Press the Enter on the top of the Digital Photo Frame, on
the remote control. The selected photo is displayed on the Digital Photo
Frame.
Note: Pull the plastic tab sticking out of the remote control. It protects the
battery, and the remote control will not work unless it is removed.
6. To restart the Slideshow, press the Enter key again, or press the Slideshow
button on the remote control.
 Loading...