7
3. Click
Driver & PhotoImpression.
4. After the driver installation, you can select a different
language for PhotoImpression if desired.
5. Follow the install wizard to install the PhotoImpression
software.
6. When the screen appears with the list of file types for
PhotoImpression software to be used as the default viewer,
click the
Clear All button or de-select the files types that you
don’t want to automatically open with this software.
7. The installed software will automatically create a
PhotoImpression icon on your desktop.
8. Remove the installation CD.
9. Unplug any unnecessary USB devices connected to your
computer.
10. To ensure an adequate power distribution to your USB 2.0
port, you must restart your computer.
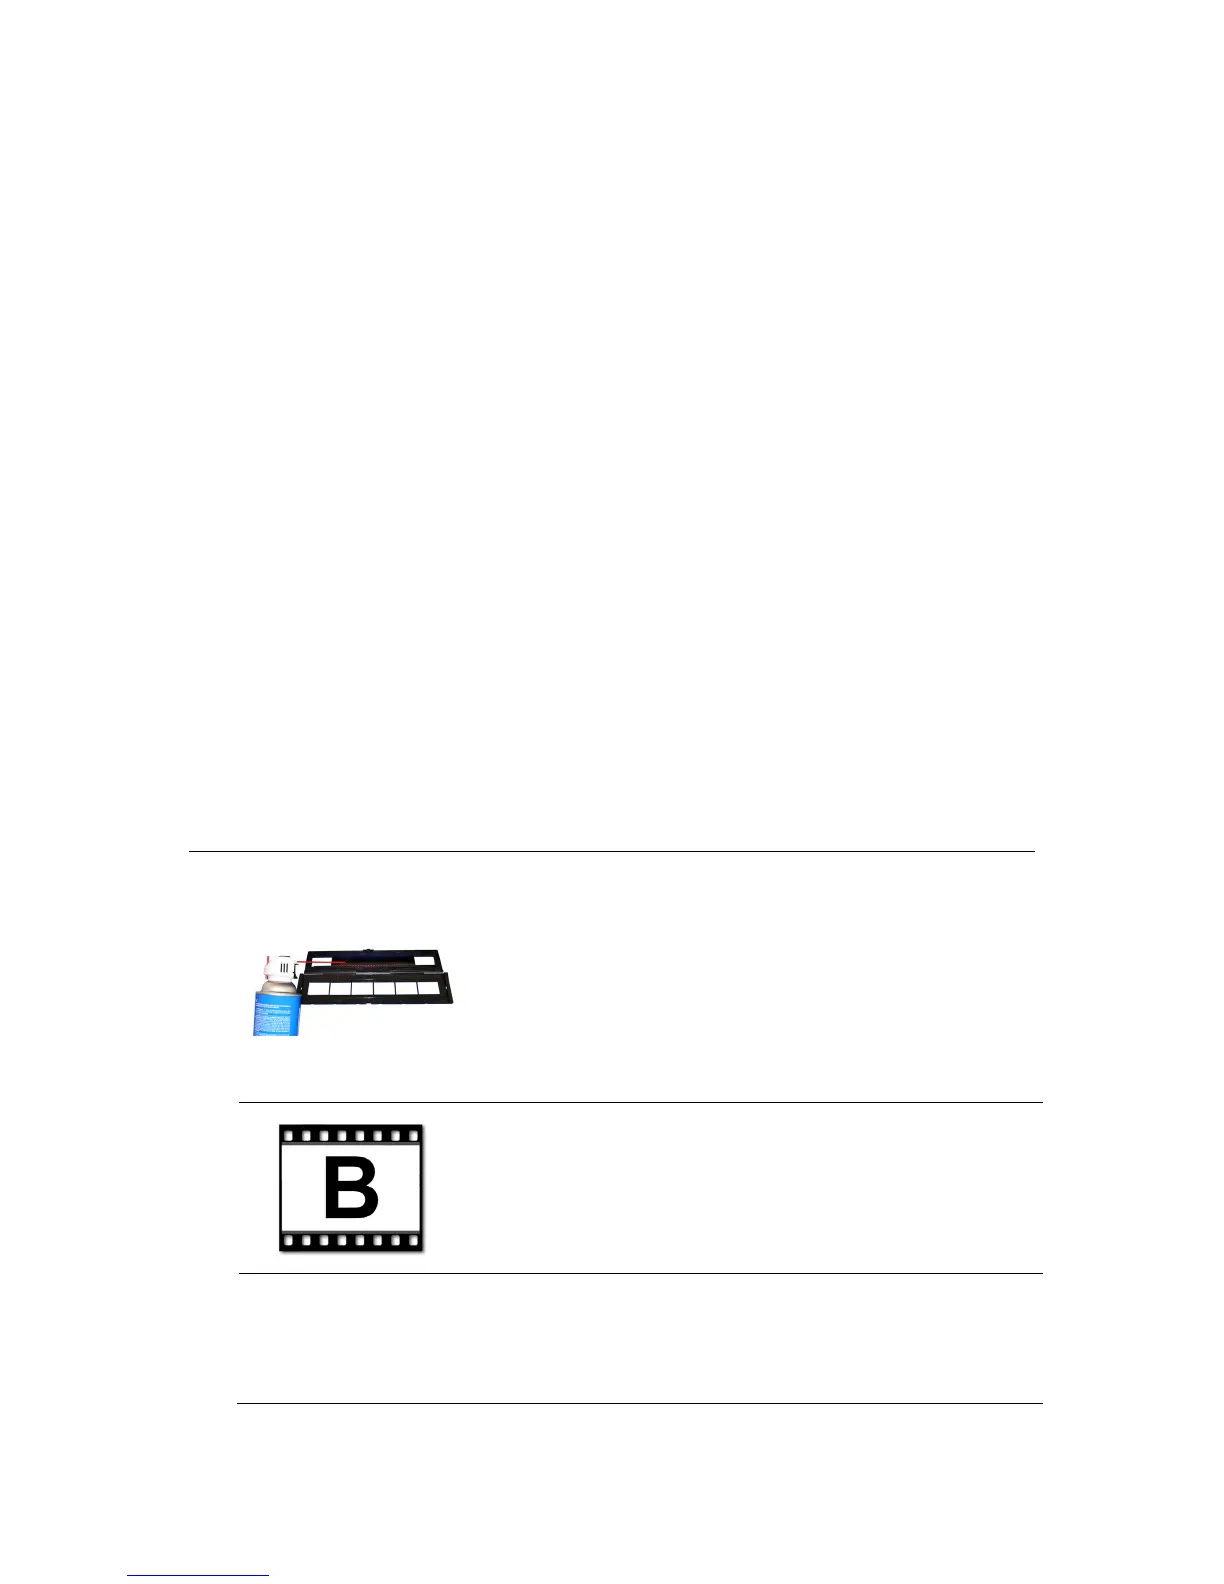
Loading Negatives
Handle negatives with care; any dust,
scratches, or finger prints will appear on your
scanned images. If possible, use cotton gloves
when handling negatives. It is recommended to
use compressed air to remove any dust on the
negatives (not included, can be purchased from
an office supply or electronics retailer).
Hold up the negative towards light, with the
small negative numbers facing you (not a mirror
image) and the image should appear normally
(not upside down).
Open the negative tray at the marked spot on the top. With the
negative tray laid open, place the negative into the tray so the
notches line up with the notches on the tray.

 Loading...


