11
Connecting with Macintosh Computer
When the computer recognizes the scanner built-in disk or inserted memory card, the
volume icon appears on the desktop.
To view the contents of the built-in disk or memory card, double-click the icon to open a
Finders window.
Access your Scanned Images
When the first item is scanned to the memory card and the built-in disk, the folder structure
DCIM\100PHOTO is created automatically in each storage area and the scanned images
are saved in the 100PHOTO folder. When the 100PHOTO folder is filled, a new folder titled
101PHOTO is automatically created to store subsequent new files, and so on.
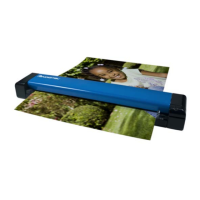
When the scanner is connected to your computer
without a memory card inserted, Windows
recognizes the built-in disk as PD_SCAN [drive letter]. When the scanner is connected
with
a memory card inserted, Windows recognizes the memory card as
Removable Disk [drive
letter].
If a personalized title has been added to the memory card properties (such as MY
PHOTOS, as shown below), that title is displayed instead of “Removable Disk.”
Disconnecting the Scanner
CAUTION: Do not remove the memory card or disconnect the USB cable while the computer is
accessing stored files.
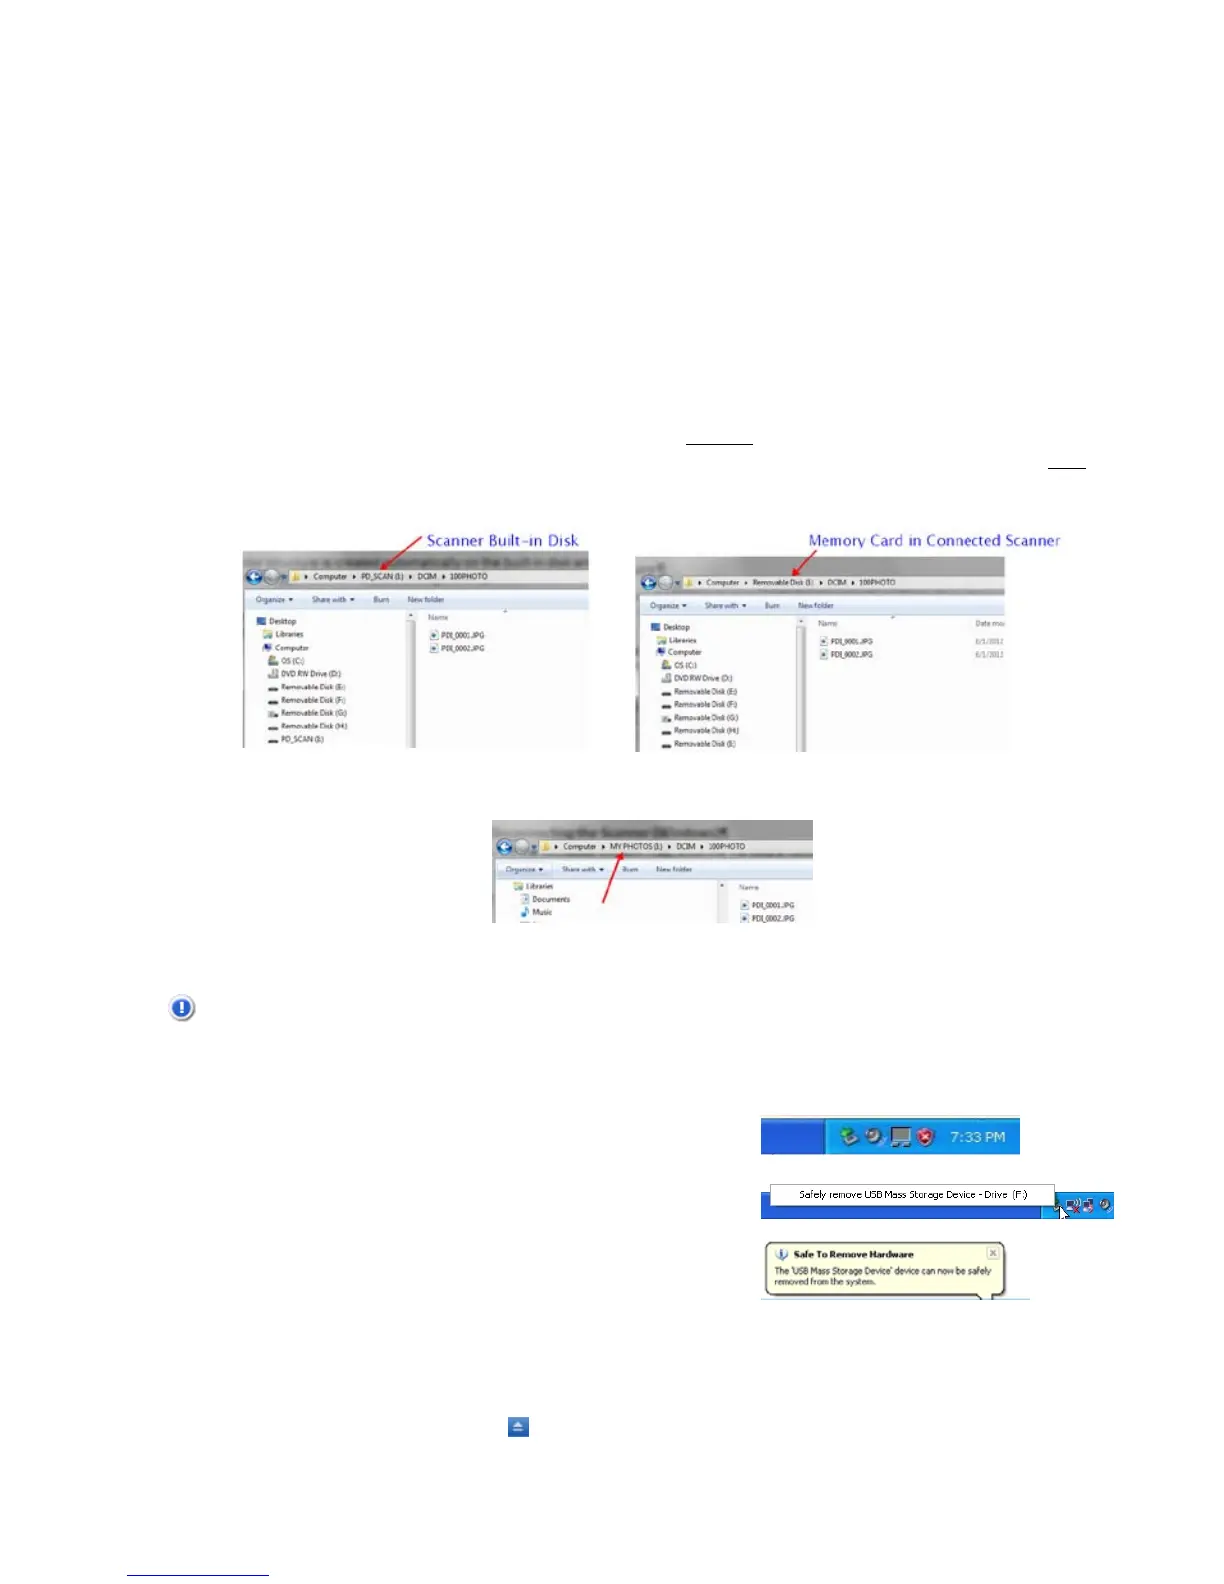
Disconnecting the Scanner from a Windows PC
1. On the Windows System Tray, click the
hardware removal icon as indicated below.
2. Click Safely remove USB mass Storage
device – Drive (<Drive Letter:>)
3. When the Safe to Remove Hardware message
appears, you can safely remove the scanner’s
USB cable.
Disconnecting the Scanner from a Macintosh
1. Click and drag the volume icon on the desktop to Trash.
Or
Click the eject button
next to the volume name in the Finders window.
2. Disconnect the scanner from your computer.
 Loading...


