CRAC/CRAH Sensor Hardware Installation Manual
- 30 -
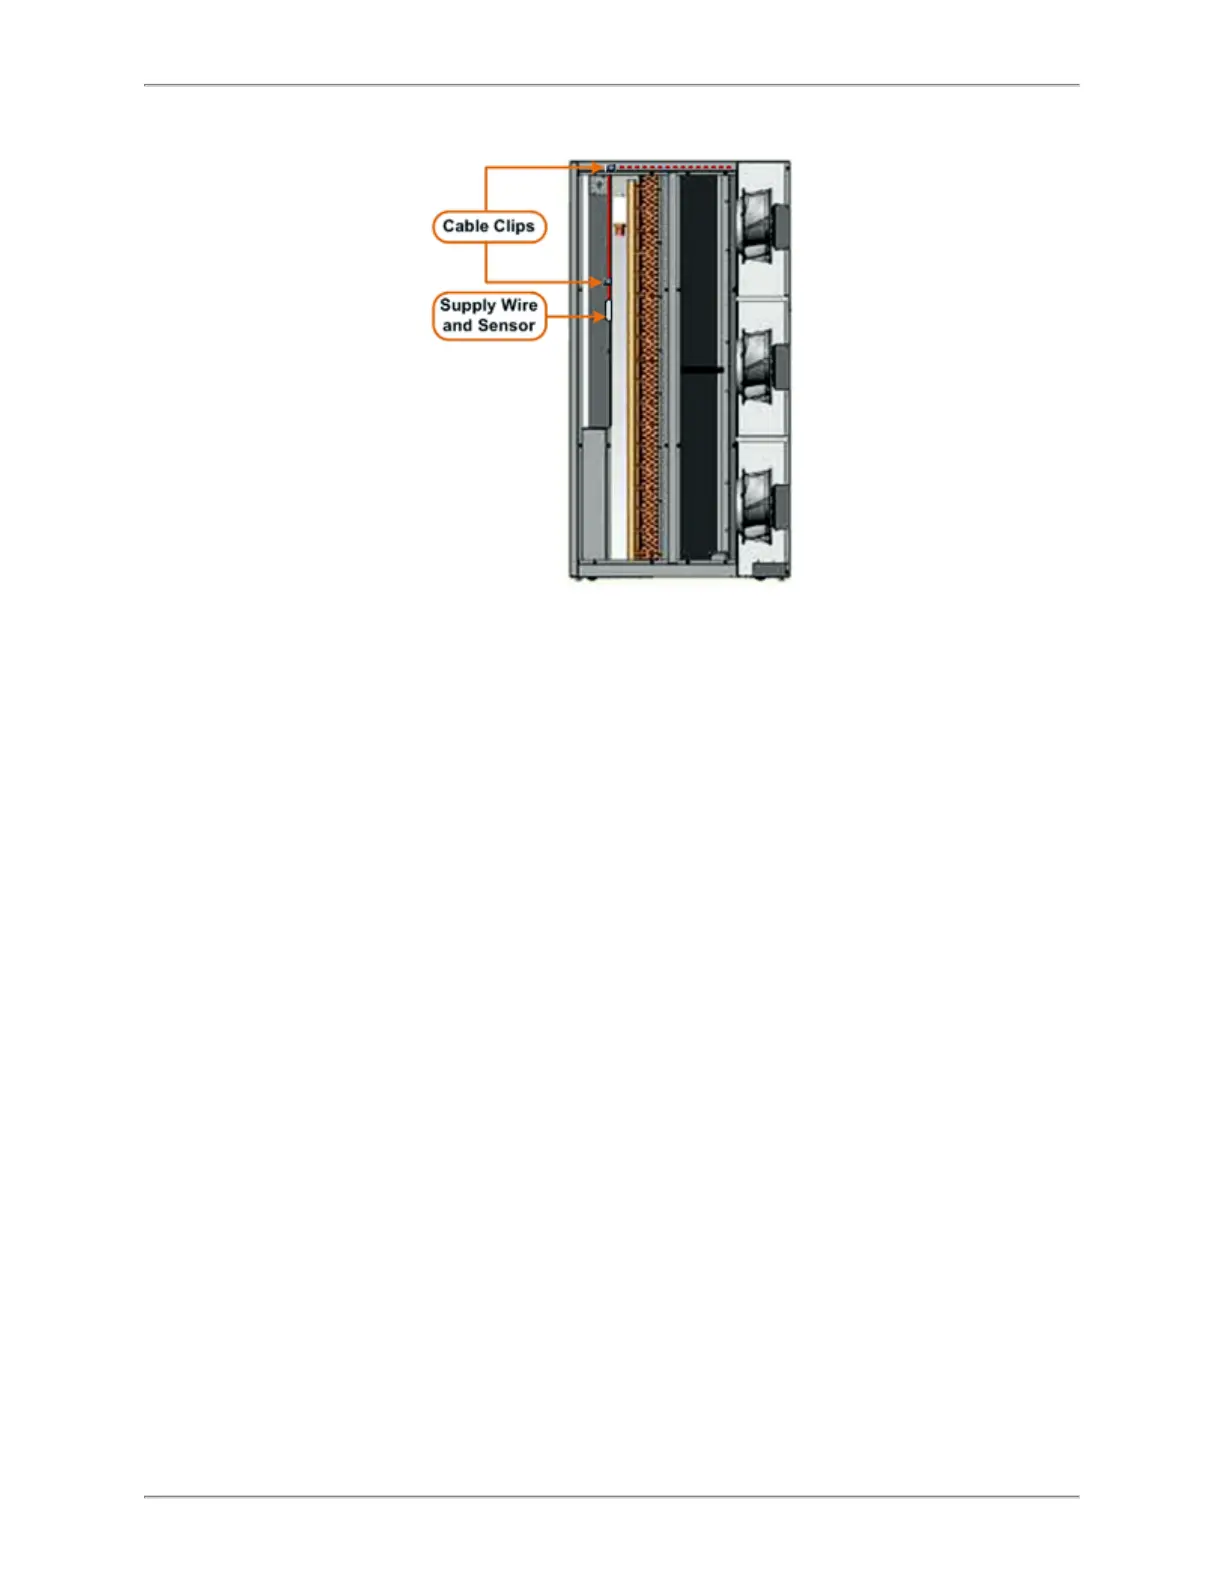
2. Route the supply wire in the unit.
a. Route the supply wire over the coils and secure with cable clips as needed.
b. Ensure supply wire does not catch or rub against sharp edges during routing.
c. Pull excess supply wire into the fan area of the unit. Make sure there is
enough wire length available to mount the ThermaNode.
3. Route and install the return sensor.
a. Position the return sensor in front of the fan’s airflow.
b. Secure the sensor wire to the fan’s grille with zip ties.
c. Route the return wire to the fan’s separation plate. Ensure return wire does
not rub or catch on sharp edges.
4. Route the return wire to the unit.
a. Position the return sensor in front of the fan’s airflow.
b. Secure the sensor wire to the fan’s grille with zip ties.
c. Route the return wire to the fan’s separation plate. Ensure return wire does
not rub or catch on sharp edges.
5. Mount the ThermaNode.
a. Clean the ThermaNode installation area (in the return area) with alcohol
wipes. Allow area to dry.
b. Attach 3M Command Strips to the underside of the ThermaNode (if not
already present).
6. Plug the cable assembly connector into the ThermaNode.
7. Temporarily install the unit with the ThermaNode LED facing toward the open area
(ON/OFF switch accessible).
8. Secure excess wiring.
a. Bundle and secure excess wiring with zip ties.
b. Secure bundle to existing wires in the unit.