33
GB IE
Initial start-up
Before operating the device, you must
- insert the batteries,
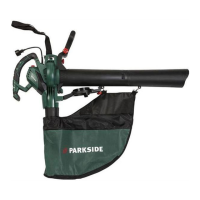
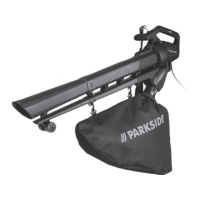
- install the blower or suction pipes,
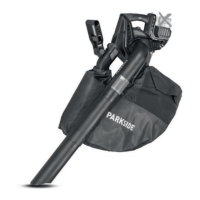
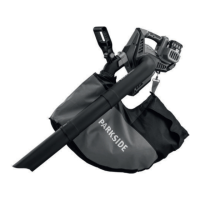
- install the collection bag for suctioning
leaves,
- insert the protective cover for leaf
blowing.
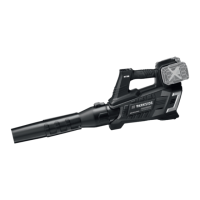
The cordless leaf vacuum/blower
has a safety contact, which is lo-
cated in the motor housing (
1),
where the protective cover (
7)
or the suction pipe (
16) is moun-
ted.
If these contacts are
not activated, the device
cannot be started!
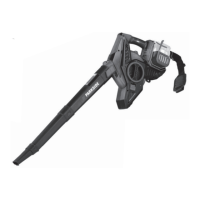
Pay attention to the correct assembly
- protective cover (7) for blowing
mode;
- suction pipe (16) for vacuum
mode.
Caution! Risk of injury!
During the assembly or di-
sassembly of the blowpipe,
suction pipe, protective cover
or collection bag, the device
must be turned off and all
moving parts must have
come to a standstill. Remove
the batteries before carrying
out any work!
Charging the battery
Ensure that the ambient tem-
perature does not exceed
50°Corfallbelow0°Cduring
the charging process.
If warm, allow the battery to cool
before charging.
Do not expose the battery to direct
sunlight for long periods and do
not place it on a radiator (max.
50°C).
1. Remove the battery (5) from the device.
2. Plug the charger (6) into a socket.
3. Slide the battery (5) onto the charger
(6) up to the stop.
4. Remove the battery (5) from the char-
ger (6).
5. Once charging is complete, disconnect
the charger (6) from the mains supply.
Remove/insert battery
1. To remove the battery (5) from the de-
vice, press the release button (5a) on
the battery (5) and pull the battery out.
2. To insert the battery (5), push the bat-
tery (5) along the guide rail into the
device. You will hear it click into place.
Only insert the battery once
the battery-operated tool is
fully ready for use.
Assembling/
dismantling the three-
piece blowpipe
Never use the leaf blower
with only one blowpipe sec-
tion attached. There is a risk
of personal injury!
Pay attention to the correct as-
sembly of the protective cover (7),
otherwise the leaf blower will not
start.
1. Assemble the three-piece blowpipe (9)
as illustrated. The parts can be felt to
lock into place.
 Loading...