F6291
Installation & Operating Instructions for the
Parrotuncle Owner’s Installation ,Manual
WARNING: SHUT POWER OFF AT FUSE OR CIRCUIT BREAKER
Parrotuncle Lighting, 218 Black Tie Lane, Chapel Hill, NC www.parrotuncle.com
Parrot Uncle YOU CAN BE SURE OF are trademarks of Eileen Grays LLC. Used under license by Eileen Grays LLC. All rights reserved. Made in CHINA
FAN INSTALLATION INSTRUCTIONS
1
WARNING
Make sure electricity is turned off at the main power box before commencing work. Turn off the power by removing fuse or turning off circuit breaker before installing the fan and replacing the lamps.
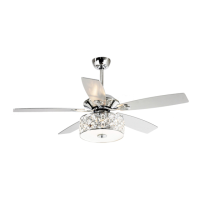
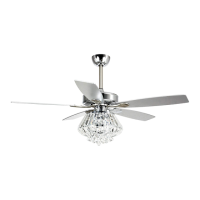
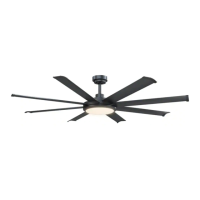
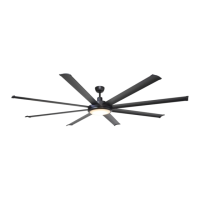
• The lowest point on the fan blade must be at least 2.1 metres (7 feet) from the floor.
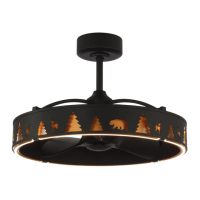
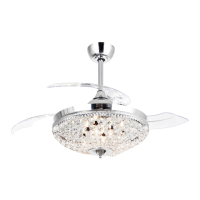
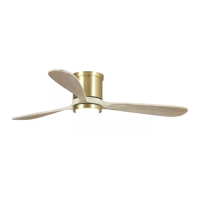
• Make sure that ceiling joists are strong enough and of adequate size to support the weight of the fan of about 35 kg.
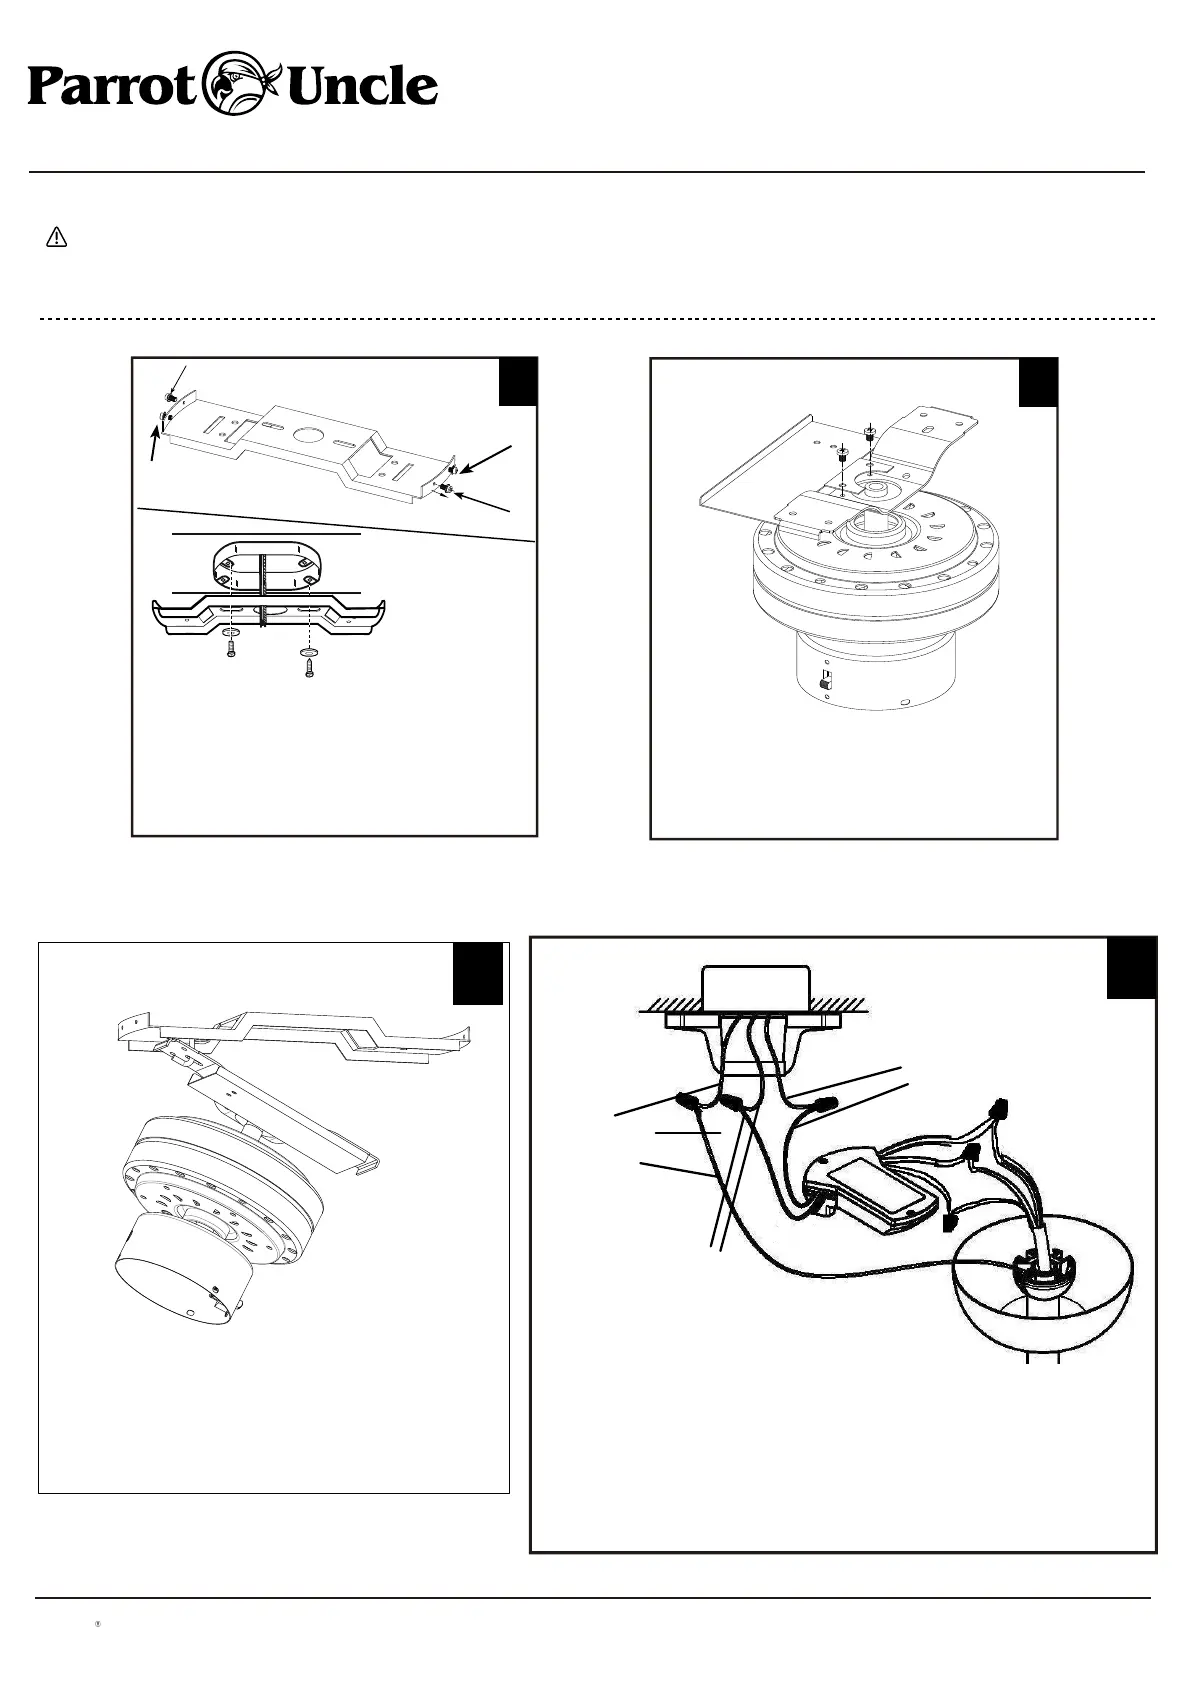
Bracket
2
Remove the screws and star washers (1) from
the bracket as shown above. Loosen (do not
remove) the screws (2) from the bracket as
shown above. Install mounting bracket to outlet
box in ceiling using the screws and washers
provided with the outlet box.
1
2
1
2
Install the remote control receiver mounting
plate to the bracket using two screws.
Remove screws from motor bracket and mounting plate.
Hang fan from mounting plate by inserting "T"-shaped
end of bracket into slot opening of mounting plate. This
will allow for hands free wiring.
GROUND
(Green&Yellow)
AC IN N
(WHITE)
AC IN L
(BLACK)
4
Make the wiring connections for
- signal connector
- receiver’s output connector
- receiver’s input connector
Leave lamp wires connector unconnected for fan without light. Connect live
(AC IN L), neutral (AC IN N) and ground (GROUND) wires to terminal block in
accordance to the wiring label. Isolation switch must be installed.
3