For the installer – EN
15
User and installation guide
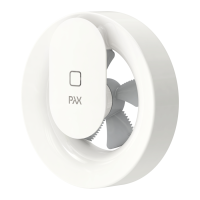
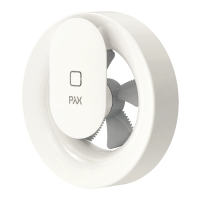
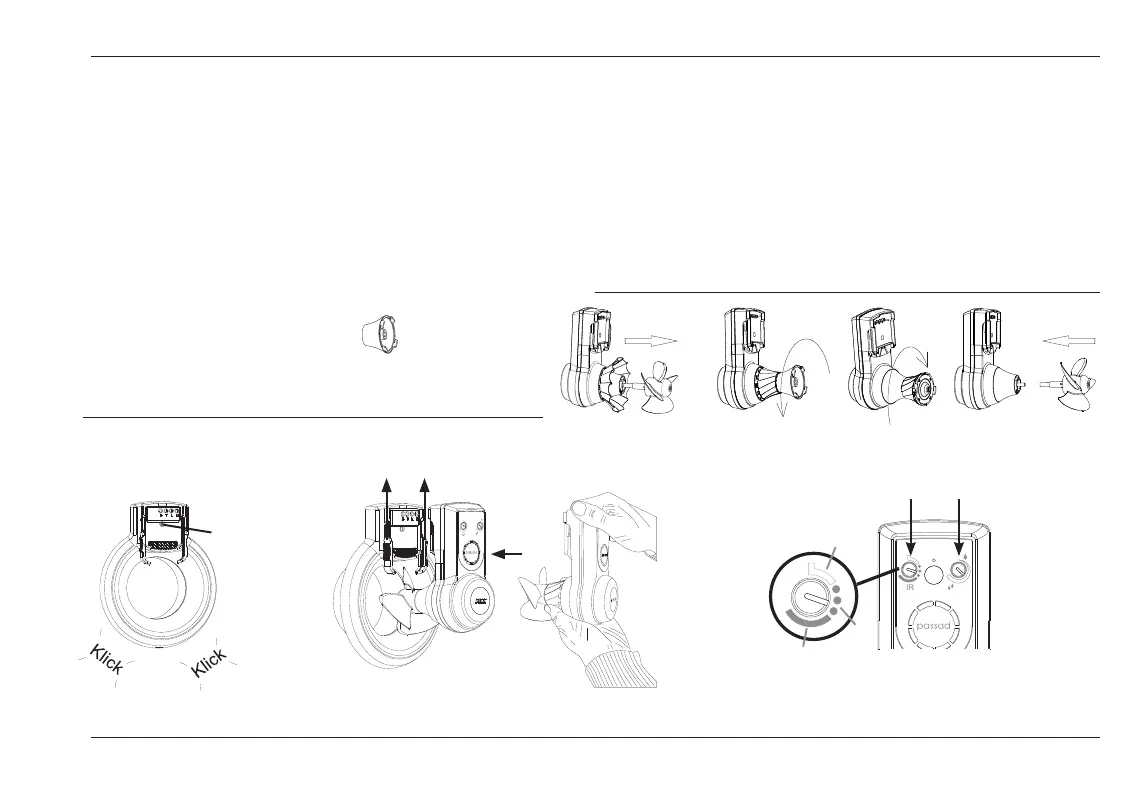
Ret the motor unit to the frame
Make sure that the housing snaps into place properly when it is tted to the
frame. Tighten the screw (J).
Ret the motor unit to the frame (K1). Push the two locking buttons up-
wards (K2) to lock the motor unit to the frame.
NOTE: If the fan is equipped with a back draught shutter you must hold in
the shutter blades to prevent them colliding with the locking buttons when
retting the frame (see gure K3).
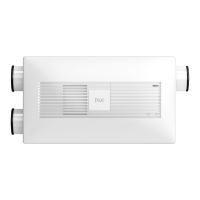
If the fan Passad 31 is connected to a duct with natural draught
ventilation in the ceiling (see page 3) , the backdraught shutter must be
removed and replaced with
the PAX passad nose cone accessory (gure A - D).
NOTE: A backdraught shutter is harmful if the fan is installed in a
ventilation duct with natural ventilation.
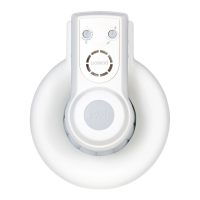
Testing the fan functions
Pax Passad 30 and 31:
Test the presence sensor by turning the control (L3) clockwise to start
the fan (setting 1). Then turn the control fully anticlockwise to stop the fan
(setting 3).
Test the humidity sensor by rst turning the control (L4) clockwise until the
fan reaches full speed. Then turn the control slowly anticlockwise until the
fan returns to low speed. Leave the control in this position. Turn the pres-
ence sensor control clockwise to the desired operating position (L3).
J
K1
K2
K3
L3 L4
3
2
1
Passad 30 and 31
A B C D
 Loading...