6
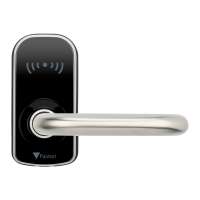
The PaxLock Pro is certied to EN 1634-1 covering both FD30 and FD60 rated timber re doors. All door
furniture used in the installation must have equivalent re certication in order to comply. This includes
the use of interdens as recommended by the lockset manufacturer.
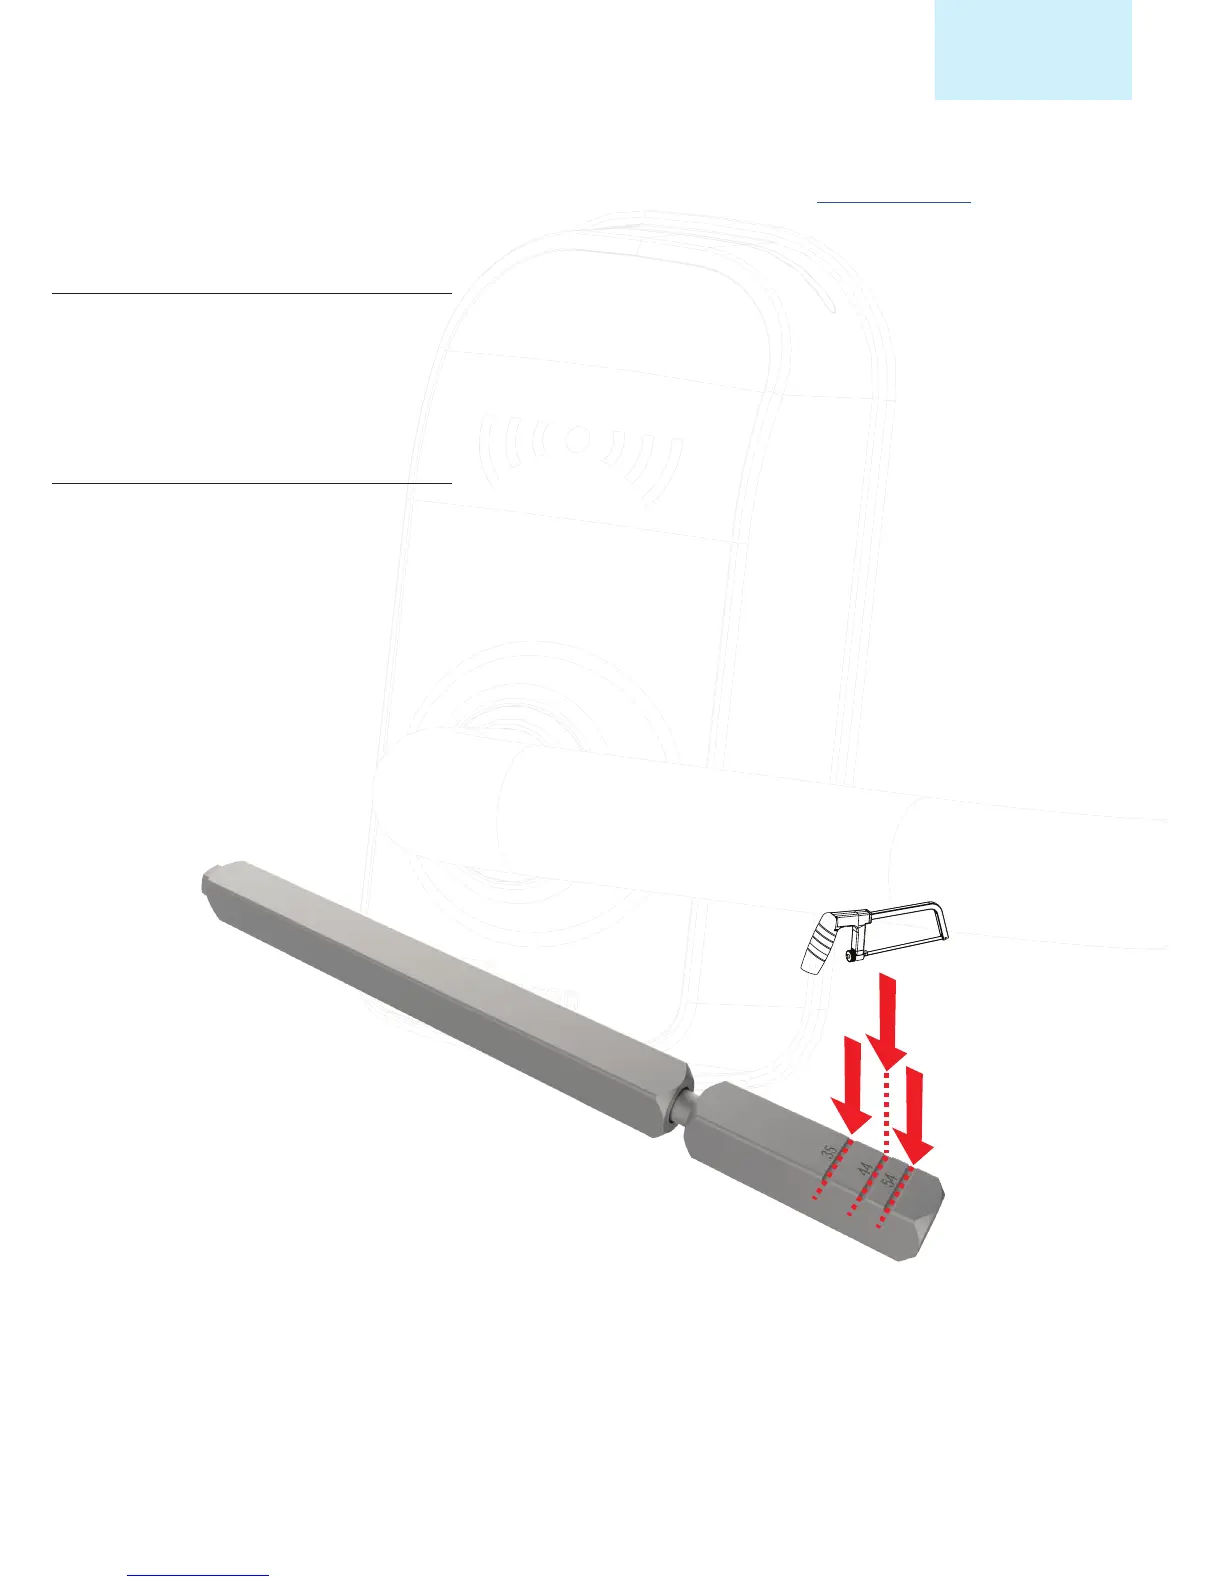
The Union HD72 lock case is designed so that the front and rear of the lock case work independently of
each other, allowing for single action egress. For this reason, a split spindle must be used with the lock
case. The split spindle may need to be cut down, depending on the door width, there are marks on the
split spindle to aid in cutting it down.
Note: When cutting down the split spindle we recommend a hack saw with 24 TPI (teeth per inch)
It is important to note that when installing the Union HD72 lock case the screws on the follower must
always be located on the inside of door as this denotes the direction of escape. If they need to be moved
over to the other side of the lock case, they must be removed and replaced one at a time.
Note: If both screws are removed at the same time you will be unable to screw them back in.
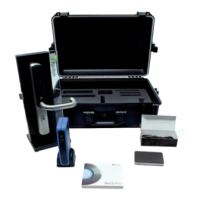
EN179 Kit
During installation
Fire Doors
Sales Code: 901-015 PaxLock Pro - Euro, EN179 kit
You can view the PaxLock Pro’s BS EN179 certication at the following link < paxton.info/3689 >
 Loading...