ISSUED: 03-23-00 SHEET #: 170-9011-8 10-28-04
Visit the Peerless Web Site at www.peerlessindustries.com For customer service call 1-800-729-0307 or 708-865-8870.
6 of 13
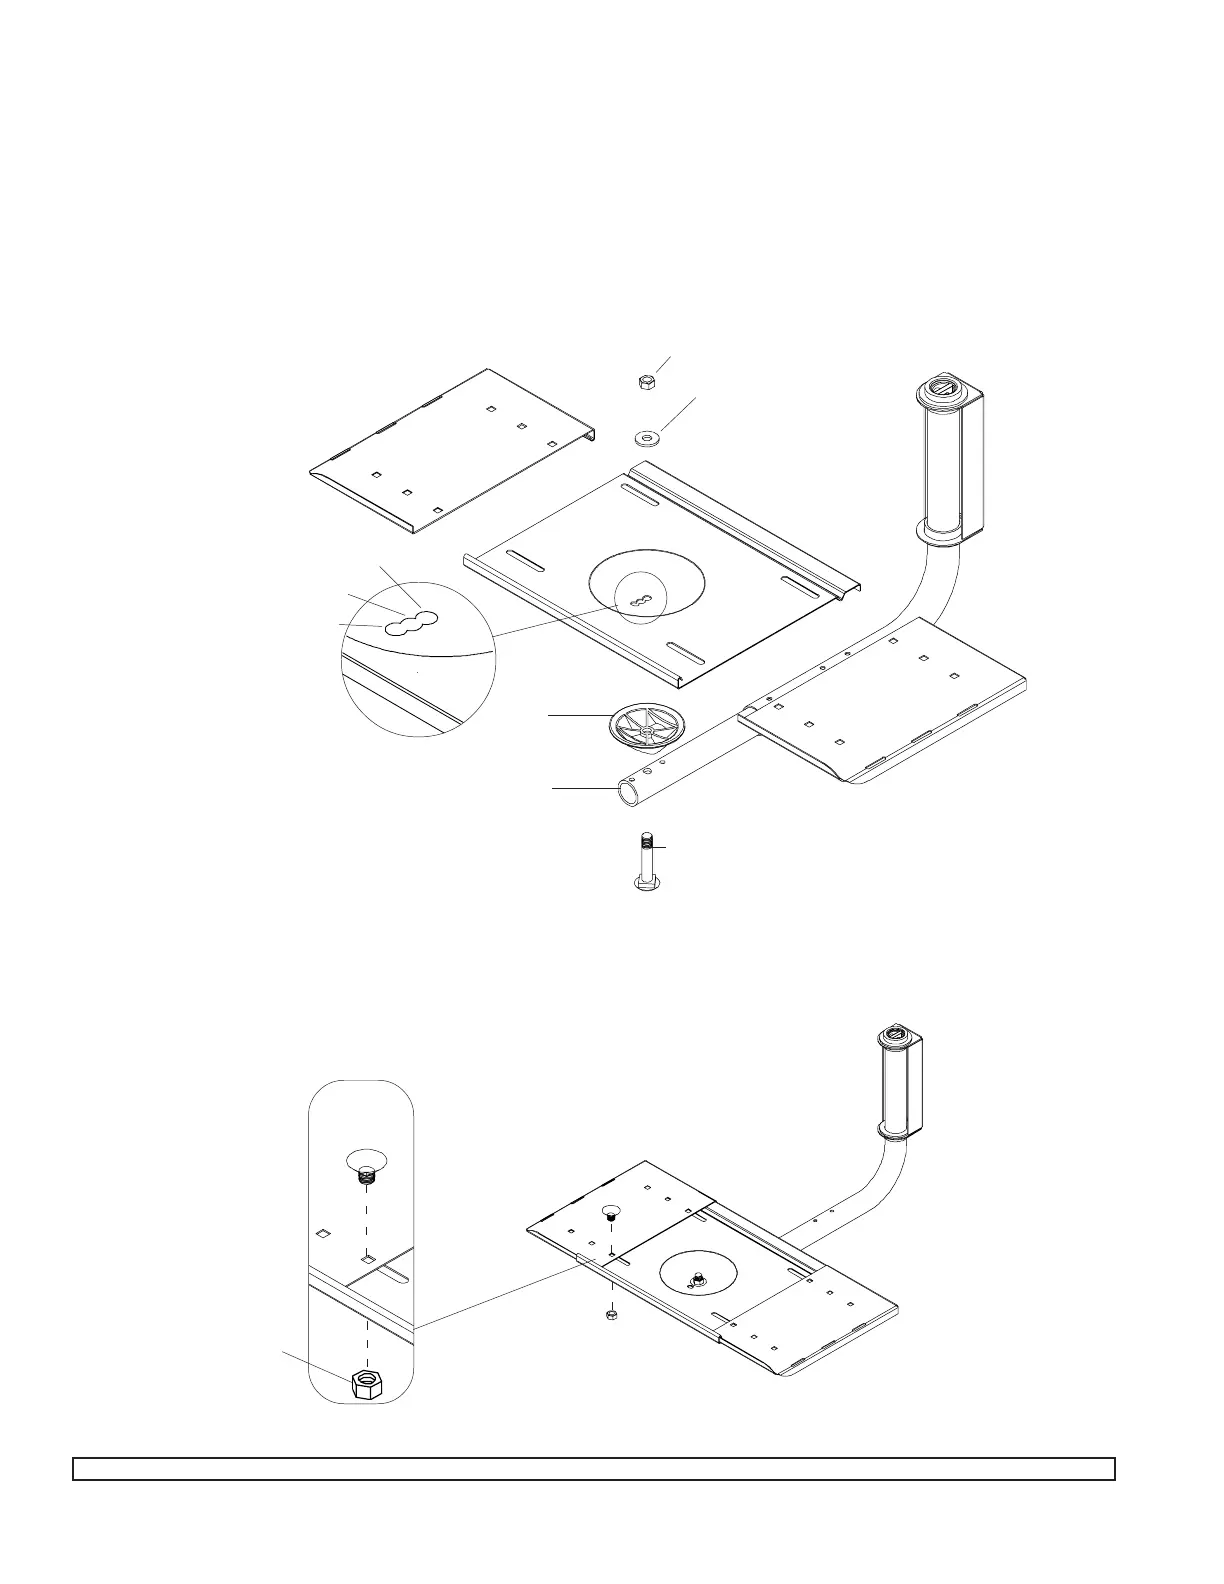
Start by fitting the plastic cup (F) into the alignment holes on top of the arm (D) as shown. Then insert the bolt (M) from
underneath and insert through (D) and (F) . SEE DIAGRAM
Now put on the center tray (A), using the hole that corresponds to the degree of tilt you want. There are three tilt choices. The
front hole in tray provides the maximum tilt.
Add the washer (O) and nut (N). Tighten the nut (N) securely using a socket wrench. Make sure tray is not loose, and can still
turn from side to side.
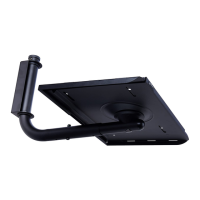
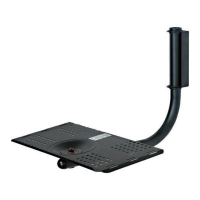
Add the Support Tray
N
O
A
F
D
M
B
C
R
S
B
A
C
The trays are shipped preassembled. For this step, slide the left (B) and right tray (C) apart from center tray (A). Align the holes
to fit the width of your TV. Fasten with bolts (R) and nuts (S).
0
0
10
0
5
0
Note: Install nut with plastic
washer side down.
Note: If installing a VCR
mount, refer to that instruc-
tion before completing this
step.
If you are installing a VCR, you must do that before you assemble the tray. Follow VCR instructions for entire assembly