14.
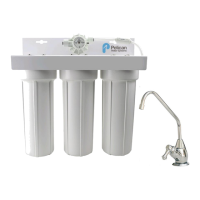
PELICAN PRO-RO 6 Instruction Manual
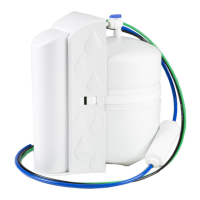
1. Close the small shut-off valve on the feed valve assembly.
2. Close the tank shut-off valve.
3. Open the dispensing faucet.
4. Close the dispensing faucet when the water stops flowing.
5. Locate the inline lter on the faucet line.
6. Remove the tubing by depressing the collet towards the lter and pulling the blue tubing from the lter.
7. Remove the other side of the blue tubing as described above.
8. Reverse the above steps to install the new inline lter, making sure that the tubing is pressed in as far as possible.
9. Open the small shut-off valve on the feed valve assembly. Observe system for any leaks, especially at newly re placed
cartridge.
10. Open the tank shut-off valve.
11. The system should be flushed at least once as described in System Activation and Flushing.
Please ll out the following information at the time of installation. Save for future reference.
Post Filter Replacement
Model:
Date Code:
Install Date:
Sold by:
Installed By:
Service Center
Phone Number:
Pelican PRO-RO



 To Next Page