CARE AND MAINTENANCE
1. Remove the hardware from the door so the finish of the door will not be affected. See the hardware instructions for
removal. NOTE: you may be able to leave the hardware in place on the door when polishing the handle only - make
certain to completely mask off all areas around the handle before starting. If polishing the key cylinder, protect the
internal mechanism by covering the opening with tape.
2. Use a quality brass polish or cleaner to clean the brass - follow the product's directions and cautions. Note: Firm
rubbing may be necessary to loosen the coating on the brass.
3. Reseal the brass per instructions below.
a. Use the properties from the brass polish you used to clean the brass.
(Easiest method, but requires more frequent polishing.)
b. Apply a high quality, non-abrasive, polymer-based automobile wax to seal the surface.
c. Apply a new clear coat with a clear lacquer spray - follow the product's directions.
(Most difficult, but lasts the longest.)
PLEASE NOTE: If you removed the hardware from the door, lubricate any internal workings with a spray lubricant.
Re-install the hardware on the door. See the hardware instructions for installation.
If your Pella door includes a solid brass handle, the brass is polished and sealed with a clear coating by the
manufacturer. Should the finish be accidentally damaged by an abrasive or sharp object, it will succumb to a natural
oxidation process that occurs when the elements contact unprotected brass. Brass has an enduring quality, in that it
can be refurbished to its original polished finish again and again by using a quality brass polish and a soft cloth. Do
not clean the bottom expander in this manner - see door cleaning above.
Use a so cloth with any household grease-cuing cleaner to clean the door.
PLEASE NOTE: Thin marks on the painted surfaces of the door can be removed using turpentine and
light rubbing with a clean cloth.
IMPORTANT: DO NOT use brass polish or steel wool on the boom expander - - Use a household
grease-cuing cleaner or a mild soap and water solution.
ONE-OF-A-KIND ORIGINALS
The stained glass on your Pella panel is hand craed. Slight imperfections or variation of color are
normal. No two glass panels are exactly alike.
CLEANING THE STAINED GLASS
Use a household glass cleaner or mild soap and water to clean the stained glass.
DECORATIVE STAINED GLASS (If included with your model)
PLAIN GLASS
Models with decorative glass - follow instructions below.
PLEASE NOTE: DO NOT use an ammonia-based cleaner for the first cleaning of the glass.
FIRST CLEANING: Use a mixture of one part vinegar with four parts water to remove the protective
coating (for shipping purposes) from the glass.
ROUTINE CLEANING: Use any household glass cleaner.
BRASS & OTHER METALLIC HANDLES
Routine Cleaning: Use a soft cloth with a mild soap and water solution to clean the surfaces. Apply a
high quality, non-abrasive automobile wax to polish.
Note: DO NOT use ammonia-based cleaners on brass or other metallic finish handles.
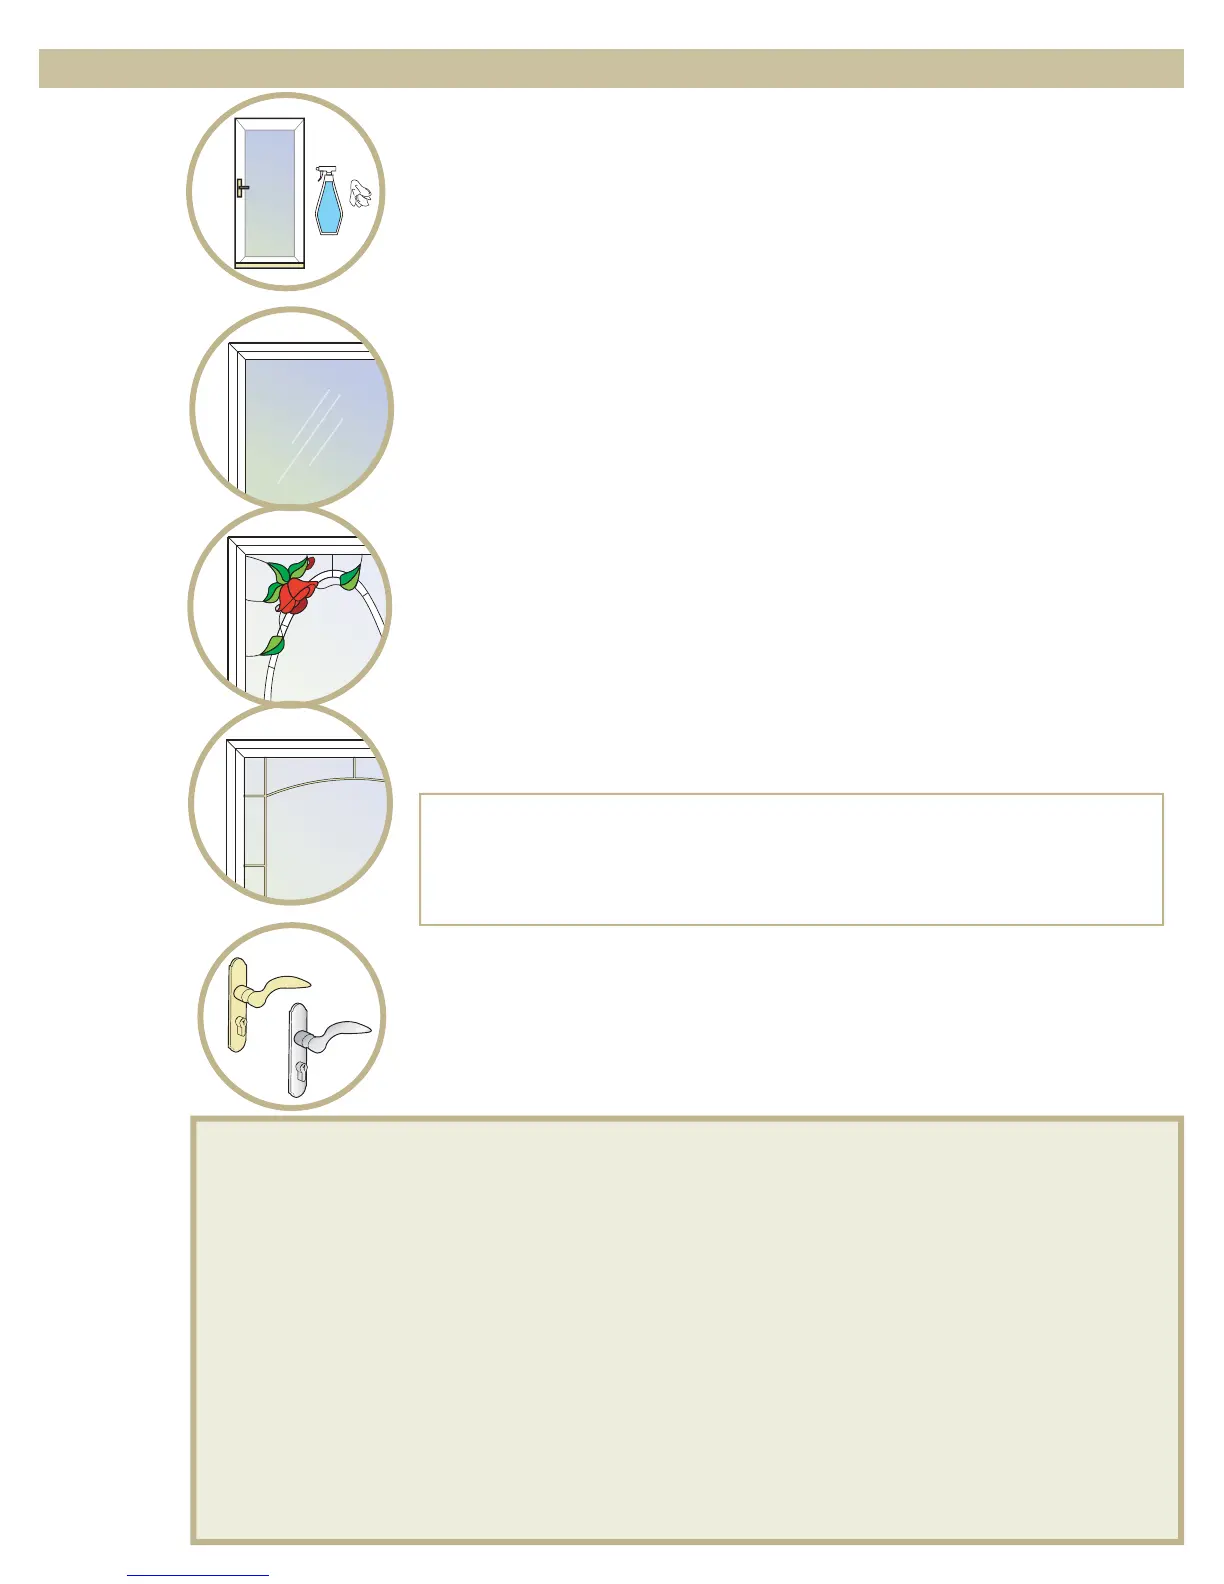
Door
Cleaning
Glass
Cleaning
Handle
Cleaning
Cleaning &
Refinishing
Damaged
Brass
11
The glass is hand craed with decorative caming.
Use a household glass cleaner or mild soap and water to clean the caming.
For Bright Brass and Satin Nickel caming ONLY:
You may use a quality brass polish or brass cleaner. Follow the product's directions and carefully wipe
down the caming. Be sure to wipe all of the cleaner from the glass. Use a toothbrush to carefully
remove any cleaner from between the caming edges and the glass.
Cleaning may also be done by using #0000 steel wool. Carefully rub down the caming with light even
strokes - avoid touching the glass with the steel wool. PLEASE NOTE: For brass handle cleaning, see
“Cleaning & Refinishing” below.
DECORATIVE CAMING (If included with your model)
 Loading...