intermediate guide bracket in
the desired location.
2. Place the cut pieces of pipe
over the guide rail pins located
in the base.
3. Set the intermediate guide
bracket in position with guides
into pipe. Put U-bolt around
discharge pipe and tighten
lightly.
4. Measure from joint on plug
on intermediate guide bracket
to joint on plug on top rail
support and cut two (2) rails
to the length. Put rails in place
and tighten screws in top of
rail support.
5. Recheck rails; they must be
straight and plumb. Move
intermediate guide bracket if
necessary to perfectly align the
rails after alignment is
secured; tighten nuts on
U-bolt.
6. If a second intermediate guide
bracket is used, the above
procedure is followed for
installation.
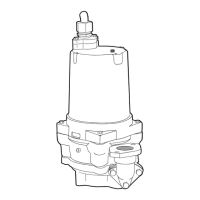
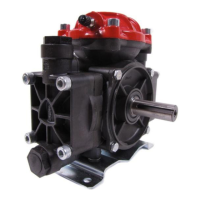
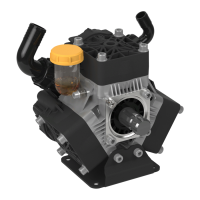
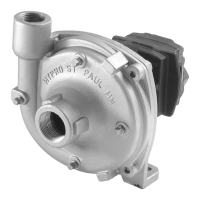
Attaching Disconnect to Pump
1. Remove close quarter elbow
from sealing plate. Three cap
screws hold elbow to sealing
plate.
2. Thread elbow into pump
volute.
3. Bolt on sealing plate.
4. Set lifting chain bail with one
(1) end on guide plate eyebolt
and the other end on pump
lifting eye.
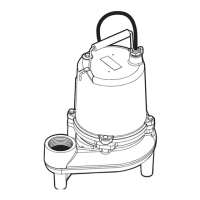
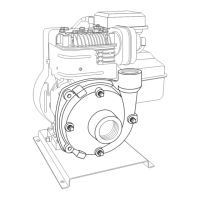
Installing Pump and
Disconnect
Attach the lifting chain to the
bail with clevis, sliding the clevis
along bail until the center of
gravity is found.
An additional clevis hook is
provided with the chain package
to be fastened on the top rail
support to hold the upper end of
the chain when not in use.
Position pump so the guide
rails are located in the slots of
the guide plate. Slowly lower
3
the pump down the guide rails
to the base. The locating pins
(horizontal pins on sealing plate)
should come to seat in the inclined
surface on the arms.
IMPORTANT: When using
the lift-out check valve option
– recommend 3–5' per second,
maximum velocity (all models).
 Loading...