Do you have a question about the Pentair INTELLICONNECT and is the answer not in the manual?
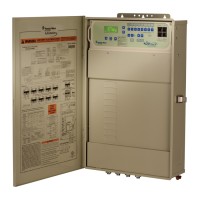
Ensure power is off. Open enclosure, remove wiring compartment cover, and note wire terminal connections.
Disconnect wiring, remove four Phillips-head screws, and take out the old control board assembly.
Seat the new board, secure it with screws, and reinstall the high voltage compartment cover.
Reconnect all wiring to appropriate terminals, restore power, and cycle power briefly.
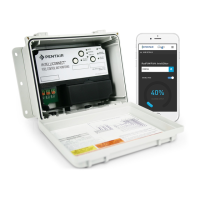
Access wireless settings, connect to the IntelliConnect access point, and open a web browser.
Navigate to the pairing page by entering the IP address 192.168.123.1 into the browser.
Note all device settings before removal to repeat them when adding the new board.
In the Link2O app, navigate to Install Details and press 'Cancel Equipment' to remove the old device.
Log into the Link2O app, go to the Devices tab, and tap 'Add New Device'.
Input required system information on the Product Information screen, using the Device ID from the enclosure.
Tap 'Save Changes' to pair the new board and reprogram system settings and components.
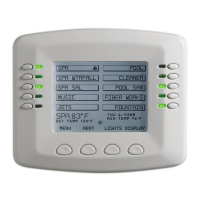
| Connectivity | Wi-Fi |
|---|---|
| Mobile App | Pentair Home App |
| Power Supply | 120/240V AC |
| Weatherproof | Yes |
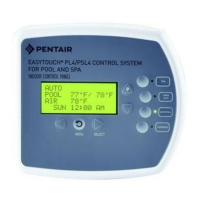
| User Interface | Mobile App |
| Control Features | Pump, heater, lights, chlorinator control |
| Compatibility | Pentair equipment and some third-party devices |