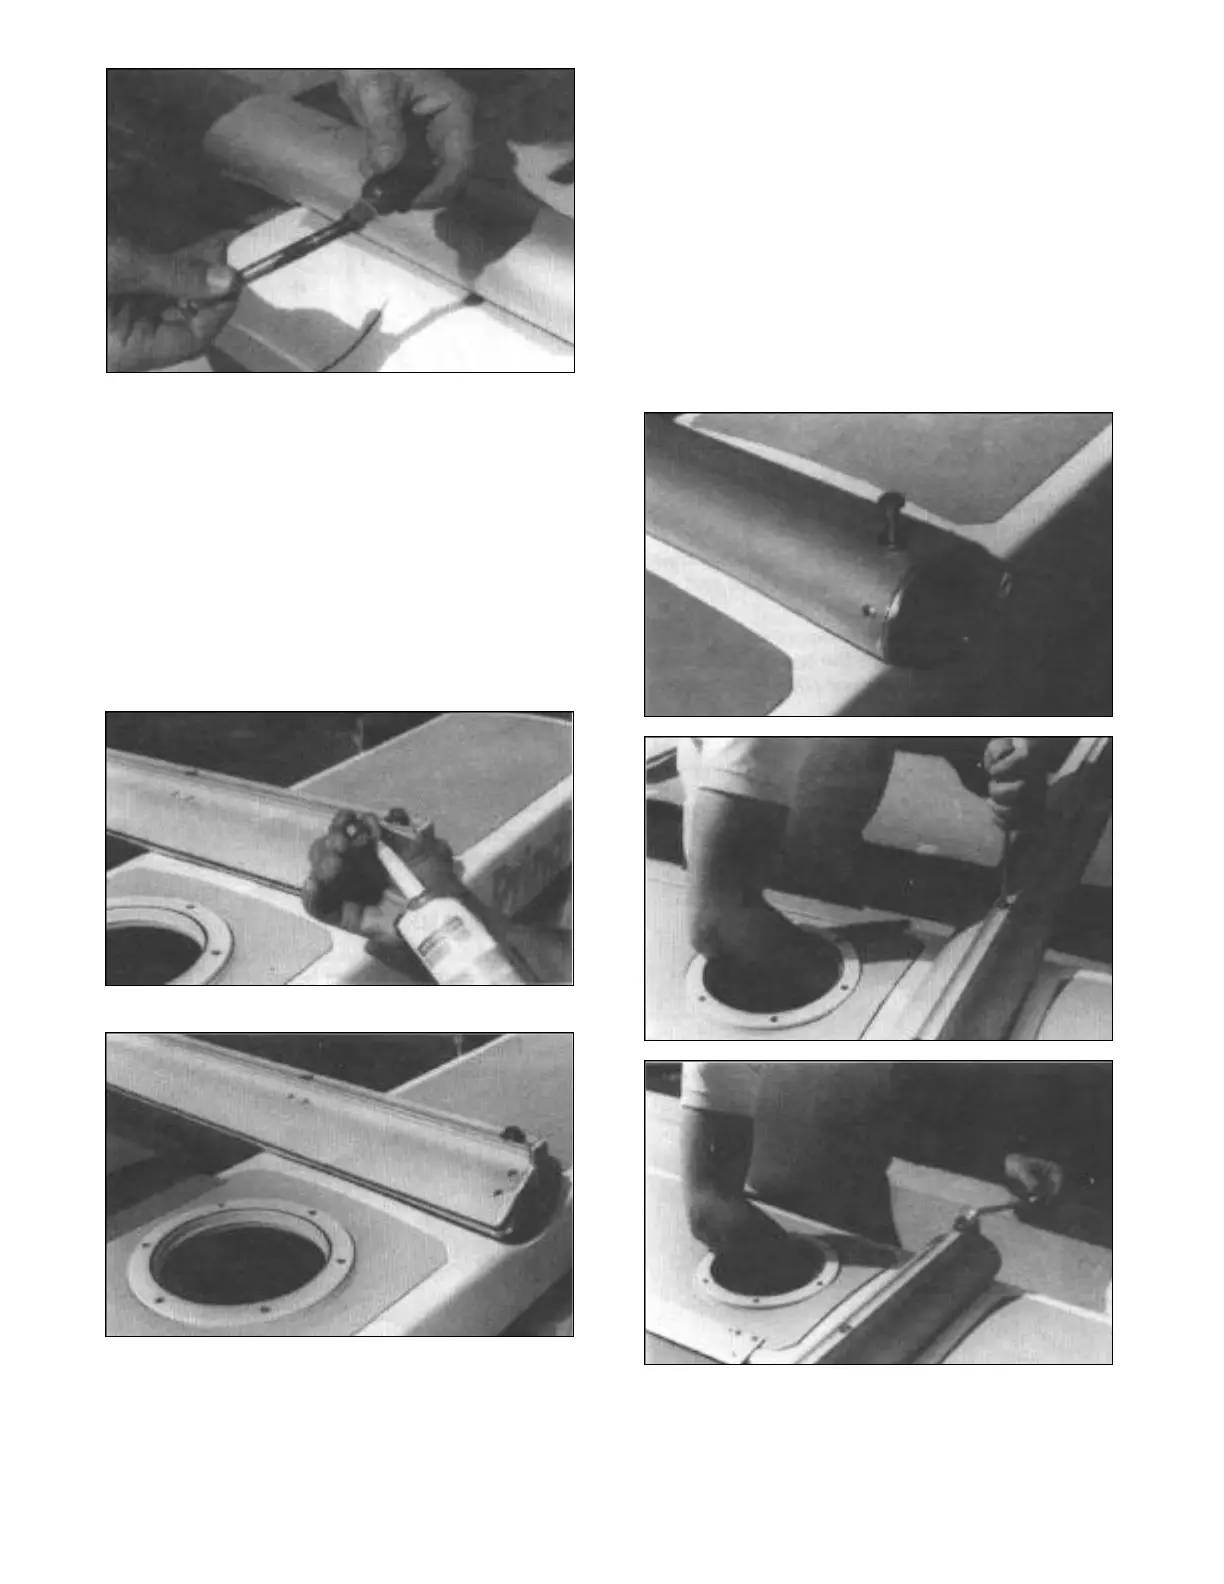
Lay both the front and rear cross bars on the
hulls with the outside edges even with the out-
side edges of the hulls. The curf (groove) on
the front crossbar should face aft and the curf
on the back crossbar should face forward.
To attach inside bolts on the rear crossbar,
insert one of the 5/16” flathead screws
through the inboard hold of the rear crossbar.
Apply silicone sealant to washer and nut and
tighten with fingers only.
Align holes in front beam with the holes in the
hull. Carefully thread all 4 of the 3/8” hex
head bolts, with grease on threads, through
the beam and into the hull until they are about
1/8” from being completely tight. CAUTION!!!
If the 3/88” bolts bind at all, remove the bolts
and check fit of bolt without the beam on. DO
NOT force bolts as you could strip out the alu-
minum plate inside the hull. If the bolt con-
tinues to bind, use a 3/8-16 tap and rethread
the hole to rectify the problem.
Tighten all rear beam bolts until about 1/8”
from being fully snug. This allows beams to
properly align themselves. Snug down all 8
bolts and then tighten all 8 bolts.