2
NOTE: This is a basic instruction manual which covers various models of grease guns. The illustrations
below may not depict your specic gun exactly.
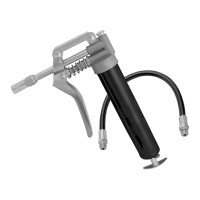
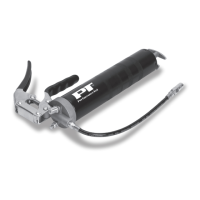
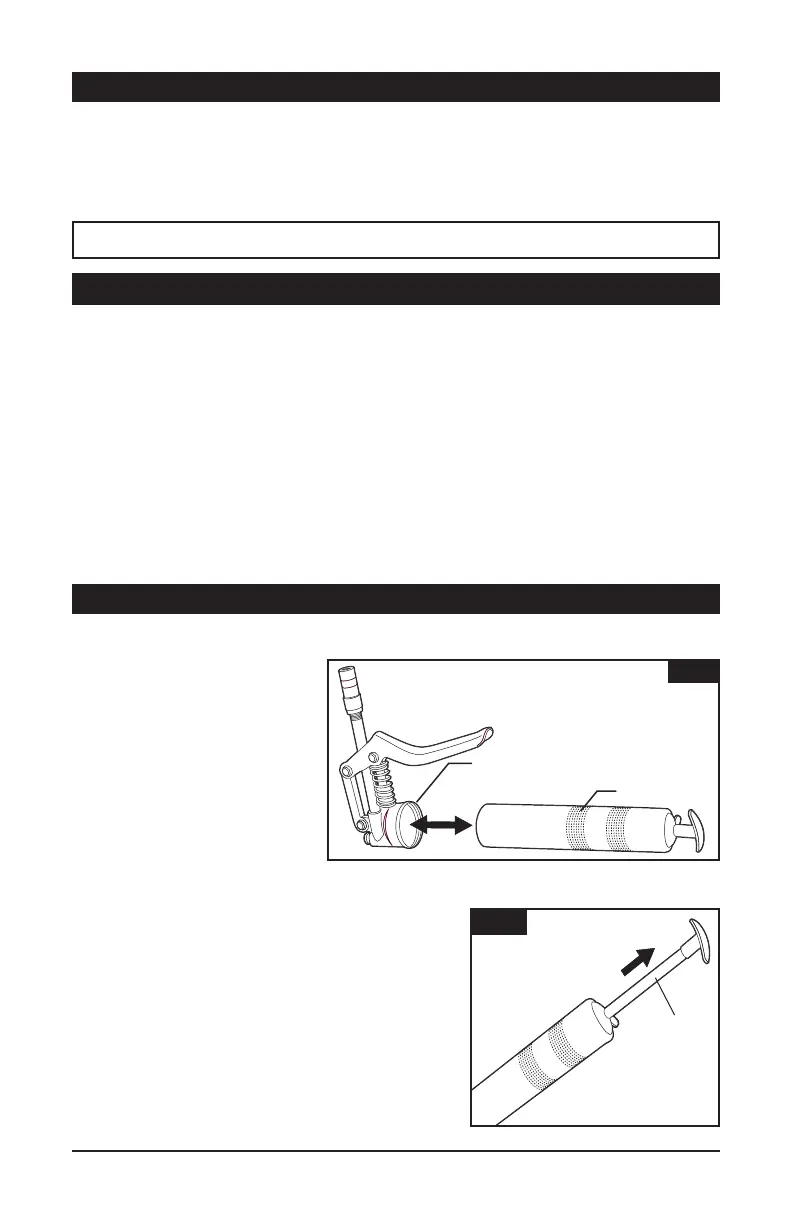
1. Rotating counter clockwise, unscrew
Head Cap from gun Barrel. (Fig. 1)
NOTE: Because they lack lubrication
on the rubber plunger, new grease
guns may be difcult to load with
grease cartridges the rst time. Apply
a liberal coating of grease to plunger
when using gun for the rst time.
This grease gun requires a 3 oz.
grease cartridge.
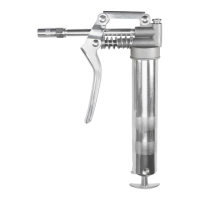
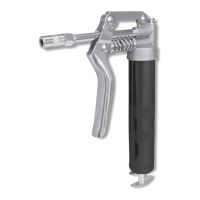
2. Draw handle back fully so that the
plunger rod catches and locks into
place. (Fig. 2)
CAUTION: Depressing the lock release when empty causes the handle to snap back quickly.
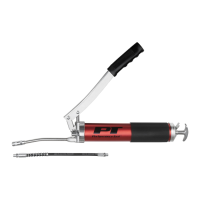
3. After removing the plastic cap from the grease cartridge,
apply a small amount of grease to the inside edge of the
cartridge. This will make inserting the plunger easier. (Fig. 3)
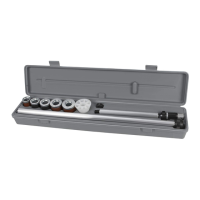
4. Push grease cartridge into gun barrel completely, until
metal edge tightly seals on top of the grease gun barrel.
Detachip-topsealfromcartridge.(Fig.4)
5. Screw on head cap approximately two turns, being sure not
to tighten. Release plunger rod from its locked position and
push in. Push on plunger rod handle to force plunger into
cartridge. At the same time, pump the lever or handle to
release trapped air. When grease comes through vents and
the head of the gun, fully tighten the head cap to the barrel.
6. As soon as the gun is pumping grease, carefully depress
the lock release and push plunger rod back into gun.
Capacity:.......................................................Bulk-3oz.(88.7ml),Cartridge-3oz.(88.7ml)
Load Type .....................................................................................................................2 Way
Develops up to:..................................................................................................... 10,000 PSI
Delivers:........................................................................................1oz./28Strokes(29.5ml)
Hose Type / Length: ........................................................ 5 in. Rigid / 12 in. Flex 1/8 in. NPT
Plunger
Handle/
Mango de
Piston
Fig. 2
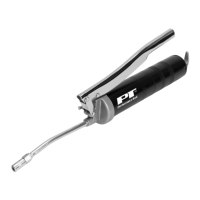
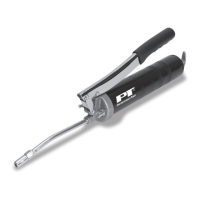
GREASE CARTRIDGE LOADING
SPECIFICATIONS - W54197 / W54198 / W54200 / W54205
Specifications are subject to change without notice.
This instruction manual is intended for your benefit. Please read and follow the safety, installation, maintenance and troubleshooting
steps described within to ensure your safety and satisfaction. The contents of this instruction manual are based upon the latest
product information available at the time of publication. The manufacturer reserves the right to make product changes at any time
without notice.
SAFETY GUIDELINES / DEFINITIONS
WARNING: Read and understand this entire instruction manual before attempting to assemble, install, operate or maintain
this product. Failure to comply with the instructions may result in serious personal injury and/or property damage!
The following signal words are used to emphasize safety warnings that must be followed when using this product:
DANGER:
Indicates an imminently hazardous situation
that, if not avoided, WILL result in death or serious injury.
WARNING:
Indicates a potentially hazardous situation that,
if not avoided, COULD result in death or serious injury.
CAUTION:
Indicates a potentially hazardous situation that,
if not avoided, MAY result in minor or moderate injury.
NOTE: Indicates important information, which if not
followed, MAY cause damage to equipment.
After opening the carton, unpack your new product and related parts and accessories. Please
inspect it carefully for any damage that may have occurred during transit. Please check it against
thephotographoncarton.Ifanypartsaremissing,pleasecallcustomerserviceat1-800-497-0552
between 6 a.m. and 5 p.m. Pacific time.
Barrel/Barril
Head Cap/Tapa de Cabeza
Fig. 1
 Loading...