Operation (continued)
WARNING: Keep the router and the router table power cords away from the cutting area.
Turn the router table switch to the OFF position if either cord interferes with the cutting area.
Unplug the router and check the cords for damage. If there is no damage, re-position the cords to
prevent them from interfering with the workpiece again.
General Operating Instructions
The type of material you are using and the type of cut you want to make will determine which of
the router table features you will use. For example, small round pieces may require the use of a
starting pin. The fence should be used with larger pieces.
1. Determine which accessories you will need for the piece.
2. Put a bit into the router collet and adjust the height of the bit. Use the wrench to make sure the
bit is seated securely in the collet. See the Plunge Router Instruction Manual for more
information.
3. Attach or install the appropriate accessories (fence, starting pin, etc.) to the router table.
4. Adjust the fence to support the uncut workpiece and adjust the out-feed side of the fence so it
will support the workpiece after it is cut.
5. Double check all router and router table adjustments. Make sure the guard is in place.
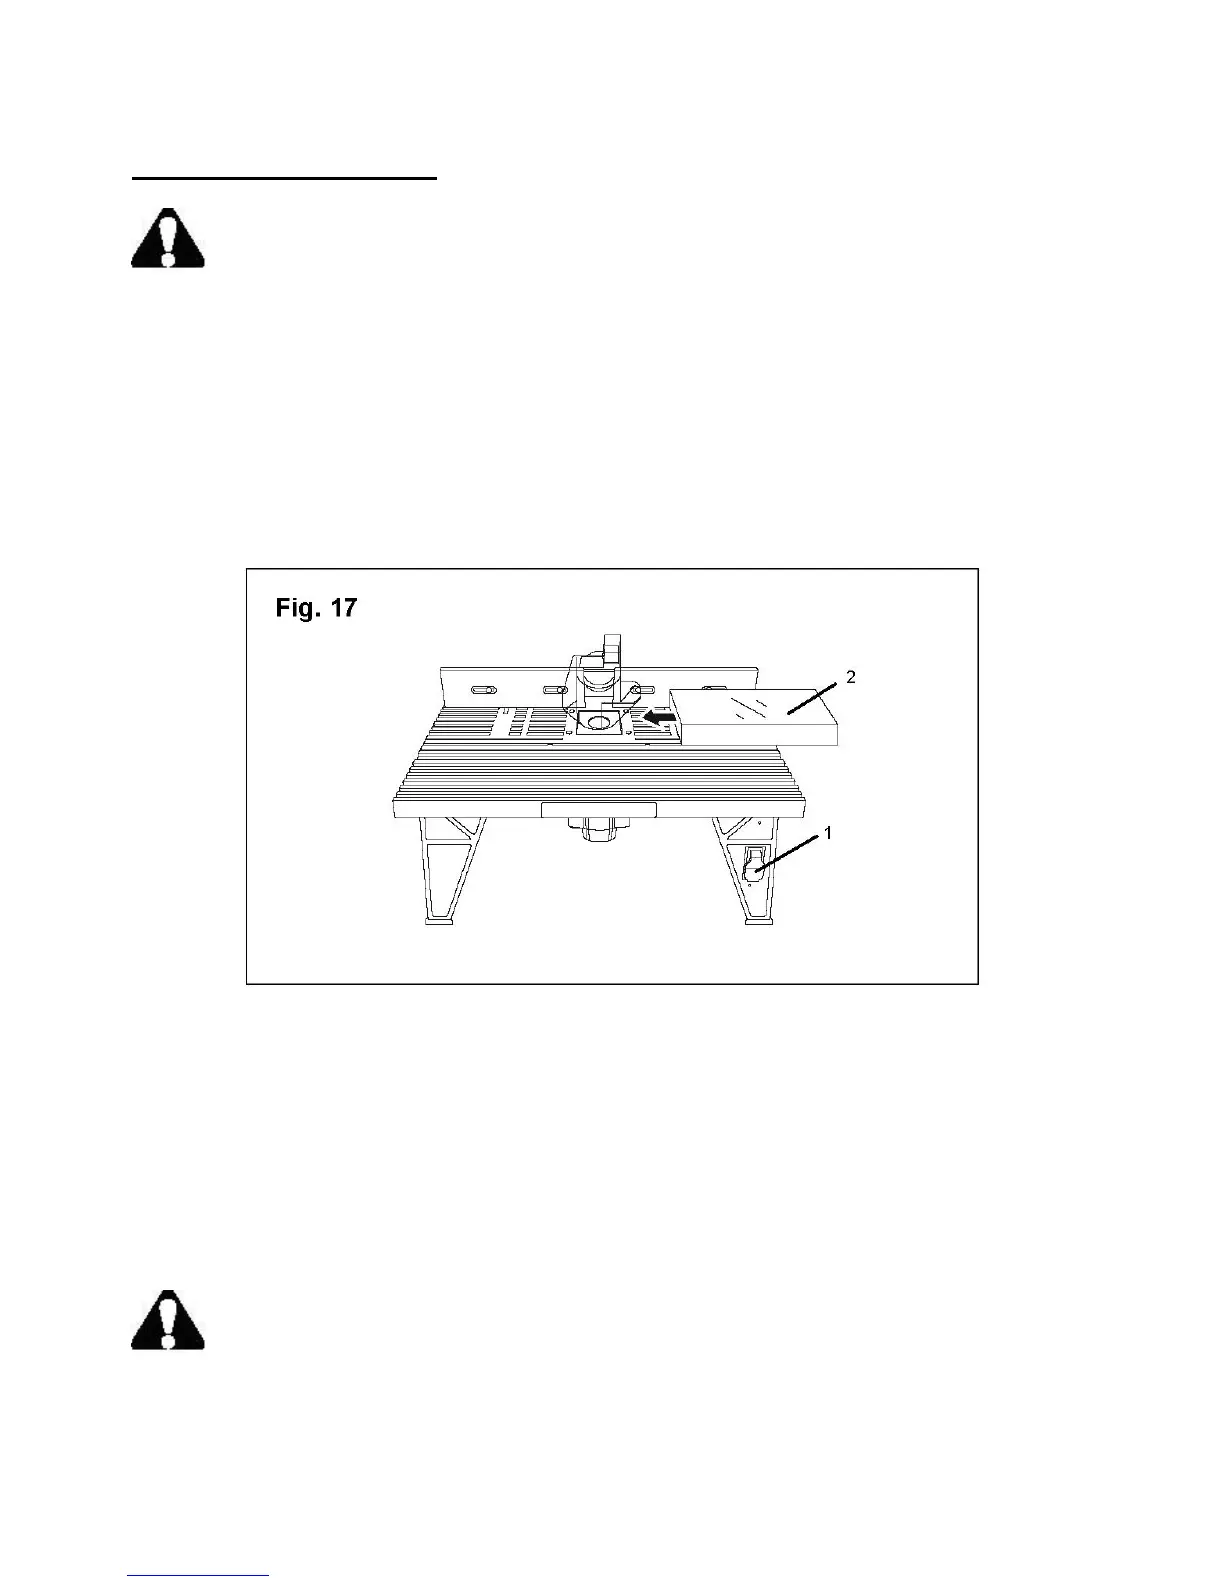
6. Flip the router table switch (1) to the ON (up) position and feed the workpiece (2) from right to
left.
WARNING: Always feed the workpiece against the sharp edges of the bit and into the
rotation of the cutter. Failure to heed this warning can result in serious personal injury.
18