25
16
e
MULTIPROP System
Instructions for Assembly and Use – Standard Configuration
A4 Vertical Assembly
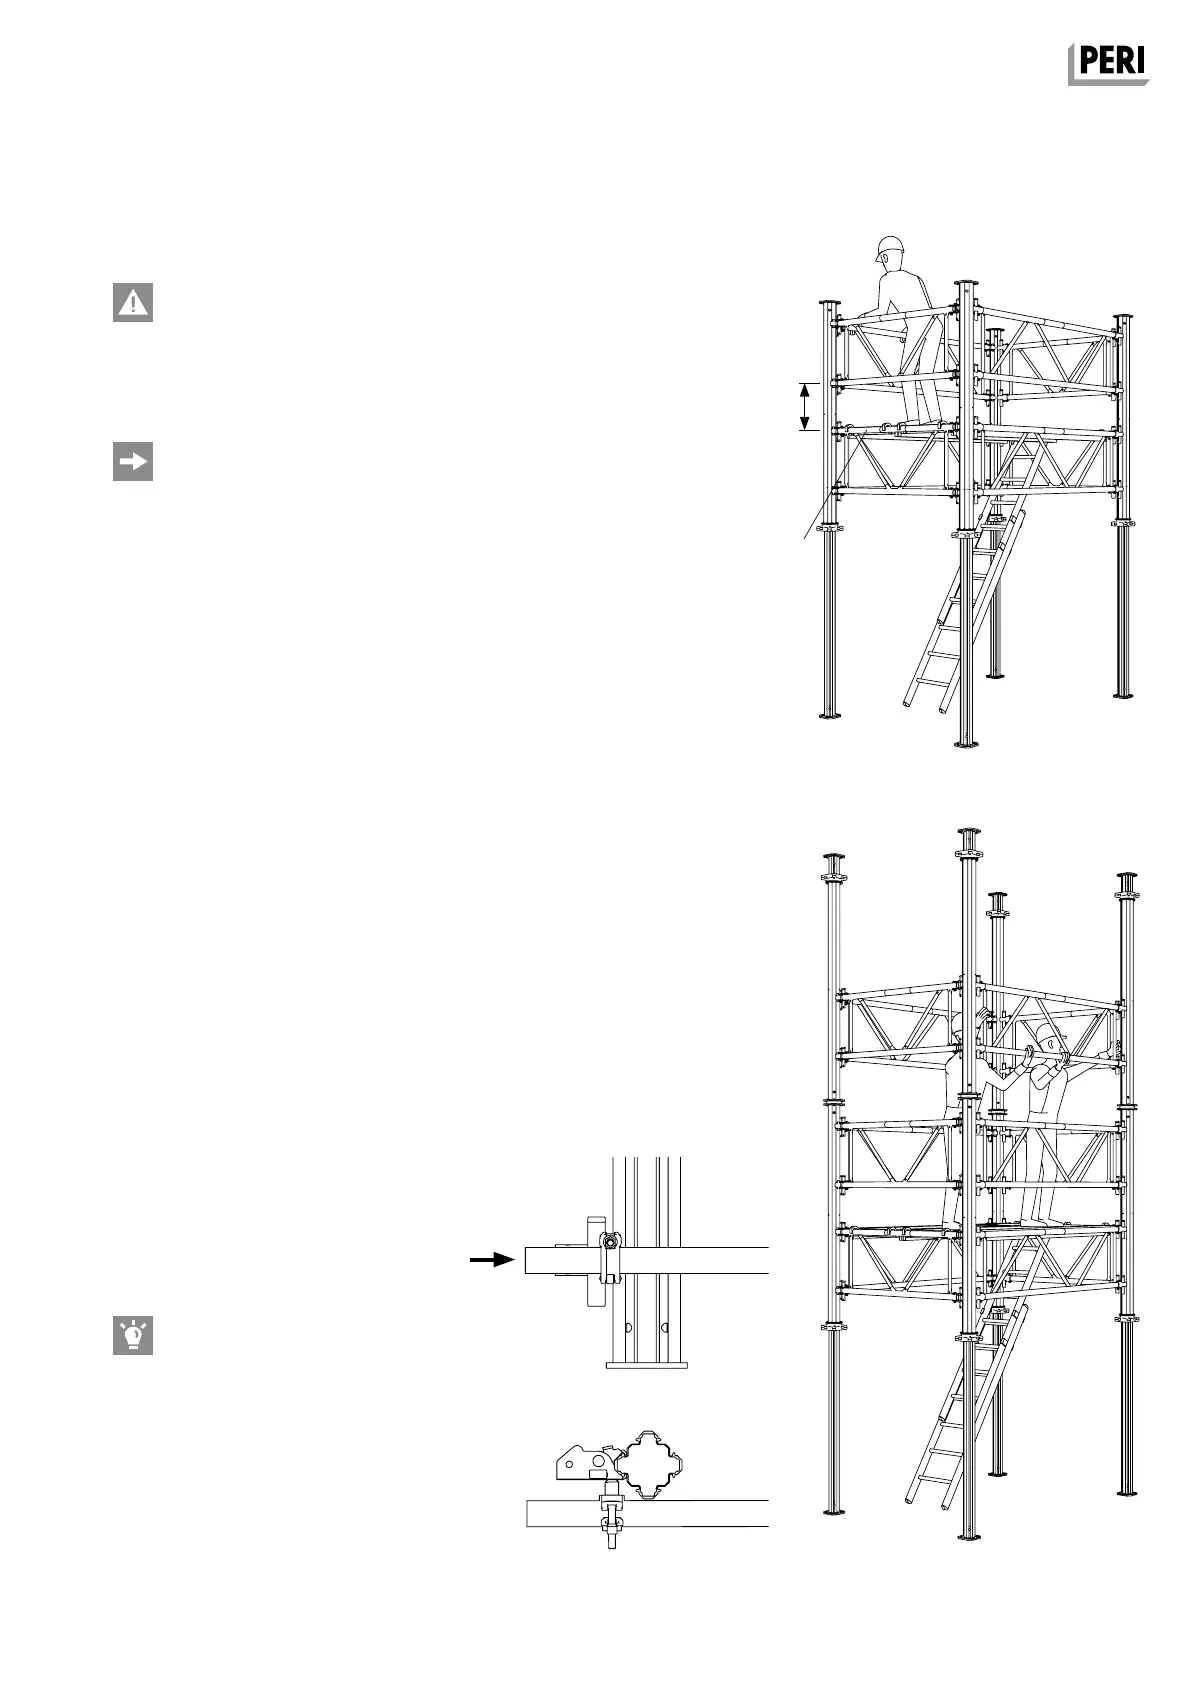
Next level
Take the stability into consideration!
Use decking with anti-slip protection
and sufficient load-bearing capacity
as assembly platforms!
– Guardrail spacing for the assembly
levels e ≤ 1.0 m.
– Access, e.g. with PERI Telescopic
Ladder Alu.
Assembly
– In order to mount the next prop and
frame level, an assembly level (16)
must be installed, e.g. MULTIPROP
Decking. (Fig. A4.03)
– If necessary, temporarily secure
tower against tipping over, see A5.
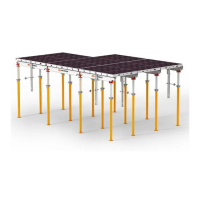
Additional levels
Allebmle additional levels in the same
way.
Assembly
– Distance between the individual as-
sembly levels in accordance with the
risk assessment. Mount guardrails.
– Mount props with retracted inner
tubes. Spindle out to the required
length only after bracing has taken
place with the frames. (Fig. A4.04)
– Connect props: with Connector
MPV-2 or MULTIPROP Bolt with Nut,
see A2.
– The frames can also be used as
lateral guardrails and are to be
mounted additionally if required.
–
Scaffold tubes with a diameter of 48
can also be used as temporary lateral
guardrails; see B1.
(Fig. A4.04a)
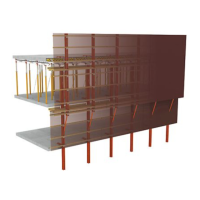
Fig. A4.03
Fig. A4.04Fig. A4.04a
Top view
1 kN
AuV MULTIPROP EX.indb 25 07.01.16 11:56