6. Install a new diaphragm and plate (4) for the
breather assembly into the cavity (7) of the valve
mechanism cover or the spacer (5) for
turbocharged engines.
7. Install a new spring (3).
8. Install the breather cover (2) and the four screws
(1). Tighten the screws.
i07819538
Engine Mounts - Inspect
Note: The engine mounts may not have been
supplied by Perkins. Refer to the Original Equipment
Manufacturer (OEM) information for further details on
the engine mounts and the correct bolt torque.
Inspect the engine mounts for deterioration and for
correct bolt torque. Excessive engine vibration can
be caused by the following conditions:
• Incorrect mounting of the engine
• Deterioration of the engine mounts
• Loose engine mounts
Any engine mount that shows deterioration should be
replaced. Refer to the OEM information for the
recommended torques.
When the engine mounts are supplied by Perkins the
maintenance procedure will be supplied in the
Disassembly and Assembly manual for your engine.
i06812544
Engine Oil Level - Check
Hot oil and hot components can cause personal
injury. Do not allow hot oil or hot components to
contact the skin.
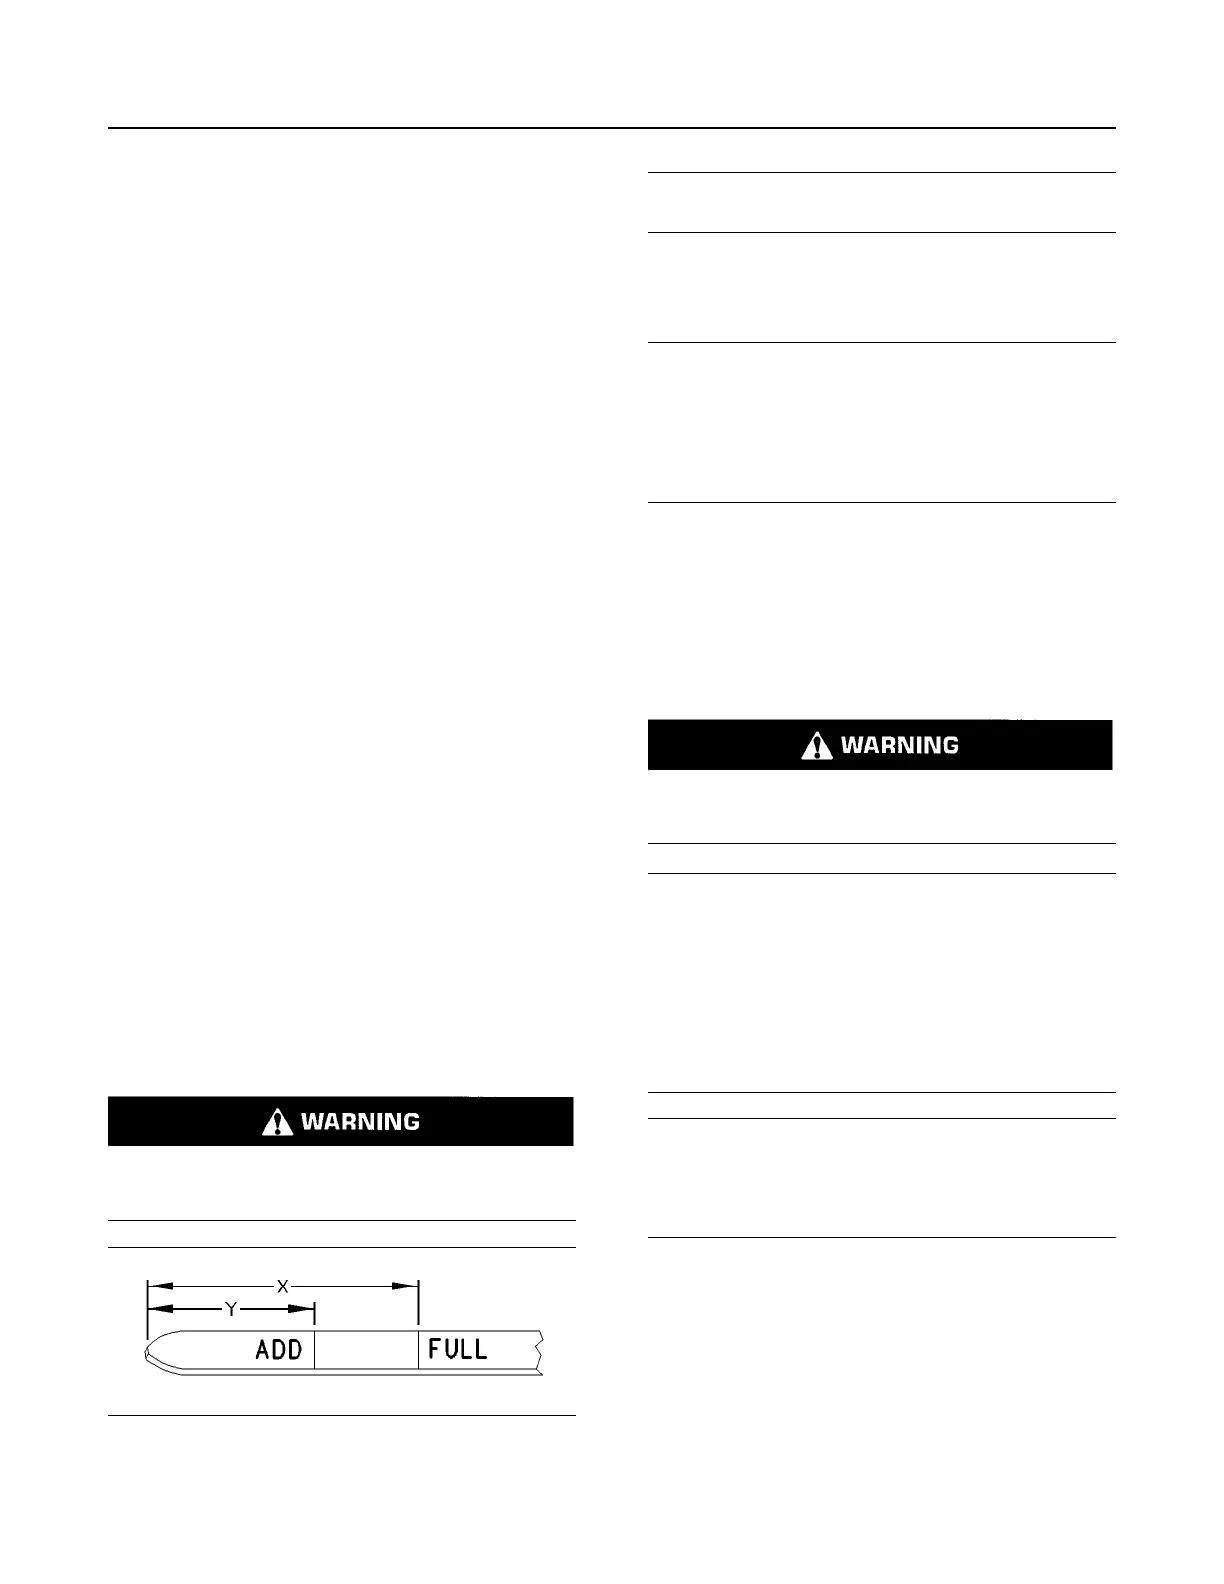
Illustration 42 g00110310
(Y) “ADD” mark. (X) “FULL” mark.
NOTICE
Perform this maintenance with the engine stopped.
1. Maintain the oil level between “ADD” mark (Y) and
“FULL” mark (X) on oil level gauge (1). Do not fill
the crankcase above “FULL” mark (X).
NOTICE
Operating your engine when the oil level is above the
“FULL” mark could cause your crankshaft to dip into
the oil. The air bubbles created from the crankshaft
dipping into the oil reduces the oil's lubricating char-
acteristics and could result in the loss of power or en-
gine failure.
2. Remove the oil filler cap and add oil, if necessary.
Clean the oil filler cap. Install the oil filler cap.
i08037360
Engine Oil and Filter - Change
Hot oil and hot components can cause personal
injury. Do not allow hot oil or hot components to
contact the skin.
NOTICE
Care must be taken to ensure that fluids are con-
tained during performance of inspection, mainte-
nance, testing, adjusting and repair of the product.
Be prepared to collect the fluid with suitable contain-
ers before opening any compartment or disassem-
bling any component containing fluids.
Dispose of all fluids according to local regulations
and mandates.
NOTICE
Keep all parts clean from contaminants.
Contaminants may cause rapid wear and shortened
component life.
Do not drain the oil when the engine is cold. As the oil
cools, suspended waste particles settle on the
bottom of the oil pan. The waste particles are not
removed with the draining cold oil. Drain the
crankcase with the engine stopped. Drain the
crankcase with the oil warm. This draining method
allows the waste particles that are suspended in the
oil to be drained correctly.
Failure to follow this recommended procedure will
cause the waste particles to be recirculated through
the engine lubrication system with the new oil.
68
SEBU7992-05
Maintenance Section
Engine Mounts - Inspect
 Loading...